Convert 24-bit panel bmp to 8-bit

Milton Shupe

Staff Contributor
Staff member
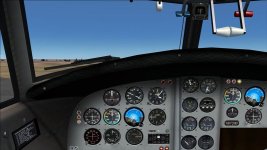
Whenever I do this, the gradient shading becomes bands of yuk.

Back when I had a panel/gauge programmer, he used an indexed 8-bit conversion technique I think to do this transition and it always worked great.

Anyone know how this conversion from 24-bit to 8-bit is best done?

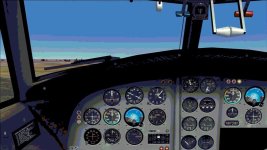
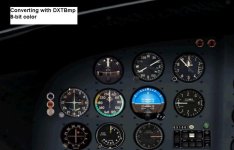
EDIT: Using DXTBmp saving as 8-bit color using tables, I get this, not as bad, but still unacceptable. The converted does not look this bad, until you open it in the FS9 sim.
 

Attachments

  • 24bit (Large).jpg
    24bit (Large).jpg
    60.8 KB · Views: 0
  • 8-bit.jpg
    8-bit.jpg
    62.4 KB · Views: 0
  • 8bitcolor.jpg
    8bitcolor.jpg
    59.2 KB · Views: 0
This can be done easily...

Whenever I do this, the gradient shading becomes bands of yuk.

Back when I had a panel/gauge programmer, he used an indexed 8-bit conversion technique I think to do this transition and it always worked great.

Anyone know how this conversion from 24-bit to 8-bit is best done?

Using PSP (I currently use PSP x8) it really is no problem... Send me the panel you want to change colors and I can do it for you without that "moiree" pattern effect...
Just tell me what you ultimately want... 256 colors... 64,000 etc.
G.
 
Milton, paint will do it for you, but the results can be hideous. Results are dependent on finding the right 256 colour palette to use, some programs will do this for you, Photoshop, etc. Try to reduce the amount of colours in your 24 bit image that the program samples from to try and increase success. i.e., black out the background to pure black, you will have to anyway and it reduces the umpteen colours used to one. Less to sample from.

I don't have anything installed since my proper rig died, so can't actually help much. Currently using my wifes old clunker that isn't fit for much. I'm thinking our chum Gaucho might be able to help, he is quite good with bmp/jpg conversions.

Jamie

PS. Speak of the devil....
PPS. if your gonna slap some 2D gauges on the panel, black out the gauge holes too, the less variation in colour you throw at the program the better chance of success.
 
Using PSP (I currently use PSP x8) it really is no problem... Send me the panel you want to change colors and I can do it for you without that "moiree" pattern effect...
Just tell me what you ultimately want... 256 colors... 64,000 etc.
G.

Thank you Gaucho.

Attaching the 24-bit version.

The FS9 sim seems to convert to 8 bit any panel bmp it displays. Do what you think is best because I do not know.

Also, after converting it, the 0,0,0 windows transparency areas seem to get converted to 8,8,8 or something close to that so the windows become opaque again.
 

Attachments

  • Mallard24bit.zip
    984.8 KB · Views: 0
Also, after converting it, the 0,0,0 windows transparency areas seem to get converted to 8,8,8 or something close to that so the windows become opaque again.


This happens alot, you can use the program to replace a colour with another, say 8,8,8 with 0,0,0. This may cause small holes elsewhere where 8,8,8 occurs, but can quite easily be fixed manually.
 
Using PSP (I currently use PSP x8) it really is no problem... Send me the panel you want to change colors and I can do it for you without that "moiree" pattern effect...
Just tell me what you ultimately want... 256 colors... 64,000 etc.
G.

Just to clarify, I'm sure you know already, 8-bit = 256 colour.
 
You stlll did not specify what the end result should be...

Thank you Gaucho.

Attaching the 24-bit version.

The FS9 sim seems to convert to 8 bit any panel bmp it displays. Do what you think is best because I do not know.

Also, after converting it, the 0,0,0 windows transparency areas seem to get converted to 8,8,8 or something close to that so the windows become opaque again.

Do you want a 256 color bmp (easier on frame rates in terms of size)... or do you want a high depth color... (i.e: panel will end up about 4-5 megs but rich in detail and
smooth curves, etc.) Also, this will eliminate doing unnecessary work..
I've downloaded the bmp... it is the only item missing... what depth of color, detail, and space you want... Ah, also what size of frame... (i.e. is the presen size OK?)
Cheers,
G.

More concerned about appearance as 8-bit seems choppy.

1920 X 1080 X 24-bit is the size I am using. This is the 24-bit bmp I am currently using for the 2D panel (copied from the VC display). Gauges are already sized and placed.
Do what you think is best.
 
Ok.. the size will be 1920 by 1080

More concerned about appearance as 8-bit seems choppy.

1920 X 1080 X 24-bit is the size I am using. This is the 24-bit bmp I am currently using for the 2D panel (copied from the VC display). Gauges are already sized and placed.
Do what you think is best.

Be back soon...
G.
 
Here's the result...

Yes, of course. :)

Yes, of course. :)

I am afraid that it involved more than just redoing the color...
Sort of making a silk purse out of a sow's ear... The first image you showed was different...and
it probably could have been changed in a jiffy... However the Mallard file I got
showed me what the problem was... The original file is really very crude in terms of definition... so I had to sort of
reverse engineer it... IF THE ORIGINAL HAD BEEN A "GOOD" IMAGE, IT WOULD HAVE SUFFICED TO CHANGE THE COLOR PALETTE..
but with this one... I had to take the original... remake it into a good one at high-def and then change it to 256 colors...

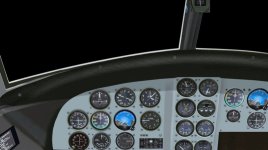
The results at 256 colors, modesty apart, I think look rather good...
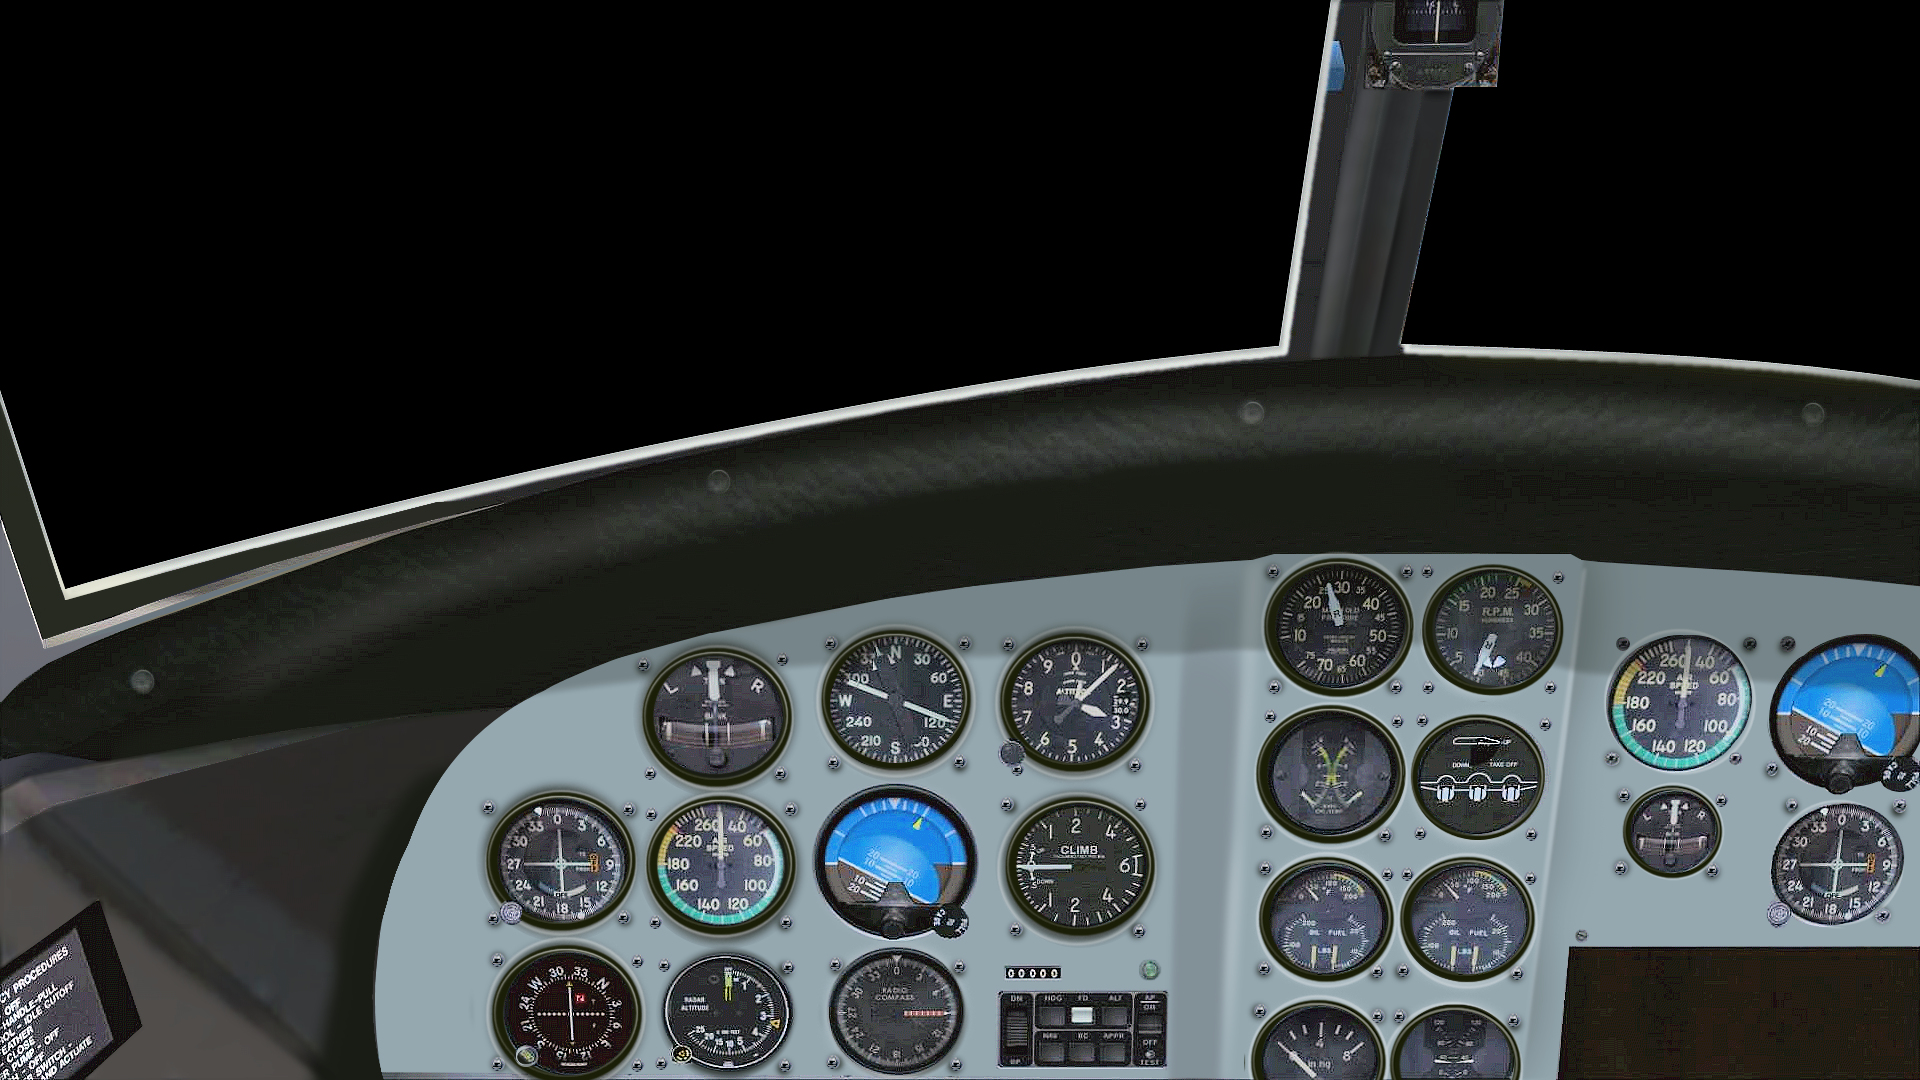
this is a jpg of the actual bmp at 256 colors...

To wit:

24686640394_b7638103e5_o.jpg


I can send you the bmp if you are satisfied with it...

Cheers,
G.
 
I am afraid that it involved more than just redoing the color...
Sort of making a silk purse out of a sow's ear... The first image you showed was different...and
it probably could have been changed in a jiffy... However the Mallard file I got
showed me what the problem was... The original file is really very crude in terms of definition... so I had to sort of
reverse engineer it... IF THE ORIGINAL HAD BEEN A "GOOD" IMAGE, IT WOULD HAVE SUFFICED TO CHANGE THE COLOR PALETTE..
but with this one... I had to take the original... remake it into a good one at high-def and then change it to 256 colors...

The results at 256 colors, modesty apart, I think look rather good...
this is a jpg of the actual bmp at 256 colors...

To wit:


I can send you the bmp if you are satisfied with it...

Cheers,
G.

G,
That looks great to me Sir; post up. :)

Thank you so much :applause:
 
G,

To my knowledge, only 24 bit and 8 bit works for 2D panels in FS9

Silly Q maybe, but why would you need an 8 bit pit if you have a 24 bit one that works? I assumed you had a reason for the 8 bit pit, now I'm curious as to why, CFS2 maybe?
 
Silly Q maybe, but why would you need an 8 bit pit if you have a 24 bit one that works? I assumed you had a reason for the 8 bit pit, now I'm curious as to why, CFS2 maybe?

Because FS is converting the 24 bit one to 8 bit and it looks bad.
 
Hope I am doing this right... as an attachment...
think I got it now...

G.

G,

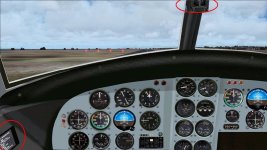
That looks great; only a few bleeds from black in the areas highlighted. Can you correct them? :applause:

EDIT: There are also quite few leaks inside of gauge bezel edges but maybe I can cover most of them.

EDIT2: Got most of te gauge issues resolved. Seems every screw head leeks; must be some 0,0,0 inside the head. I can fix that.
If you wish, you can paint out the compass at top and remove the placard on the side to make it easier.
 

Attachments

  • 2d.jpg
    2d.jpg
    73.5 KB · Views: 2
Sure... will do...

G,

That looks great; only a few bleeds from black in the areas highlighted. Can you correct them? :applause:

EDIT: There are also quite few leaks inside of gauge bezel edges but maybe I can cover most of them.

EDIT2: Got most of te gauge issues resolved. Seems every screw head leeks; must be some 0,0,0 inside the head. I can fix that.
If you wish, you can paint out the compass at top and remove the placard on the side to make it easier.


I didn't work that part in the original... oops... forgot about it...
will get to it in the morning... gotta fix dinner...
G.
 
See if this did it..

I didn't work that part in the original... oops... forgot about it...
will get to it in the morning... gotta fix dinner...
G.

I redid the areas
G.
 

Attachments

  • Mallard 2d.zip
    488.5 KB · Views: 0
  • Mallard 2d.jpg
    Mallard 2d.jpg
    52.4 KB · Views: 0
Back
Top