Fnerg
SOH-CM-2023
A beautiful exterior model, deserves some nice repaints. The problem is, it's an FSX model, and MSFS has a completely different file structure. So, I noticed there were liveries "disabled" in the ported over package including - 2 gorgeous RCAF liveries. I set out to try and enable them. Here's what I did.
Step by Step:
Open the F86 Sabre folder, navigate inward to the "texture.RCAF_417" livery folder, open and look at the files. Notice the _T files. They are the Albedos but will remain named as _T files. More about this later. Notice the orientation of the wing texture. See it points upward from the bottom left to the top right. All of these _T textures (there are 7 of them) need to be flipped, renamed, and converted.
Open paint.net. Open all 7 of the _T texture files in the 'texture.RCAF_417' folder at once. Go down the line, one at a time, and click IMAGE-ROTATE 180-FLIP HORIZONTAL. Now use 'Save As' and rename each texture like, example: F86_1_T change to F86_1_T.PNG.DDS, F86_2_T change to F86_2_T.PNG.DDS, and so on for all remaining 3, 4 5, 6, 7 _T textures. Save them to the 'texture.RCAF_417' folder, but as a .DDS file. (DirectDraw Surface) (DDS) (*.dds). You'll find that option in the file type drop down. When prompted before the save, save each file with BC7 (sRGB, DX 11+) compression. (Selectable white box under the word 'Settings')
Once finished, close paint.net and open the 'texture.RCAF_417' folder. Notice you now have doubled the _T files, with the old ones suffix _T, and the new ones suffix _T.PNG. Delete the old _T files. Now each new _T.PNG file must have an accompanying .json file with the same name. I don't know what program creates these, so I just copied 7.json files for albedos from a different plane livery I did years ago, pasted them into the 'texture.RCAF_417' folder, and renamed them to match the new _T.PNG textures. Example: F86_1_T.PNG will now have a matched .json file called F86_1_T.PNG.DDS. Just rename the text file, no processing need. Do that for all 7.json files, so each _T.PNG texture has a matching .json. You are done with the Albedo part.
For COMP files, the matching COMP file for each _T texture within the RCAF_417 folder, is referenced from the main texture folder. I found (personal choice) the default COMP files in the main texture folder make the model too "shiney" in the sim. So, I used GIMP to decompose the F86 Sabre/texture matching COMP file into 3 layered RGB, and lightened the green channel a bit (lighter grey), composed, and exported into the 'texture.RCAF_417' folder as example: F86_1_COMP.PNG.DDS, F86_2_COMP.PNG.DDS, etc. with no compression, with mipmaps.
Now each of these new COMP files need a matching .json file too. You can search your livery folders for COMP texture matching .json and copy those over to the 'texture.RCAF_417' folder, and rename like I mentioned above. Just rename them, you don't have to process them in any way. I don't think the GUID info in the copied .json file matters, I've had no problem "borrowing" .json files for this. Finally, from one of the other Sabre liveries, copy over COLORCOMPLETE.PNG, COLORCOMPLETE.PNG.DDS.json into 'texture.RCAF_417'.
When finished, you will have RCAF_417 folder with 7 new rotated 180, horizontally flipped, renamed _T (Albedo) files, 7 matching .json files for those, 7 new COMP files with matching .json files, pilot textures, a thumbnail, and a texture.cfg (references the main texture folder for other and interior textures).
Go to the F86 Sabre main folder, scroll down and open the Aircraft.cfg. ( NOT .aircraft.cfg )
Copy this, and paste it into the next livery position on the list. Number it as the next in order. Just like the old days!
[fltsim.xx]
title = F-86 Sabre RCAF 417
sim= F86F_rc3
model= msfs
panel=
sound=
texture=rcaf_417
kb_checklists=f86ef_check
kb_reference=f86ef_ref
description=""
ui_manufacturer=North American
ui_type= F-86 Sabre
ui_variation= RCAF_417
ui_createdby="MilViz"
ui_thumbnailfile=""
atc_heavy=0
atc_id=417
atc_airline=Air Force
atc_flight_number=417
atc_parking_types=MIL_COMBAT
atc_id_color=0x00000000
atc_id_font=Verdana,-11,1,600,0
**Check the list to make sure RCAF_417 isn't entered 2x in the list. If it is, highlight and delete the other and re-number your list of liveries in order.**
Almost done. Now that you've made changes and added files, you must let the sim know by updating the layout .json just inside the F86 Sabre main folder. You see, there are two files, layout and manifest. Using Auto_json, which I've been using for years flawlessly, (link below) open it, and direct it to the main F86 Sabre folder, and run it. Save the new layout.json file overwriting the previous. Now if you open the newly created layout.json file in notepad, and scroll down, you see the new files you made are listed with new guid numbers, the sim knows to include these now. This last step, is very important, or else none of your labour intensive customizing will show up in the sim! The sim needs to know you made changes, so you must be able to update the layout.json. I use Auto_json. See this thread:
http://www.sim-outhouse.com/sohforums/showthread.php/120977-layout-json-generator
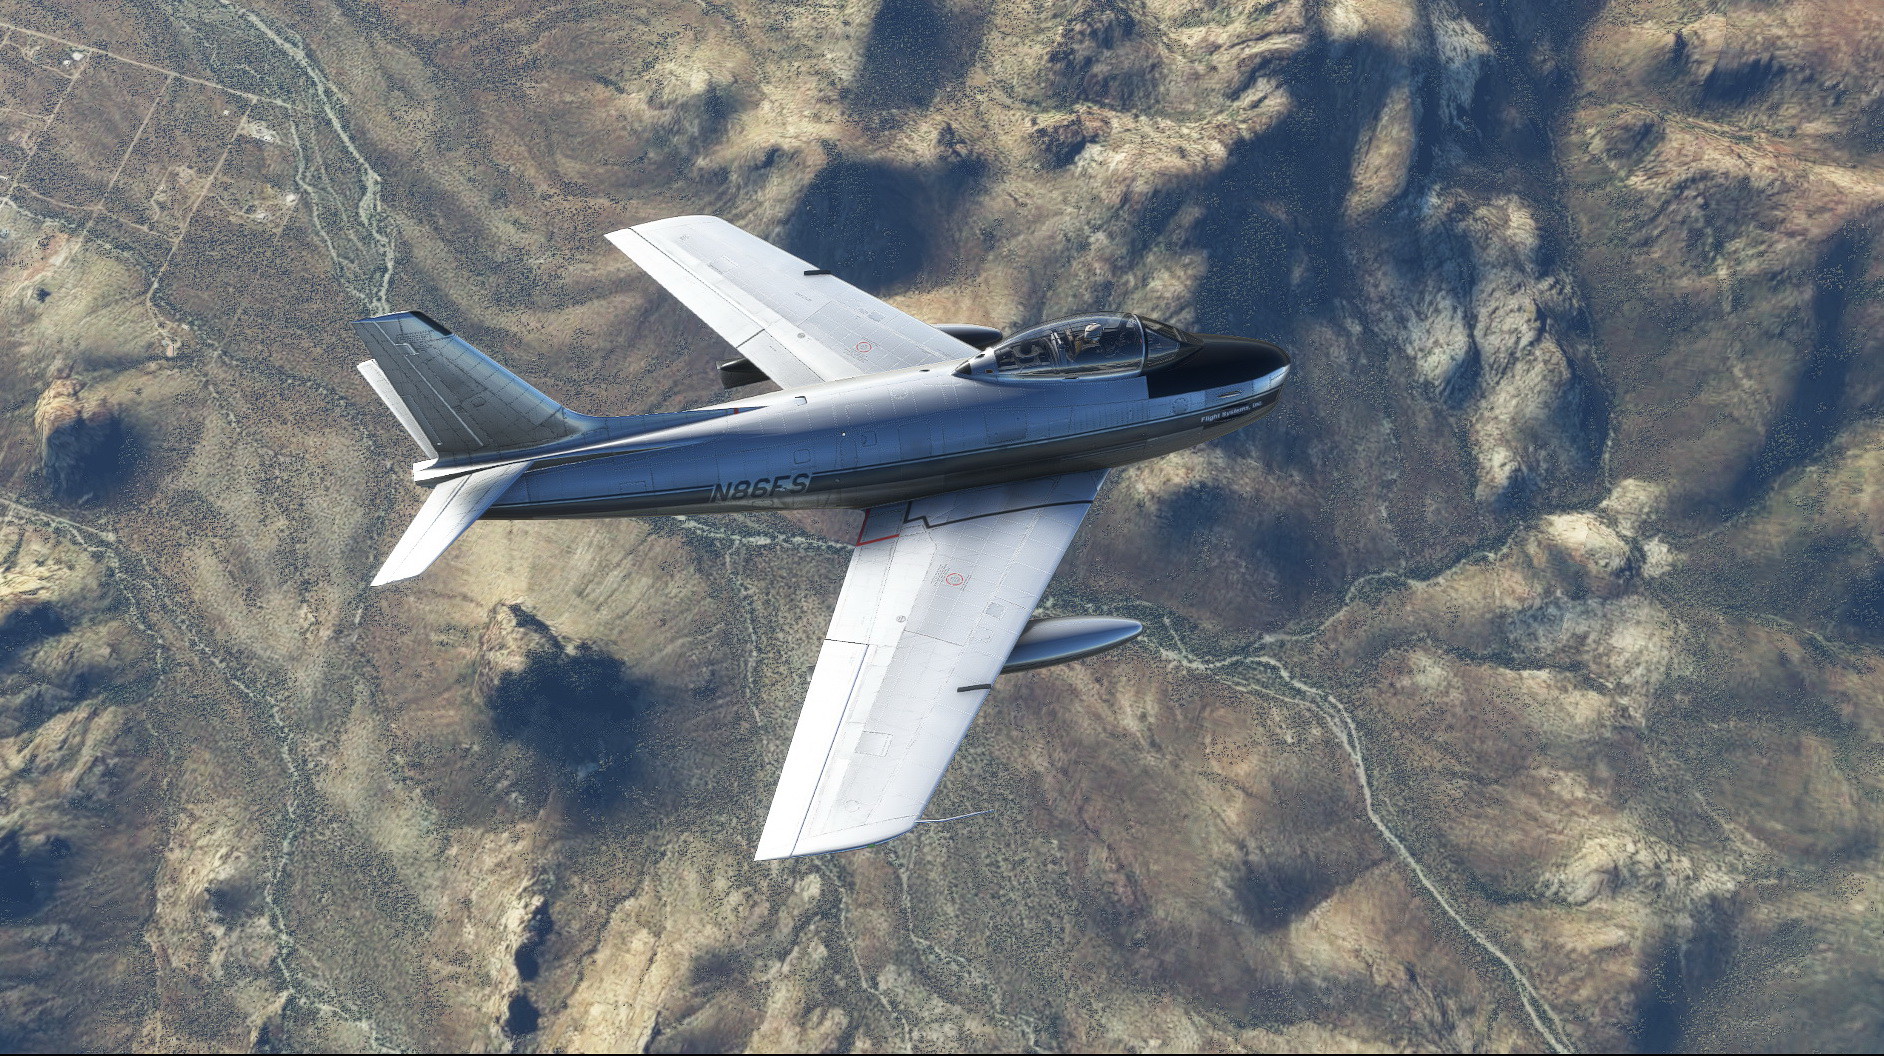
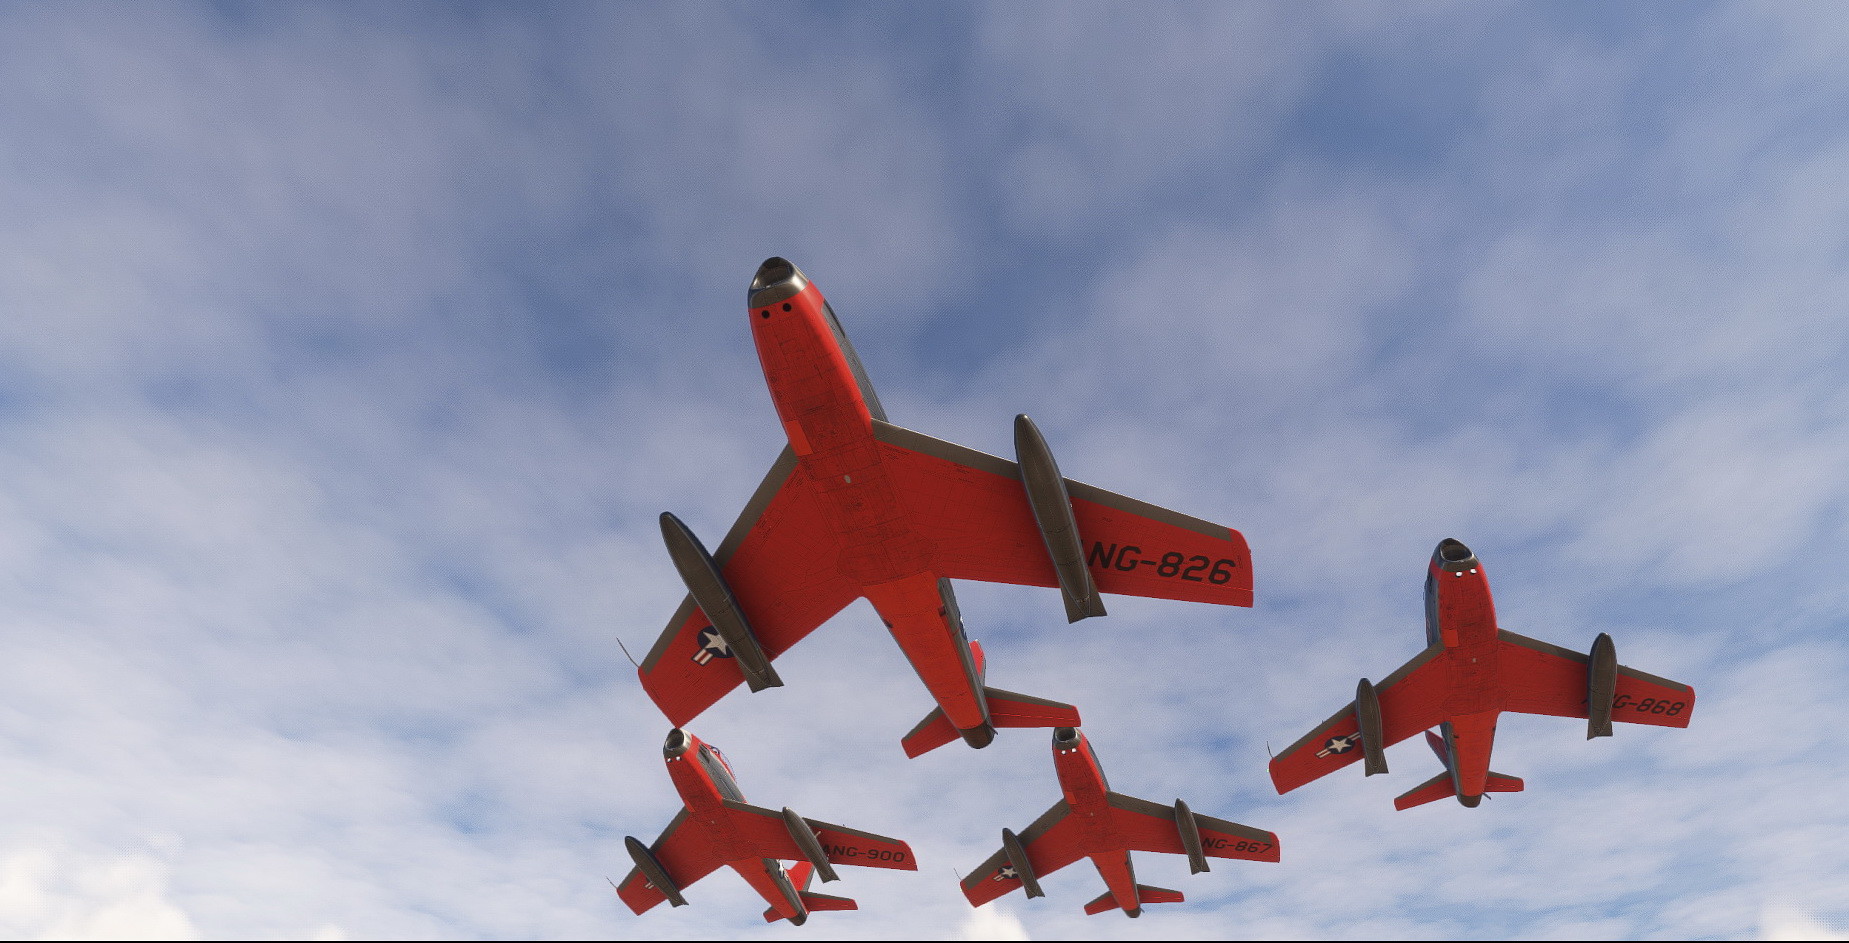
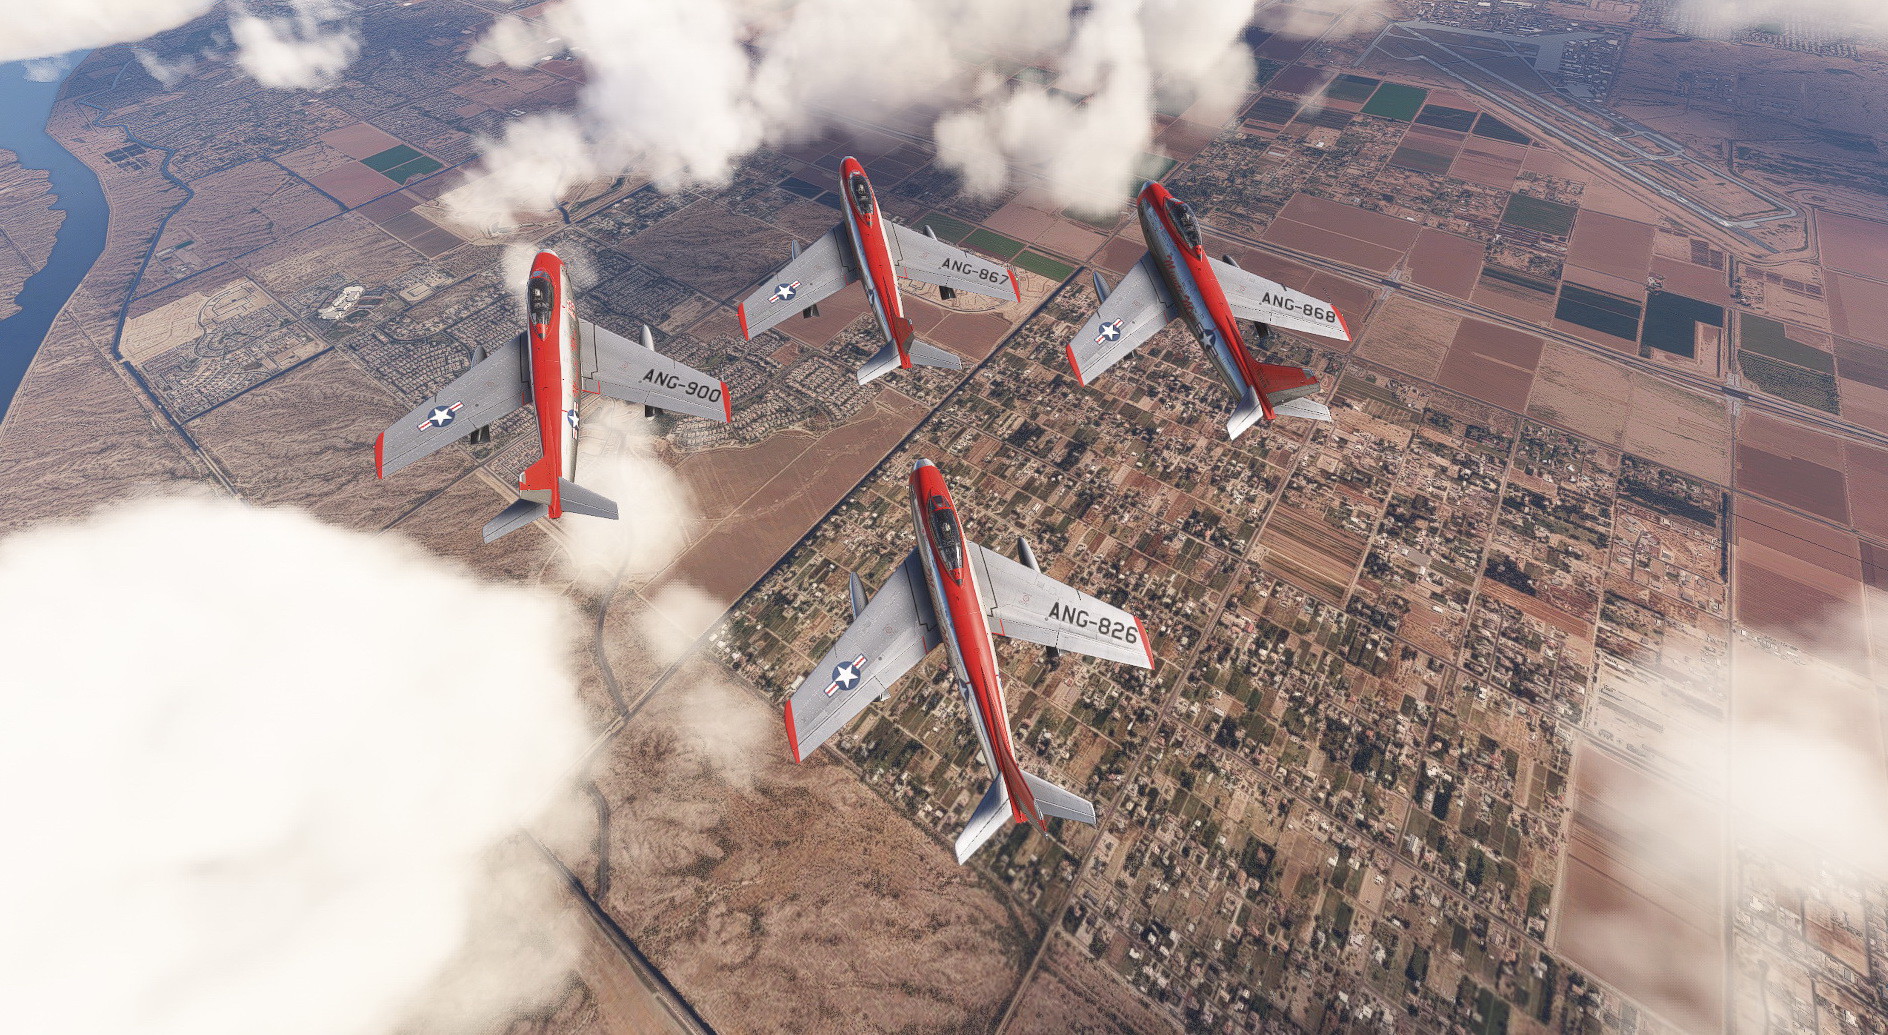
Fire up the sim and have a look. Select your Sabre to fly, go to liveries and see that RCAF_417 is there. You can now select it and fly. You must repeat this whole process for each "disabled" livery. You can also find some other liveries in SOH library, as well as AVSim's library under FSX Korean Military. Do this process for each livery you download and they will appear in MSFS. They look pretty good too! (Image 2, and 14 below)
As far as associated NORMAL files for each Albedo, so we are able to see indented rivets, screws, and panel lines, I have not figured that out yet. Probably related to the FSX limits, naming convention/formats, the port over itself, or might just be the format of the NORM that's preventing it from appearing on the model. Still experimenting, I can see the effect in ModelXConverter, just not in sim. I've sent the specular files through the Nvidia Texture Tools stand alone program to create NORMAL files, but even with all the seemingly correct procedures I know work, they're not appearing in the sim. The default _bump maps, don't do anything in MSFS either. Still playing with this, I'll update when I get results. For now, the F86 has new liveries, less shine, but dead smooth surface. I think Milviz did an amazing job on the rivets, lines as 2D artwork, I will be happy to see the 3D affect on the exterior model once I get a NORM map to work.The Paintkit!? Well, it's the most complicated/advanced paintkit I've ever seen. I haven't even began to understand it yet. So many layers! I do want to make a Goldenhawks livery now so as you see, everything is a learning curve.
Hope this is helpful, I will update. Share, or add to my method, refining or improving suggestions are welcome.
 Image2 by Doug Smith, on Flickr
 Image15 by Doug Smith, on Flickr
 Image14 by Doug Smith, on Flickr
Step by Step:
Open the F86 Sabre folder, navigate inward to the "texture.RCAF_417" livery folder, open and look at the files. Notice the _T files. They are the Albedos but will remain named as _T files. More about this later. Notice the orientation of the wing texture. See it points upward from the bottom left to the top right. All of these _T textures (there are 7 of them) need to be flipped, renamed, and converted.
Open paint.net. Open all 7 of the _T texture files in the 'texture.RCAF_417' folder at once. Go down the line, one at a time, and click IMAGE-ROTATE 180-FLIP HORIZONTAL. Now use 'Save As' and rename each texture like, example: F86_1_T change to F86_1_T.PNG.DDS, F86_2_T change to F86_2_T.PNG.DDS, and so on for all remaining 3, 4 5, 6, 7 _T textures. Save them to the 'texture.RCAF_417' folder, but as a .DDS file. (DirectDraw Surface) (DDS) (*.dds). You'll find that option in the file type drop down. When prompted before the save, save each file with BC7 (sRGB, DX 11+) compression. (Selectable white box under the word 'Settings')
Once finished, close paint.net and open the 'texture.RCAF_417' folder. Notice you now have doubled the _T files, with the old ones suffix _T, and the new ones suffix _T.PNG. Delete the old _T files. Now each new _T.PNG file must have an accompanying .json file with the same name. I don't know what program creates these, so I just copied 7.json files for albedos from a different plane livery I did years ago, pasted them into the 'texture.RCAF_417' folder, and renamed them to match the new _T.PNG textures. Example: F86_1_T.PNG will now have a matched .json file called F86_1_T.PNG.DDS. Just rename the text file, no processing need. Do that for all 7.json files, so each _T.PNG texture has a matching .json. You are done with the Albedo part.
For COMP files, the matching COMP file for each _T texture within the RCAF_417 folder, is referenced from the main texture folder. I found (personal choice) the default COMP files in the main texture folder make the model too "shiney" in the sim. So, I used GIMP to decompose the F86 Sabre/texture matching COMP file into 3 layered RGB, and lightened the green channel a bit (lighter grey), composed, and exported into the 'texture.RCAF_417' folder as example: F86_1_COMP.PNG.DDS, F86_2_COMP.PNG.DDS, etc. with no compression, with mipmaps.
Now each of these new COMP files need a matching .json file too. You can search your livery folders for COMP texture matching .json and copy those over to the 'texture.RCAF_417' folder, and rename like I mentioned above. Just rename them, you don't have to process them in any way. I don't think the GUID info in the copied .json file matters, I've had no problem "borrowing" .json files for this. Finally, from one of the other Sabre liveries, copy over COLORCOMPLETE.PNG, COLORCOMPLETE.PNG.DDS.json into 'texture.RCAF_417'.
When finished, you will have RCAF_417 folder with 7 new rotated 180, horizontally flipped, renamed _T (Albedo) files, 7 matching .json files for those, 7 new COMP files with matching .json files, pilot textures, a thumbnail, and a texture.cfg (references the main texture folder for other and interior textures).
Go to the F86 Sabre main folder, scroll down and open the Aircraft.cfg. ( NOT .aircraft.cfg )
Copy this, and paste it into the next livery position on the list. Number it as the next in order. Just like the old days!
[fltsim.xx]
title = F-86 Sabre RCAF 417
sim= F86F_rc3
model= msfs
panel=
sound=
texture=rcaf_417
kb_checklists=f86ef_check
kb_reference=f86ef_ref
description=""
ui_manufacturer=North American
ui_type= F-86 Sabre
ui_variation= RCAF_417
ui_createdby="MilViz"
ui_thumbnailfile=""
atc_heavy=0
atc_id=417
atc_airline=Air Force
atc_flight_number=417
atc_parking_types=MIL_COMBAT
atc_id_color=0x00000000
atc_id_font=Verdana,-11,1,600,0
**Check the list to make sure RCAF_417 isn't entered 2x in the list. If it is, highlight and delete the other and re-number your list of liveries in order.**
Almost done. Now that you've made changes and added files, you must let the sim know by updating the layout .json just inside the F86 Sabre main folder. You see, there are two files, layout and manifest. Using Auto_json, which I've been using for years flawlessly, (link below) open it, and direct it to the main F86 Sabre folder, and run it. Save the new layout.json file overwriting the previous. Now if you open the newly created layout.json file in notepad, and scroll down, you see the new files you made are listed with new guid numbers, the sim knows to include these now. This last step, is very important, or else none of your labour intensive customizing will show up in the sim! The sim needs to know you made changes, so you must be able to update the layout.json. I use Auto_json. See this thread:
http://www.sim-outhouse.com/sohforums/showthread.php/120977-layout-json-generator
Fire up the sim and have a look. Select your Sabre to fly, go to liveries and see that RCAF_417 is there. You can now select it and fly. You must repeat this whole process for each "disabled" livery. You can also find some other liveries in SOH library, as well as AVSim's library under FSX Korean Military. Do this process for each livery you download and they will appear in MSFS. They look pretty good too! (Image 2, and 14 below)
As far as associated NORMAL files for each Albedo, so we are able to see indented rivets, screws, and panel lines, I have not figured that out yet. Probably related to the FSX limits, naming convention/formats, the port over itself, or might just be the format of the NORM that's preventing it from appearing on the model. Still experimenting, I can see the effect in ModelXConverter, just not in sim. I've sent the specular files through the Nvidia Texture Tools stand alone program to create NORMAL files, but even with all the seemingly correct procedures I know work, they're not appearing in the sim. The default _bump maps, don't do anything in MSFS either. Still playing with this, I'll update when I get results. For now, the F86 has new liveries, less shine, but dead smooth surface. I think Milviz did an amazing job on the rivets, lines as 2D artwork, I will be happy to see the 3D affect on the exterior model once I get a NORM map to work.The Paintkit!? Well, it's the most complicated/advanced paintkit I've ever seen. I haven't even began to understand it yet. So many layers! I do want to make a Goldenhawks livery now so as you see, everything is a learning curve.
Hope this is helpful, I will update. Share, or add to my method, refining or improving suggestions are welcome.
 Image2 by Doug Smith, on Flickr
 Image15 by Doug Smith, on Flickr
 Image14 by Doug Smith, on Flickr
Last edited:


