There are 3 ways of applying FCLP markings that I am aware of. I've used a couple in my sceneries and definitely prefer one way over the other.
The best is, as mentioned, is to create the runway itself as a 3d model in appropriate software, applying the textures as layers to the runway object. This is how most payware developers do it. The lights are also created this way.
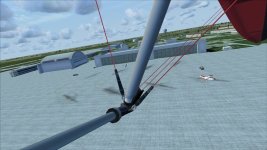
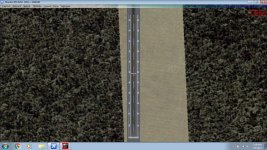
The most obvious way is to create the FCLP markings (the "box") as a scenery object of the stripes and then insert into the scenery on top of the runway. I believe you are seeing the issues with this method. Even when placing the object slightly above the runway surface, there will always be some viewing angle where the markings disappear. Or, if too close to the runway surface, they "bleed" into the runway textures.
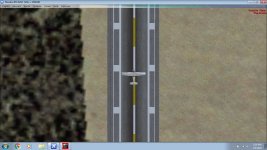
The 3rd method, and the one that I preferred, was creating the striping as a scenery object and then using ModelConverterX to make it into a ground poly. This method has the simplicity of making a scenery object (say in Sketchup) and the advantage of overlaying at the correct height on the runway. You can also make groundpolys with ADE but I am not familiar with this capability.
Hope this helps. I will look thru my scenery making archive (long retired) and see if I have any documentation.
PS. I found a doc made for a friend of how to make ground polys from Sketchup and ModelConverterX. Not sure I remember all the details so please take this for what it is worth.
https://1drv.ms/b/s!AlsmMPaYhNFtgeZ4PJqcbCfhKStdlQ?e=czZJR0
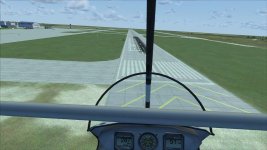
PPS. Here are a version of FCLP boxes I created for Meridian scenery that remains unfinished and unpublished. Feel free to dissect and use them freely in any project. Not sure how they might fit the version of Meridian that you are using but you can always move/rotate them with ModelConverterX with techniques shown in the PDF.
https://1drv.ms/u/s!AlsmMPaYhNFtgeZ57v2-jdg_Bk98Xw?e=g3r0yS