-
Please see the most recent updates in the "Where did the .com name go?" thread. Posts number 16 and 17.
You are using an out of date browser. It may not display this or other websites correctly.
You should upgrade or use an alternative browser.
You should upgrade or use an alternative browser.
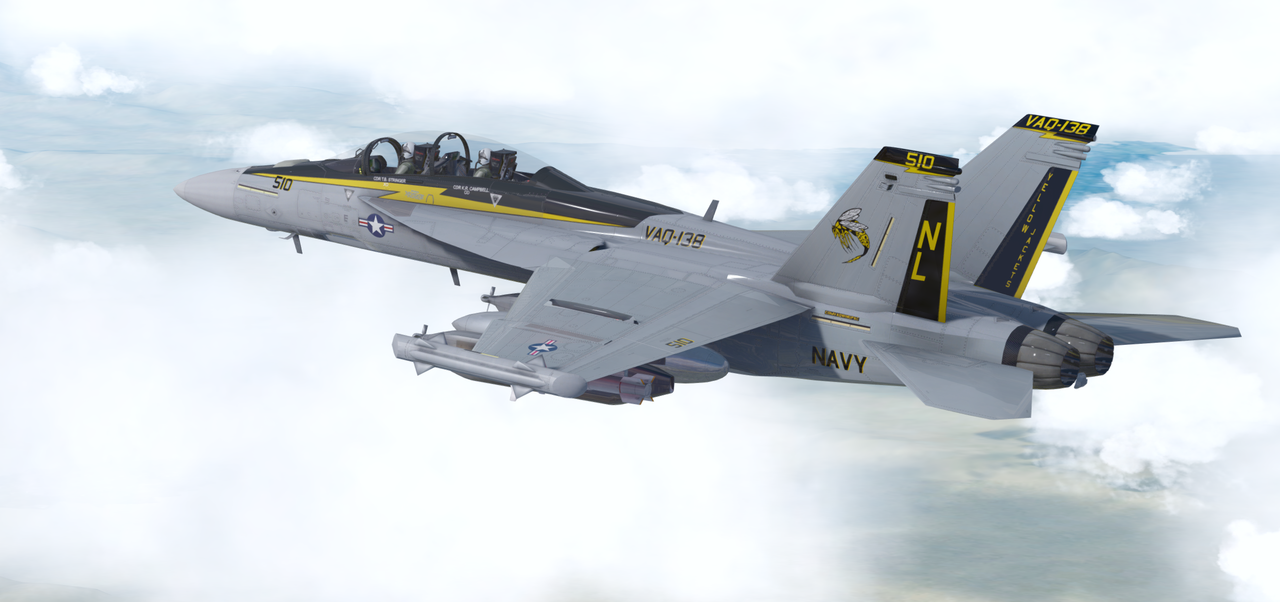
PBR textures too shiny - DC Designs Super Hornet
- Thread starter expat
- Start date
Are they truly PBR textures on a native P3D v.4.5+ model that has materials set up for PBR textures or is it a FSX portover with a FSX model and FSX textures? The way of dealing with the two variants is different.
How do I tell what I've got I hear you ask and the answer is surprisingly easy.
Model Type
The quickest way to find out is to open any .mdl file in a text reader like 'Notepad' or preferably 'Notepad++' as that is a far superior tool. On the first line of the opened file you should see either a block of text that says 'MDLXMDLH' or it will say 'PV44MDLH'. The 'MDLX' in the first option signifies that the model was compiled using the FSX SDK and is therefore not a PBR model. The 'PV44' in the second option signifies that the model was compiled using the Prepar3d V4.4 SDK and could be a true PBR model IF that option was turned on in the materials settings prior to being compiled.
Texture Type
The textures will also show you whether they are FSX style textures or actual PBR textures and the clue lies in the names of the textures themselves. If the texture name ends with the terms '_T.dds' or '_spec.dds' or '_specular.dds' then they are non-PBR FSX textures. If the texture name ends with the terms '_albedo' or '_metallic' then they are true PBR textures that will only work on a PBR native model.
The first thing you need to do is to establish what you have and what sim it was compiled for. The second is to apply the shine reduction techniques for that model/texture type.
HTH.
Thanks for coming back. It is a PV44MDLH model so native P3Dv4.5. Textures are "_metallic".
Testing now removing the metallic textures altogether - look too matt on the sunny side and too dark on the shady side. Would like a simple eg using DXTBMP solution to adjust the reflection ideally.
Testing now removing the metallic textures altogether - look too matt on the sunny side and too dark on the shady side. Would like a simple eg using DXTBMP solution to adjust the reflection ideally.
OK so true PBR then. I made some notes when I was learning to create PBR textures from scratch last year and according to the text file I saved it may be possible to adjust the shine AFTER the PBR texture files have been created (although it is much easier if you have the original Photoshop (or similar) layered files the PBR textures were created from.
You will have three variants of file type/name in the PBR schema for each texture sheet, the 'albedo' texture which is basically like the old FSX 'diffuse' texture, the 'metallic' texture which is a bit like the FSX 'specular' texture but not quite and built very differently and the 'normal' texture which is identical to the FSX 'bump' map and if you are converting models from FSX to P3D using MCX you can use the FSX bump maps as is and just rename them (although you don't even need to do that if you just call the bump file in the MCX materials editor).
The texture type you need to adjust is the 'metallic' texture in each case and specifically you need to adjust the grey scale values on the metallic textures 'alpha' channel as that controls the amount of shine in a PBR texture set. If you are using DXTBMP as stated above try these steps.
NOTE: I open DDS files natively in Photoshop as I have the Nvidia plug-in that allows direct access so I just had to attempt this in DXTBMP and this was my first time using that tool to edit 'metallic' files so I hope I got it right.
1. Copy any file you want to modify first so that you have a back-up in case you screw things up.
2. Open the 'metallic' texture file you want to adjust in DXTBMP.
3. On the top menu bar select the 'Alpha' tab and then the 'Send Alpha to Editor' option. This will open the alpha channel in your pre-selected photo editor of choice.
4. Depending on what you use to edit textures (Photoshop, PSP, Gimp, Paint, etc., etc., etc.) darken the areas you want to be less shiny (just those areas and not the entire sheet) by changing the 'exposure', 'contrast', 'levels', 'curves' or whatever method you prefer or have available so that they become darker in grey scale value (do not make large adjustments as we need to see how things look in the sim and readjust as necessary).
5. When you are happy with the changes save the file but DO NOT close your photo editor of choice as you may need to adjust further.
6. Go back to DXTBMP and on the top menu bar select the 'Alpha' tab and then the 'Refresh Alpha' option. This will import the modified alpha channel you saved in Step 5.
7. On the top menu bar select 'Save As' and then the 'DDS' option. A pop up window will now appear that will allow you to select the location, file name and image type (which should be identical to where the original file came from). When you are happy click 'Save' but DO NOT close DXTBMP.
8. Open up P3D, select your aircraft and load it into an airport somewhere in daylight (it doesn't matter where). Once the aircraft is displaying in the sim check the shine by panning around and checking if things are better or worse.
9. If you need to make more adjustments DO NOT close P3D but tab back to your still open photo editor of choice and repeat Steps 4 through Step 7 darkening the areas if they are too shiny, lightening them if they are too dull etc.
10. Once you have saved the modified texture out of DXTBMP again you will need to reload the aircraft in P3D and if you weren't aware there is a simple, non-default, key command to do this. Open up the 'Options' panel and select 'Key Assignments' and check if you have any key command assigned to the event 'Reload User Object' if you do then you obviously know how to reload an aircraft and can move to Step 11. If you don't have a key command you need to assign one as it is vital that you can quickly reload an aircraft at will after any changes/modifications. I have always used the same key command from FS9 through FSX and again in P3D and that is 'CTRL+SHIFT+R'. The 'R' is for 'Reload' and easy to remember and the three-key combination means you can't accidentally trigger the action and it has to be a conscious decision to reload the aircraft. Make the changes to the Key Assignment if you have nothing there and then return to the aircraft in the sim.
11. After you have modified the texture go into the sim and use your key command to reload the aircraft and check for any changes. If you are happy with the new look your work is done for that texture sheet but if it still needs adjusting repeat Step 9 and Step 11 as many times as necessary until you are happy with the results.
12. Rinse and repeat the above for every external texture that you consider to be too shiny until you are happy with the results. Once happy you can close DXTBMP and your photo editor of choice and go fly!
The above is not a 'one shot' fix and it may take several iterations of 'rinse and repeat' for each texture sheet until you are happy with the results.
Hopefully this mini-tutorial will help and let me know how you get on.
Exactly the advice I was looking for - thank you for your time and consideration!
Ok no more time to experiment today but I created a solid darker grey square alpha texture - the default alpha channels are more bespoke/patterned/variegated and I don't think I see the difference SO I recompiled the relevant metallic textures with some darker alpha channels - with plain image - and it looks a bit less glossy but need more time to try even darker alpha textures.
Ok no more time to experiment today but I created a solid darker grey square alpha texture - the default alpha channels are more bespoke/patterned/variegated and I don't think I see the difference SO I recompiled the relevant metallic textures with some darker alpha channels - with plain image - and it looks a bit less glossy but need more time to try even darker alpha textures.
The darker you go the more 'flat' the surface becomes. These are the alpha values from my notes:
Alpha - Metal in shades of grey, painted surfaces 20% grey (215,215,215), matte surfaces dk.grey/black (0 to 50), Reg # 75% Blk (85,85,85).
The reg. number/roundel value is so that they are 'flatter' than painted areas (i.e. don't shine as much as regular painted surfaces) but not as 'flat' as say an anti-glare area in front of a windshield which may be as low as 0,0,0.