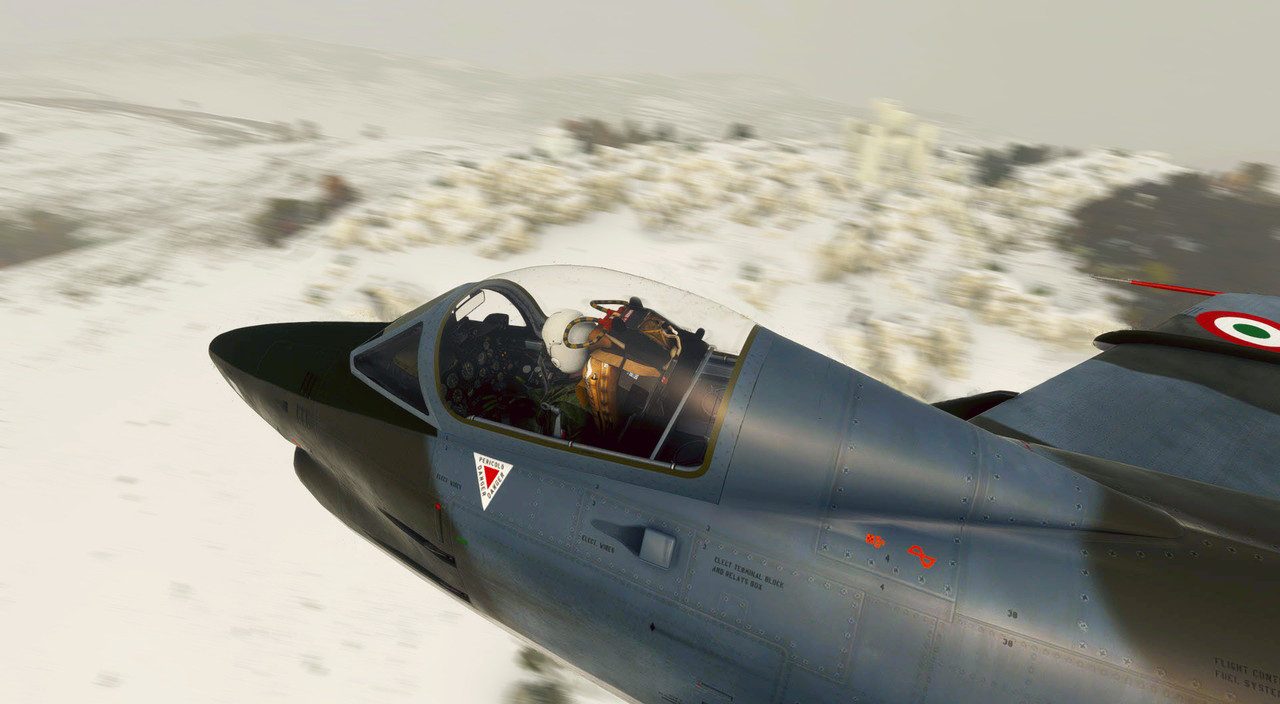
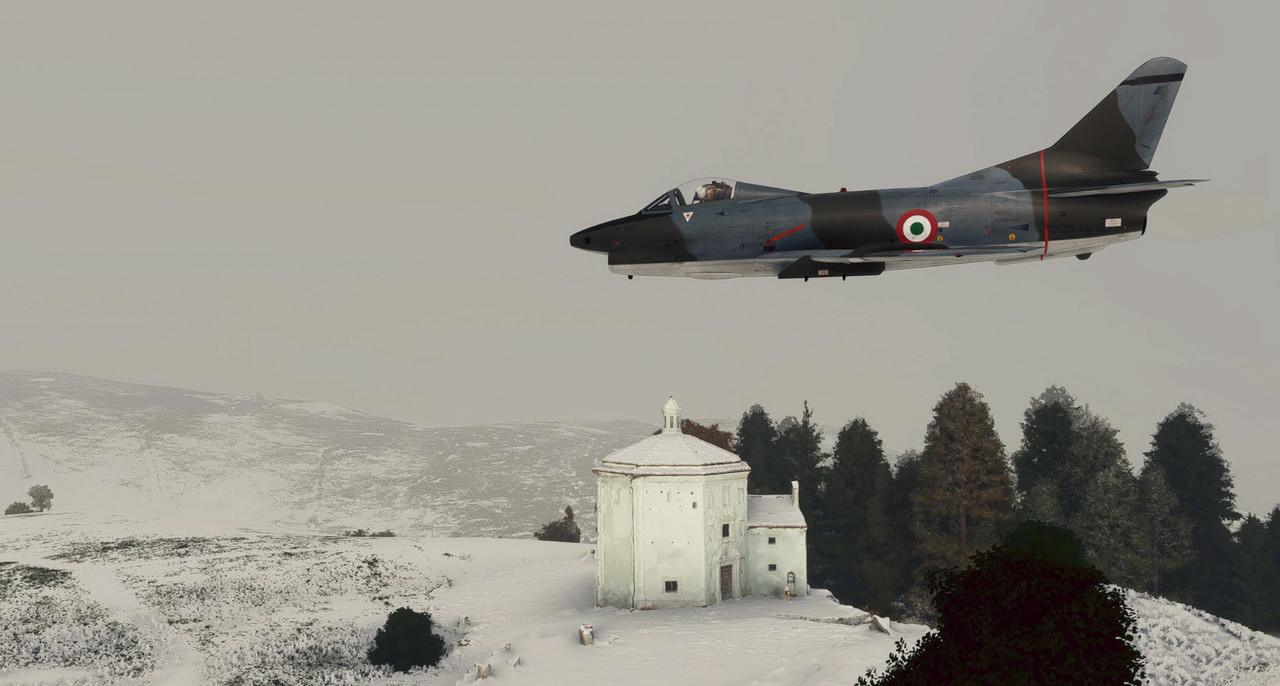
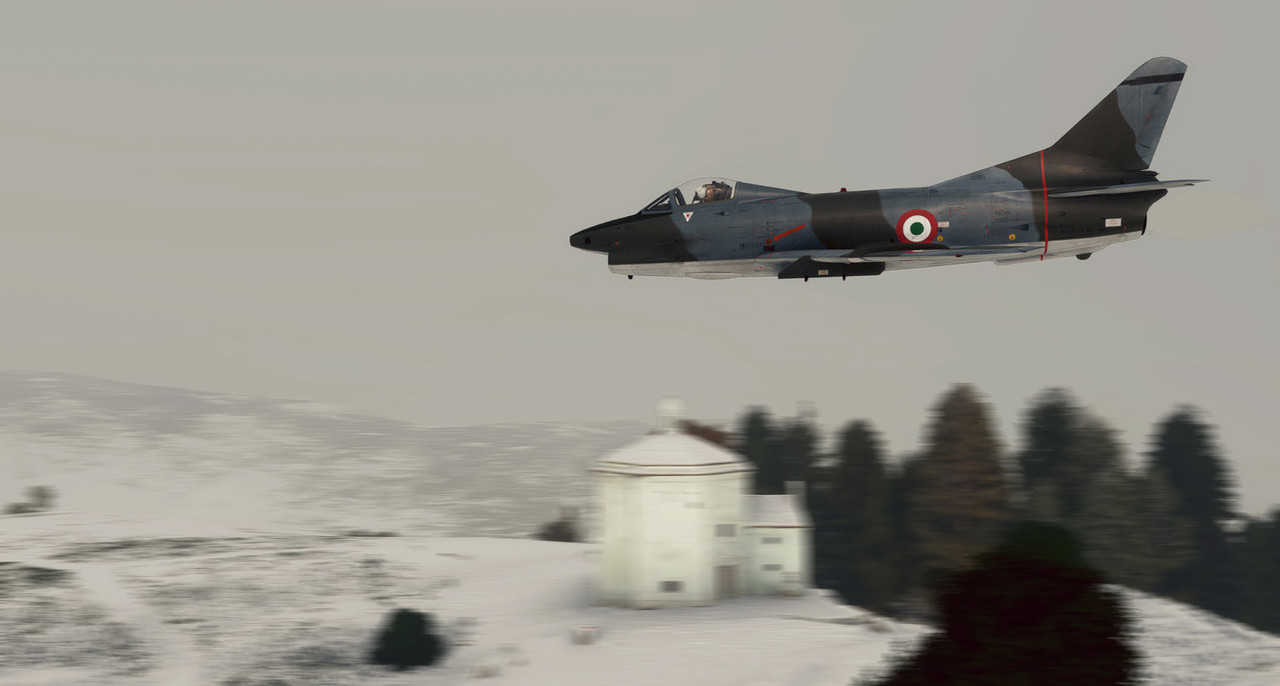
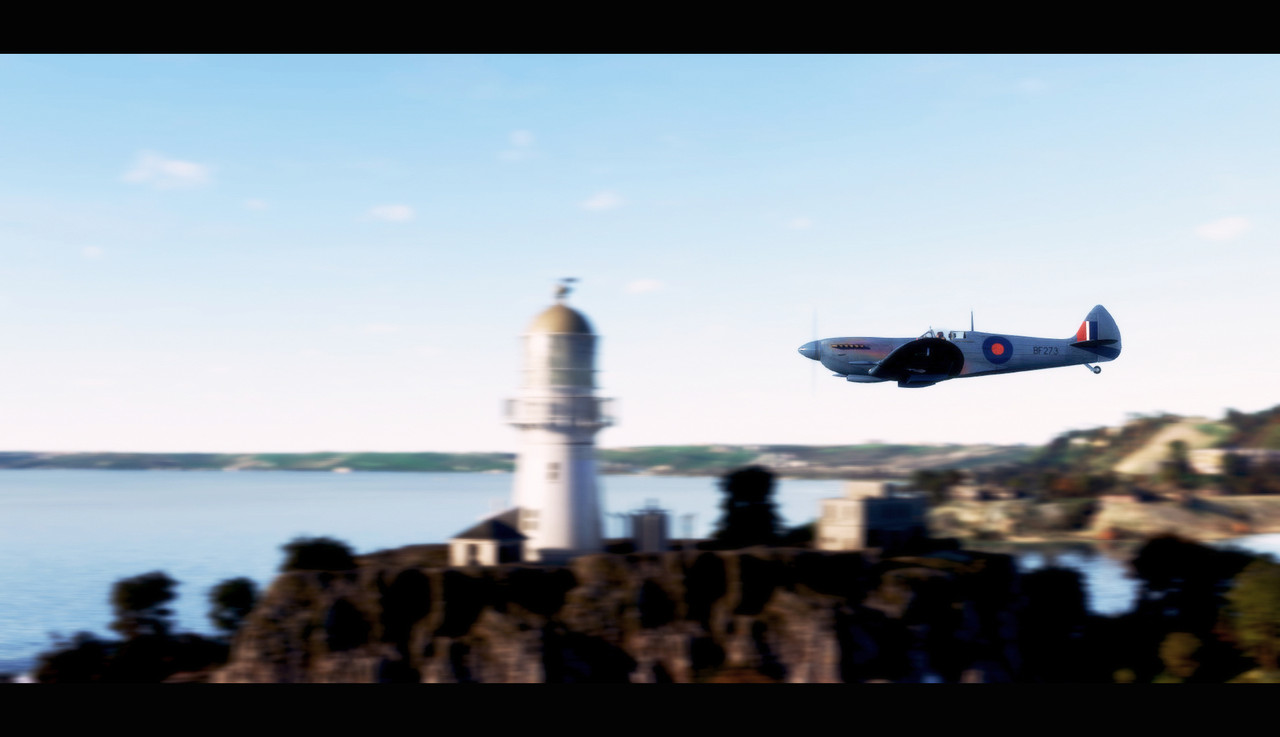
*There are some real screenshot "Artists" here! (Tips!)

033.jpg


When your subject is clear enough, change the thickness of your tool to erase the rest of the image.
034.jpg


Reactivate the "Sharp background" layer.
035.jpg


That's it, save your work.
Here is the result.
036.jpg


SECOND EFFECT : NET AIRPLANE - BLURRED BACKGROUND
Open your image in PhotoShop and name it "Sharp background".
024.jpg


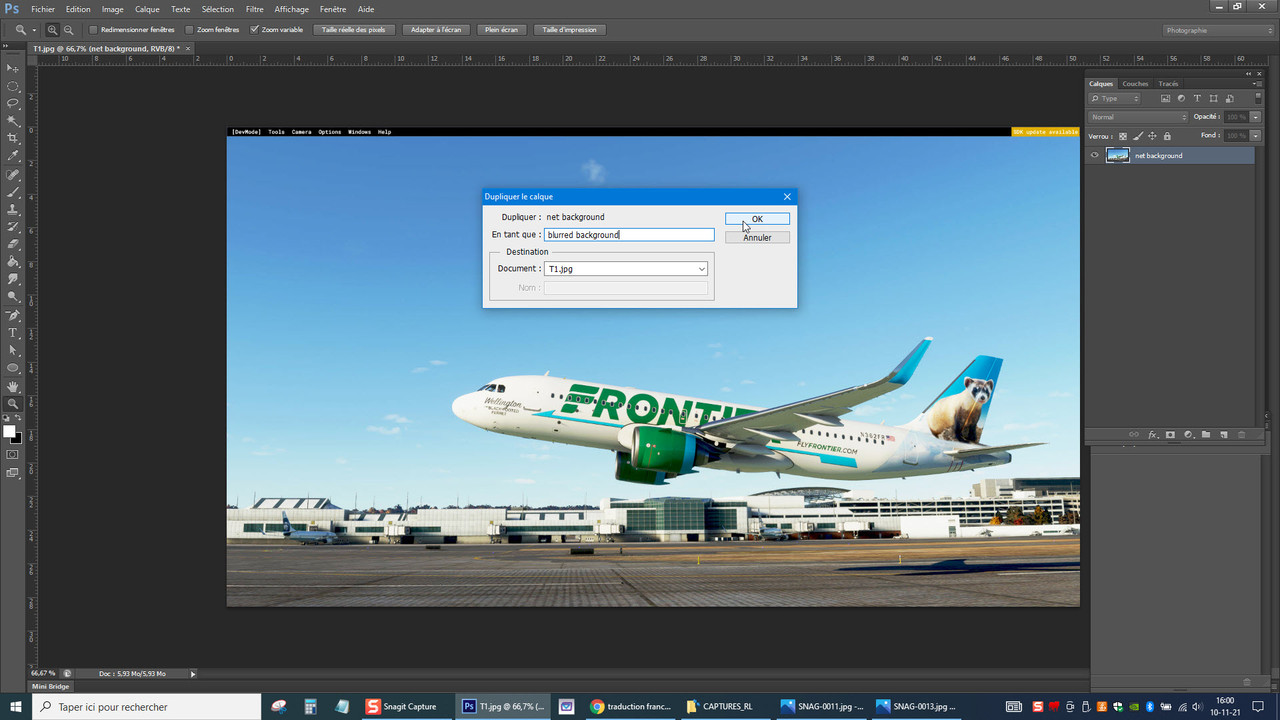
Duplicate the layer.
025.jpg
 
Rename the copy "Blurred background".
026.jpg


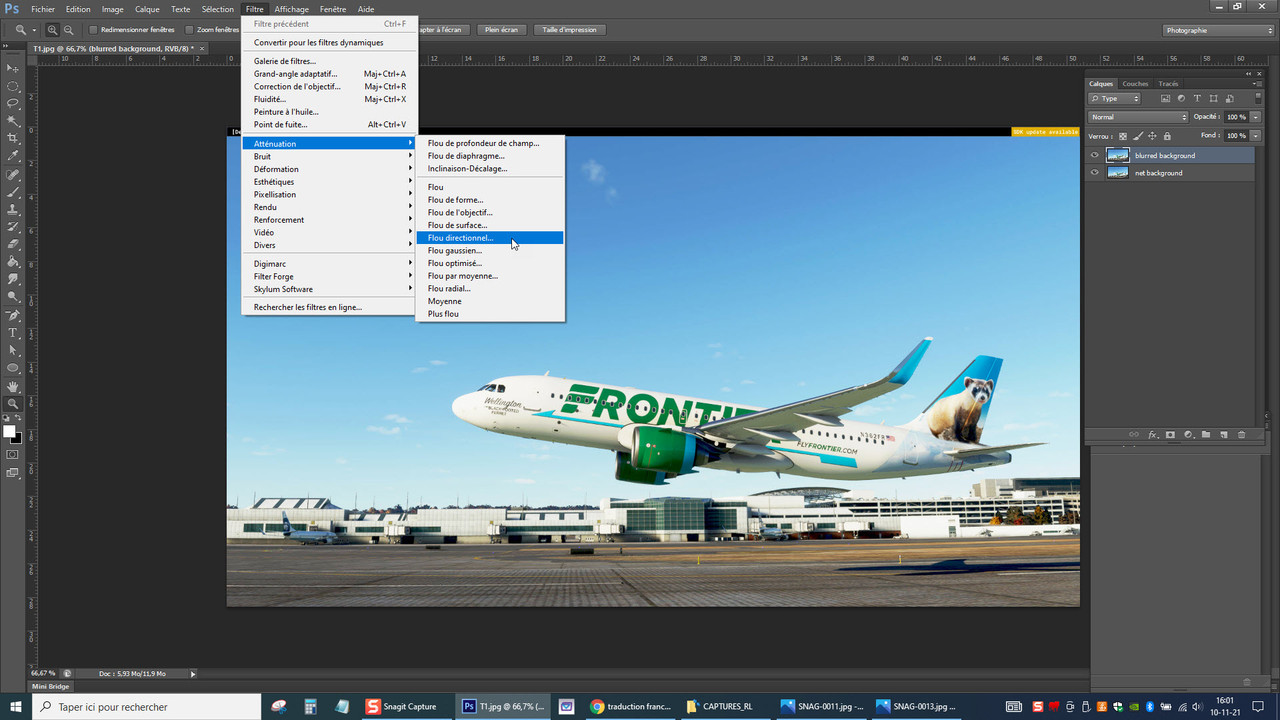
We will apply a blur effect to this layer (Make sure it is selected).
Via the "Filter" tab select "Attenuation" > "Directional blur".
027.jpg


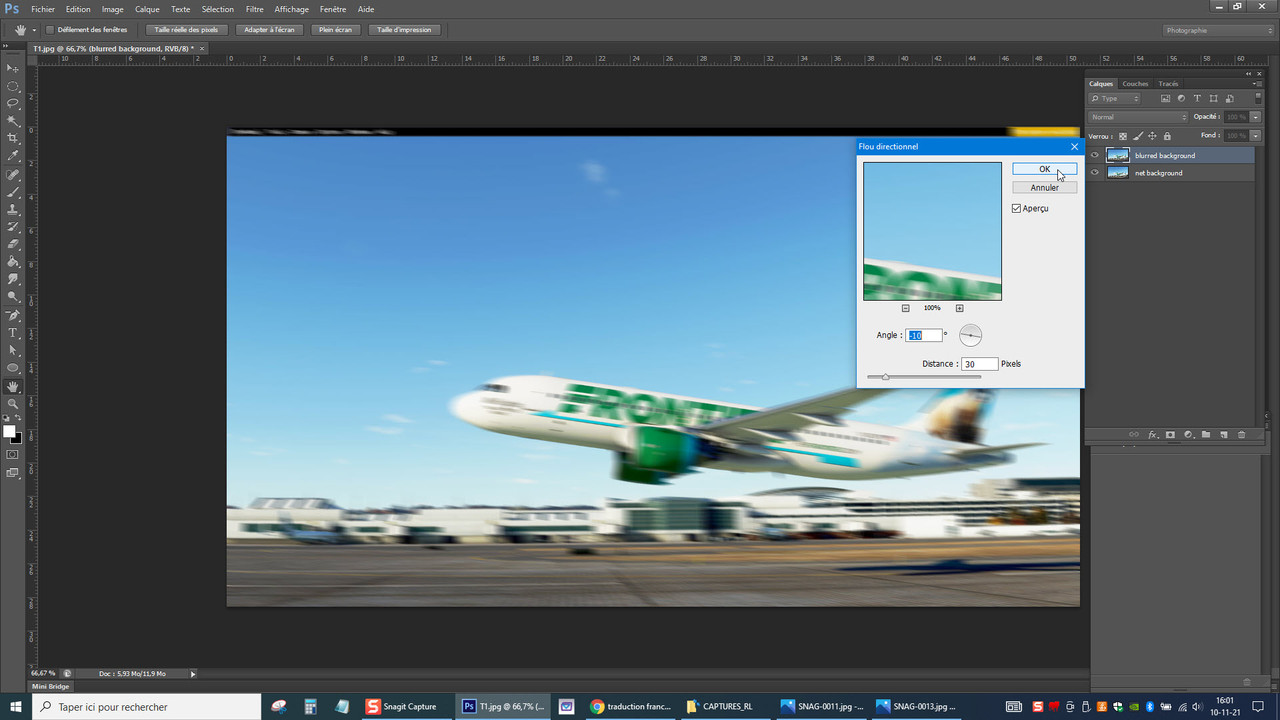
A small window appears.
In the "Angle" field, enter an angle that corresponds +/- to that made by the airplane in relation to the ground.
In the "Distance" field, enter a value that suits you for the blur effect. (Use the mini preview window).
Validate your choices > click OK.
028.jpg


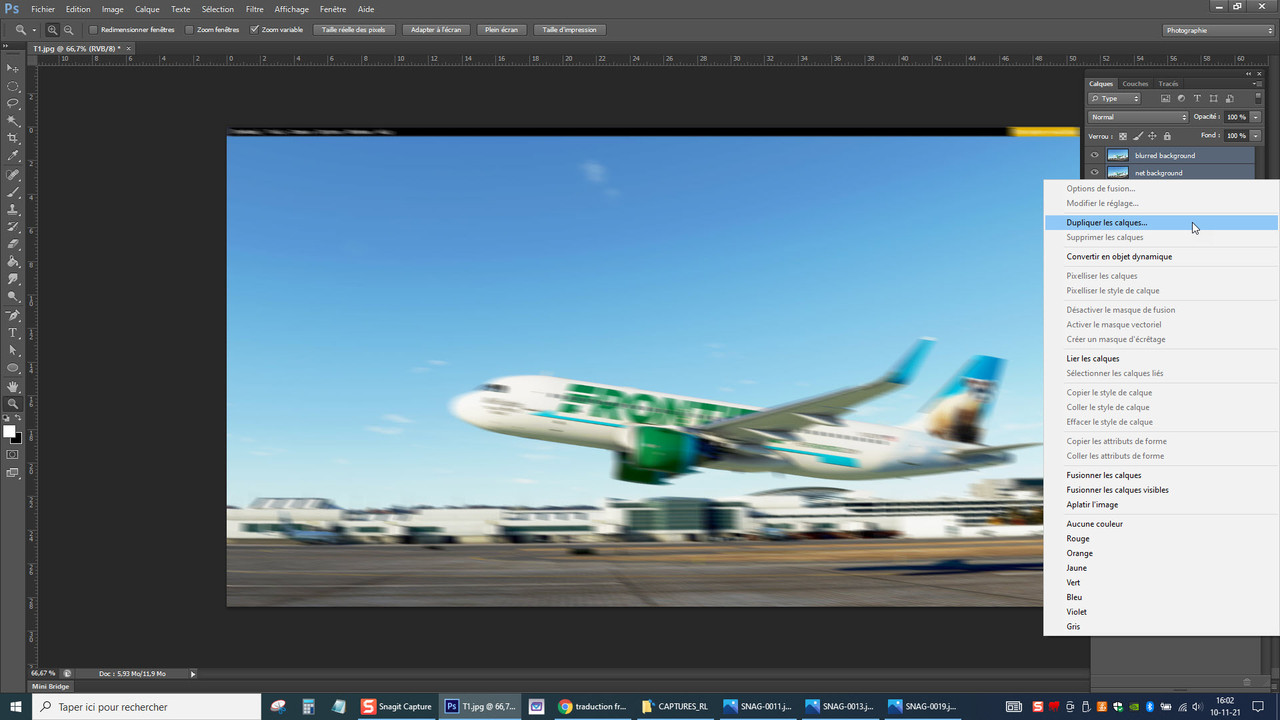
The next step is not mandatory. It consists in making a backup copy of the two layers that you have just created ... just in case !
029.jpg

030.jpg


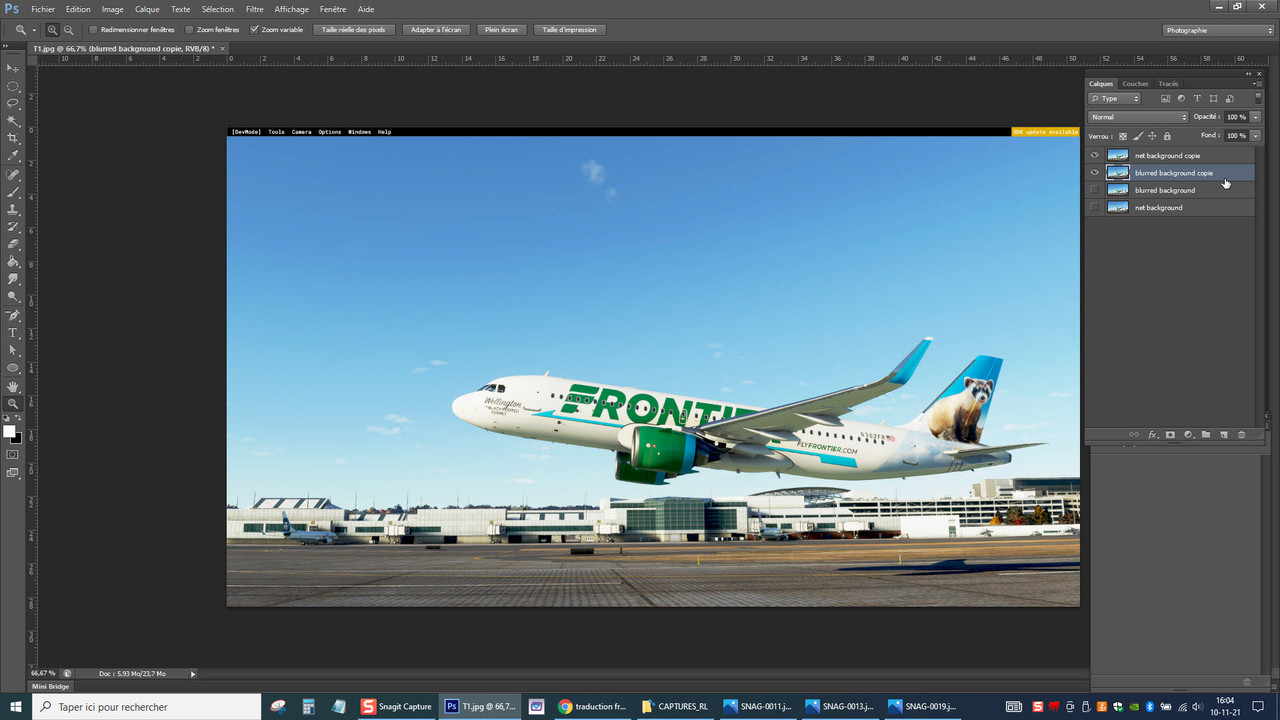
Select the "Blurred background" layer and place it under the "Sharp background" layer.
037.jpg
 
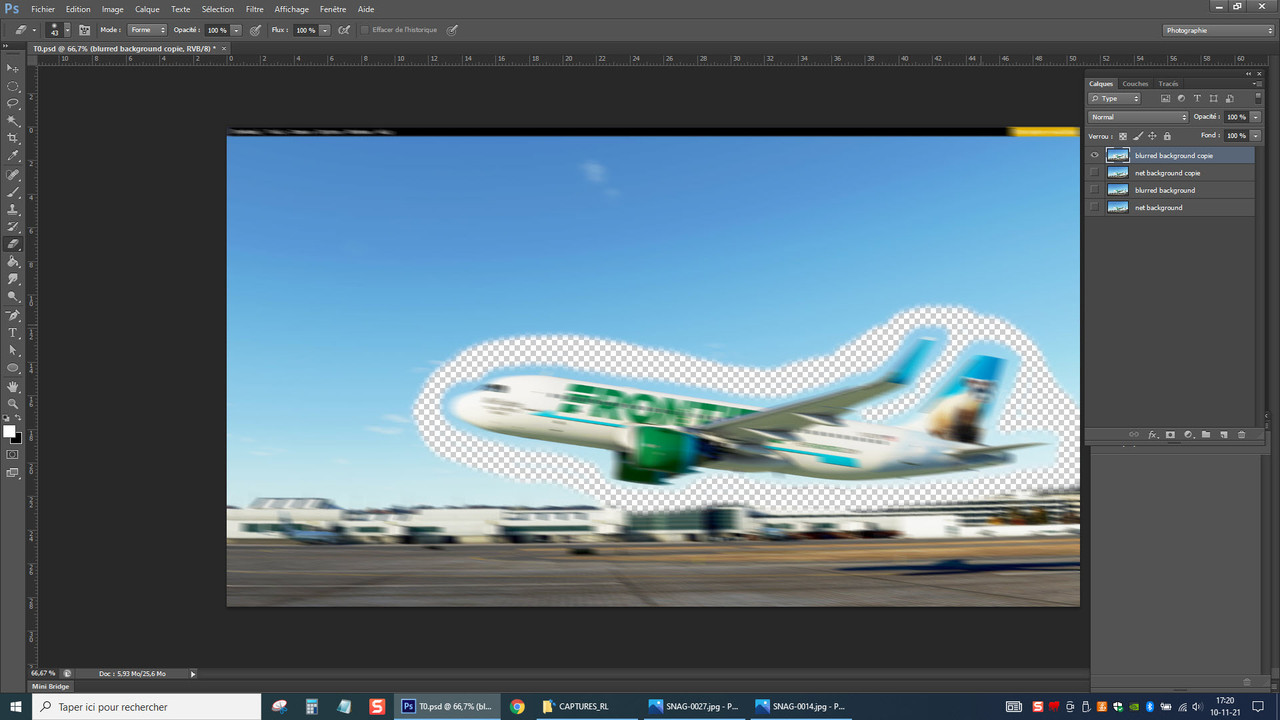
Deactivate the "Blurred background" layer and select the "Sharp background" layer.
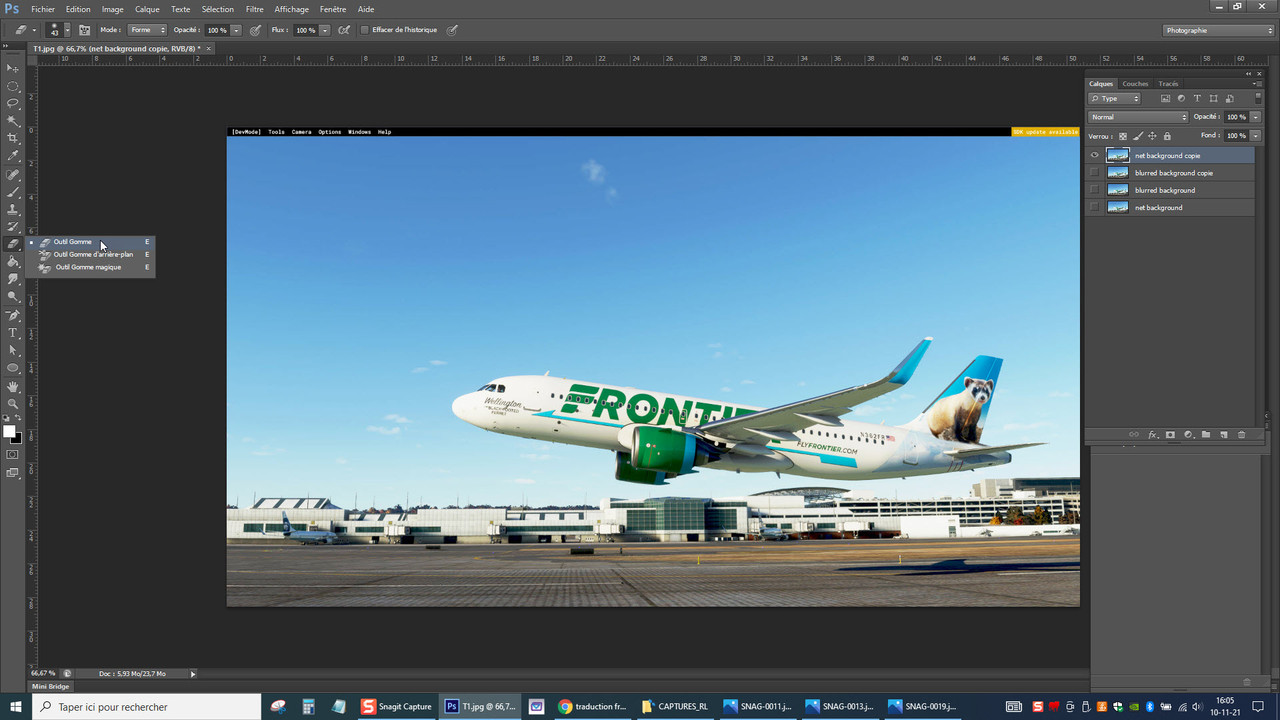
Select the "Eraser" tool.
038.jpg


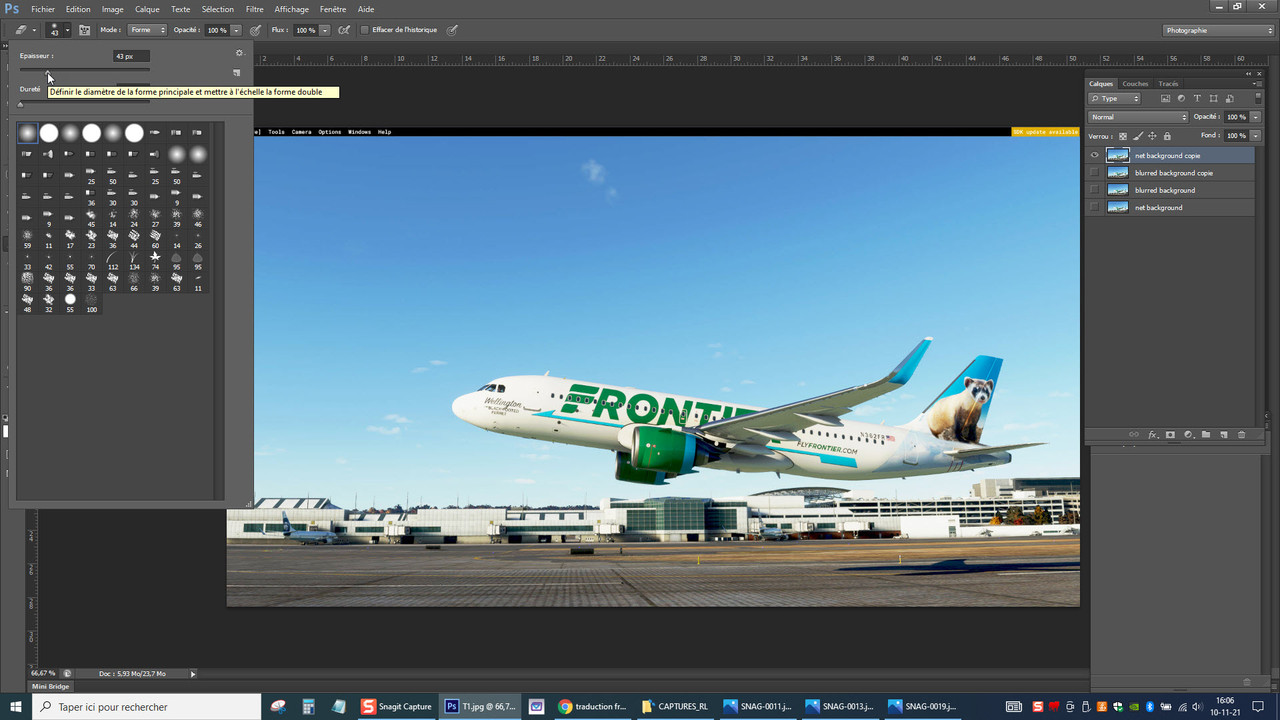
Select a "Blur rounding" eraser shape and enter a thickness that will allow you to go around the airplane.
039.jpg


040.jpg


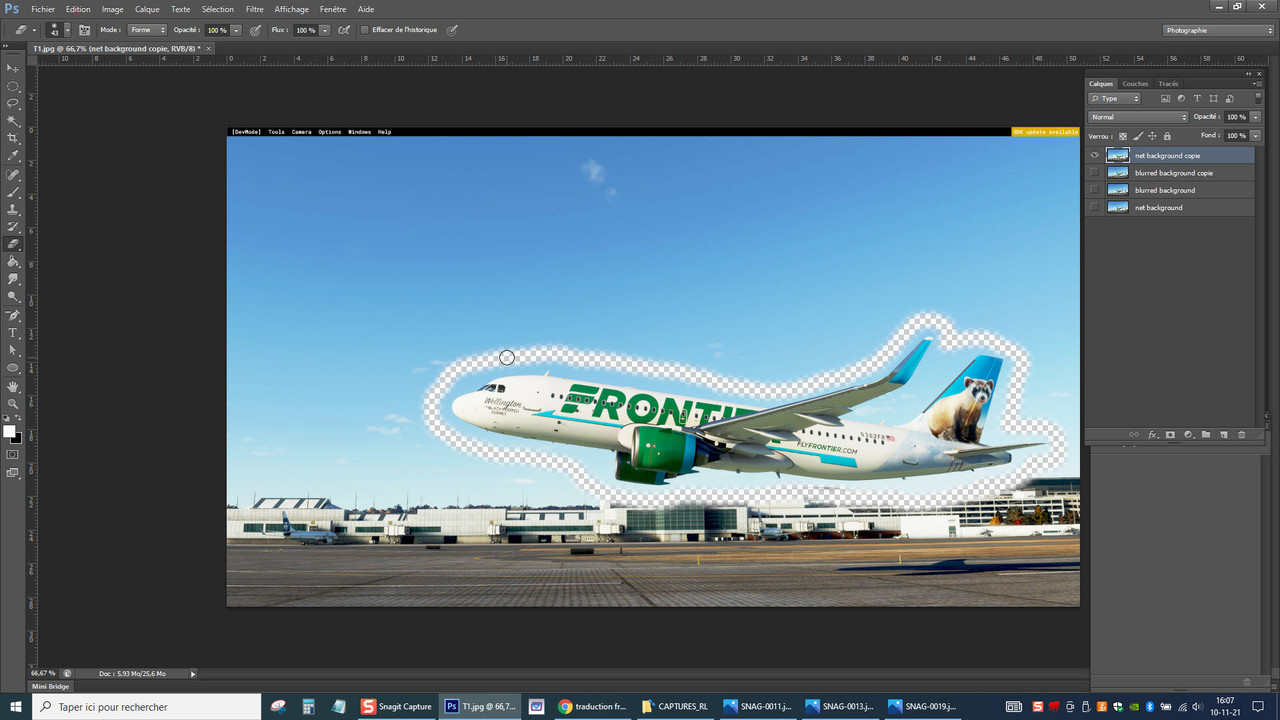
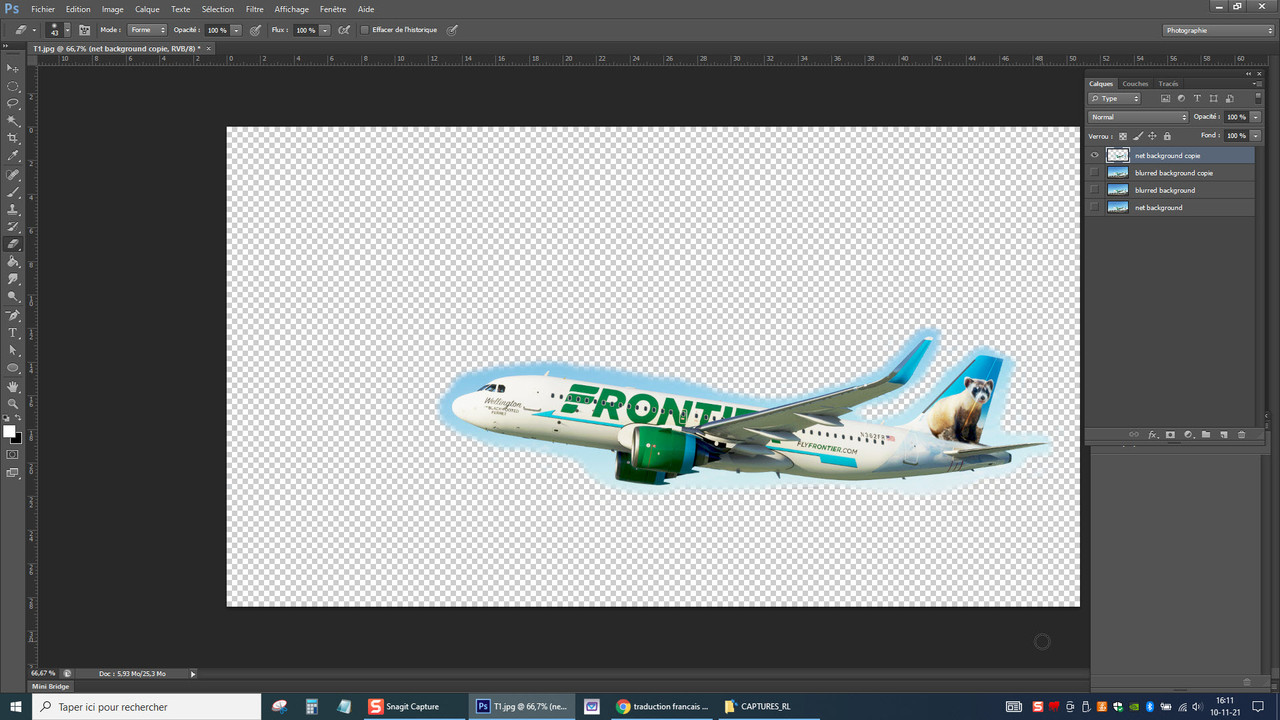
When your subject is clear enough, change the thickness of your tool to erase the rest of the image.
041.jpg


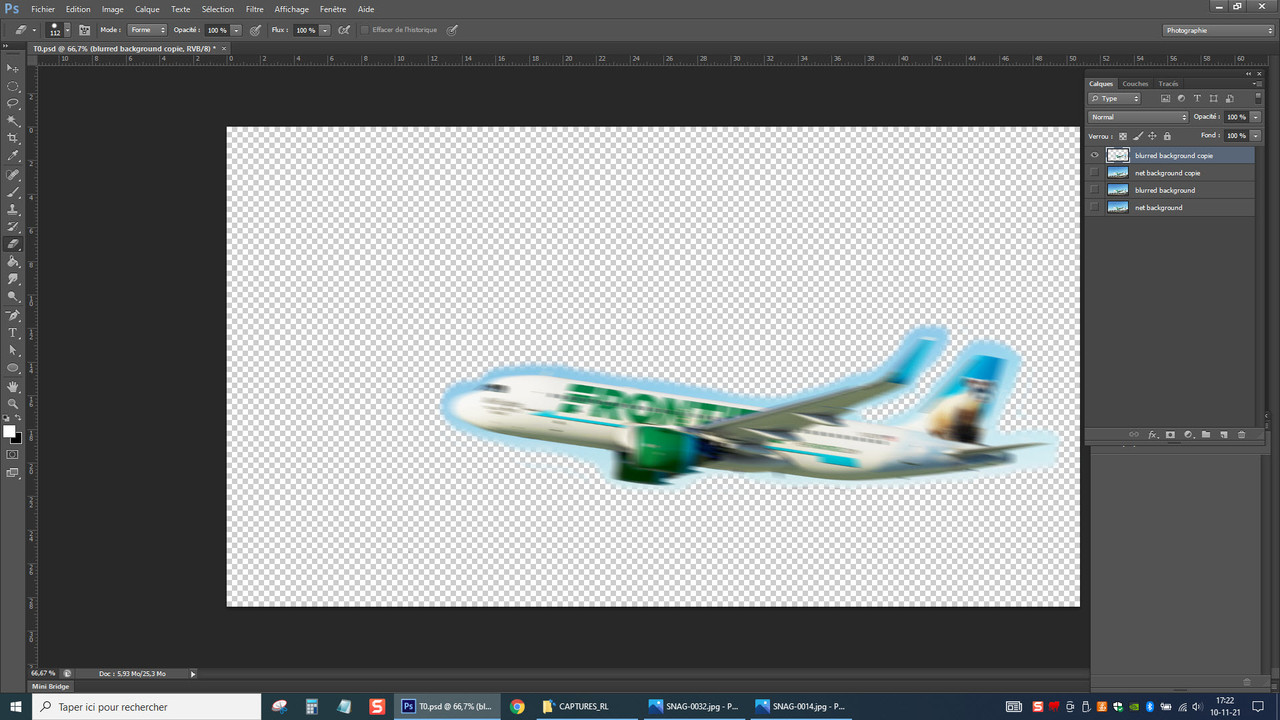
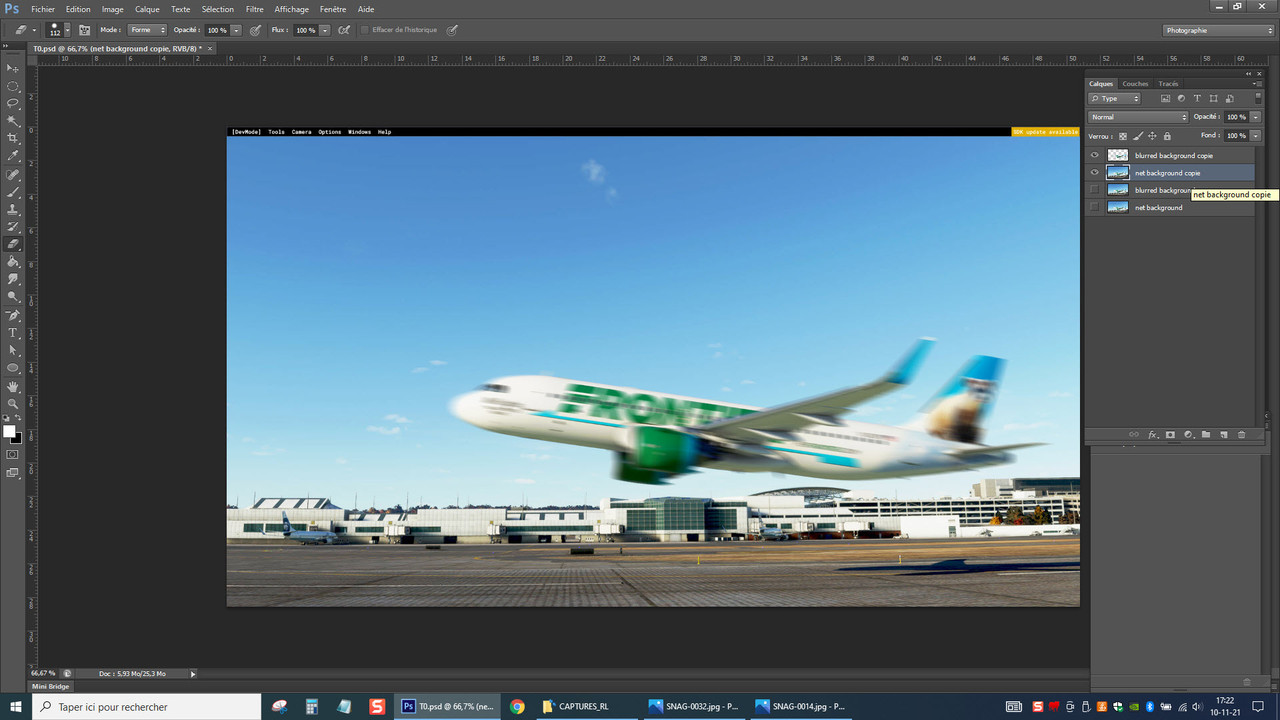
Reactivate the "Blurred background" layer
042.jpg


That's it, save your work.
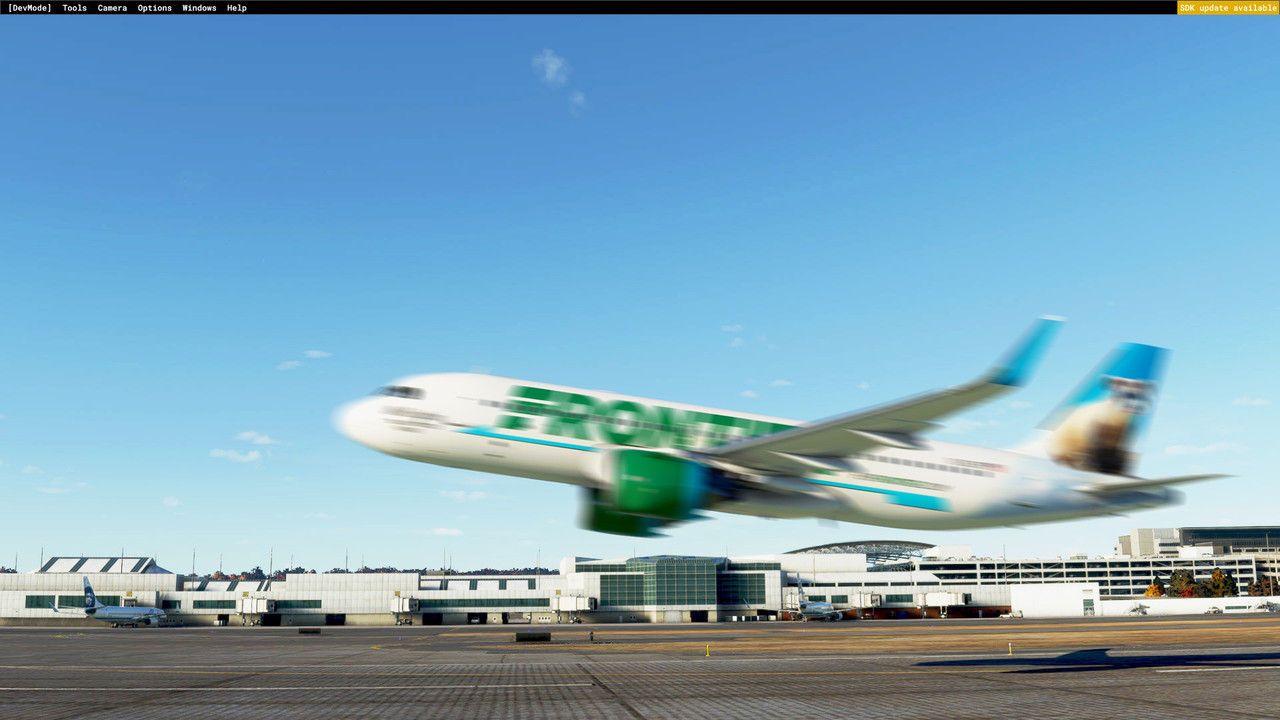
Here is the result.
043.jpg
 
Agree with John-- screenshots can indeed be art...provided each poster posts their best shots judiciously...i.e. "Less is more".

Kent
 
@RichardLouis I am absolutely blown away with your shots and techniques. Thanks so much for posting, I look forward to more!

Also looking forward to all the other excellent screenshot artists to adding posts here on their tips. :)

Sorry for not posting sooner, but I've been heads-down in a painting project for new iFly 737 for P3D V5.
Flight1 actually created a public gallery, showcasing one of my paints (WestJet in this case)
https://galleries.flight1.net/?gallery=737ng-repaint-2

I've painted a few now...but this one is my favorite and I tried to use some of the techniques you mention to make it "pop"
ESPism.png


She's a joy to paint and fly....brought me back to P3D and flying the "heavies".....kind'a missed that in MSFS (not that the BFW free A320 mod is not fantastic...but sometimes you just yearn Boeing, hehe).
 
@RichardLouis I am absolutely blown away with your shots and techniques. Thanks so much for posting, I look forward to more!

Also looking forward to all the other excellent screenshot artists to adding posts here on their tips. :)

Sorry for not posting sooner, but I've been heads-down in a painting project for new iFly 737 for P3D V5.
Flight1 actually created a public gallery, showcasing one of my paints (WestJet in this case)
https://galleries.flight1.net/?gallery=737ng-repaint-2

I've painted a few now...but this one is my favorite and I tried to use some of the techniques you mention to make it "pop"
View attachment 85293


She's a joy to paint and fly....brought me back to P3D and flying the "heavies".....kind'a missed that in MSFS (not that the BFW free A320 mod is not fantastic...but sometimes you just yearn Boeing, hehe).

Thanks Steve, I'm not forgetting the rest. Patience. Like you, I'm busy at the moment with testing repaints (TF104 SSW).


I also hope to be able to benefit from the advice of other members.
(In the Screenshots section, Javis shared a very interesting tip).
Richard
 
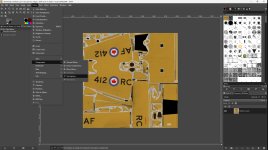
Hey guys, thought I would show you about creating a COMP texture to control the gloss on any given MSFS aircraft. I use GIMP, Photoshop is similar. This will demonstrate how to make a new COMP texture of any PBR set of ALBEDO, COMPLETE, NORMAL textures.

In a nutshell, the COMP map controls the reflective properties of the ALBEDO. Gloss is controlled by the green channel. Black is high gloss, white is completely dull. The ALBEDO and COMP go together with a NORMAL to make a PBR set for each texture.

To achieve a nice matte finish for example, the fuselage would have to be painted a particular shade of grey- on the GREEN channel. I found a value around R-110, G-110, B-110 to be a nice shade of Grey for a matte appearance on a painted surface. The lighter the shade of grey, the less gloss on the finish. It's really depends on what looks good to you. There is no set tone of grey. Experiment with different tones of grey to see the different results.

Want to try it? This is an experiment, best to make a copy of an ALBEDO texture and open it in GIMP. I'll use the ASOBO T-6 fuselage texture as the example: BACKUP YOUR ORIGINAL COMP and set it aside. This is a test.
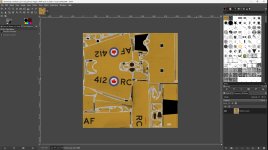
ALBEDO COPY.jpg

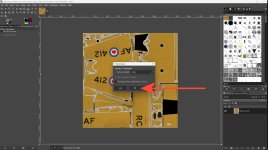
Go to Colors-Components- click Decompose. GIMP will spit your colour ALBEDO into a new RGB image that is a 3 layer black and white version of the fuselage texture.

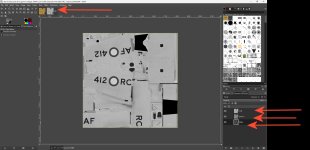
DECOMPOSE.jpg


DECOMPOSED.jpg

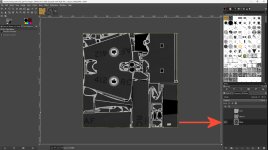
You now work on the GREEN channel ( paintbrush or airbushing) all your intended matte finishes the same colour grey. Remember lighter is dull, darker is gloss.

* NOTE * : I don't paint directly on the GREEN channel, I'll create a layer group for the GREEN channel, drop the GREEN in, and add a new transparent layer over the GREEN layer and paint the grey bits on that. You can have multiple masks ( layers) per channel this way. As long as the layers are inside the layer group, are the same size, you can have varying gloss on different parts using different shades of grey, and GIMP will still re-compose.

MULTILAYER.jpg

You'll be painting your intended matte parts of the fuselage texture a shade of grey in and around a value of 110-110-110:
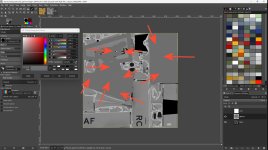
PAINT GREEN CH.jpg

MSFS prefers the RED channel to be pure white ( with maybe some shadowing airbrushed in), and the BLUE channel not pure black, maybe 10,10,10 for a painted surface. (This is PMDG recommended value) . When you are finished painting grey in the GREEN channel, making the RED channel white, and the BLUE channel all black, you are ready to make the COMP.

Then you go, Colors-Components-Compose, and GIMP reassembles those 3 channels into a new COMP texture which could be shades of yellow/orange/red/green/purple in the image. Don't let that fool ya, this is your new COMPLETE map. These colours control the light reflection properties of the ALBEDO texture.
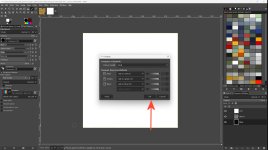
COMPOSE OK.jpg

The result of the re-composed layers. The areas I painted grey have a uniform shade of orange, so those parts will have matching roughness. The darker oranges/red will appear higher gloss and the lighter bits appear dull in the simulator. If I had chrome parts, I would make them black in the GREEN channel and white in the BLUE channel. The result on the recomposed RGB would be purple!
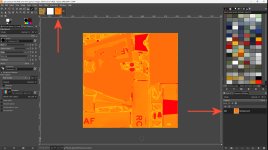
NEW COMP.jpg

You can now export from GIMP as a .dds to overwrite the fuselage's COMP texture in the aircraft's texture folder. Fire up the sim and go see the result! It takes some experience doing this to figure out what values look best for a particular level of gloss. Sometimes all you need is a couple of degrees more or less for a completely different appearance. Have fun with it!

REMEMBER:

RED is 255-255-255 white ( unless you airbrush some shadows)

GREEN is different shades of grey ( lighter = dull/ darker = glossy)

BLUE is black ( painted surface) or white ( chrome) which can also be shades of grey to reveal more or less metallic
 

Attachments

  • DECOMPOSE.jpg
    DECOMPOSE.jpg
    743.4 KB · Views: 6
  • DECOMPOSE OK.jpg
    DECOMPOSE OK.jpg
    671.7 KB · Views: 6
  • BLUE CH 10-10-10.jpg
    BLUE CH 10-10-10.jpg
    607.8 KB · Views: 10
Last edited:
Back
Top