Exercise Twelve
Basic animation animating fixed gear mains
Links to earlier tutorials
Resources Kit for exercises includes GMax starter calibration box, 3-views, pictures.Exercise One - Using cross sections
Exercise Two - Nose work
Exercise Three - Windshield and Air Intakes
Exercise Four - Blending the Wing Root to the fuselage
Exercise Five - Adding nose area amenities
Exercise Six - Cloning and Mirroring Halves, Cutting Doors and Windows
Exercise Seven - Creating the interior of the fuselage
Exercise Eight - Creating the vertical stabilizer
Exercise Nine - Creating the rudder
Exercise Ten - Constructing the Wing and Gear Struts
Exercise Eleven - Animating flaps, ailerons, gear, wheels and tires, steering, elevator, rudder, doors, props, etc.
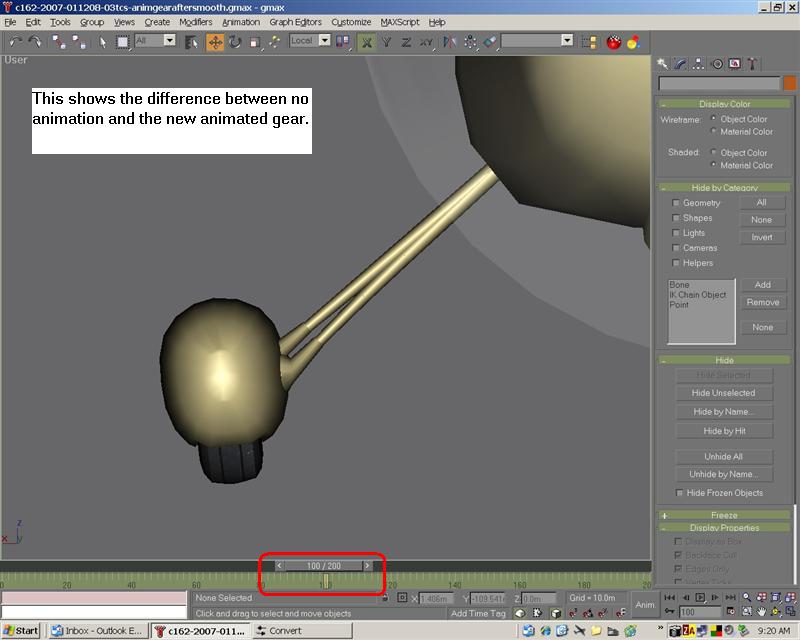
The FS Default Cessnas main gear do not have any detectable suspension movement in my eyes. Obviously that is not realistic so I am animating the C-162 suspension because I like suspension parts and want it to be realistic and cool.
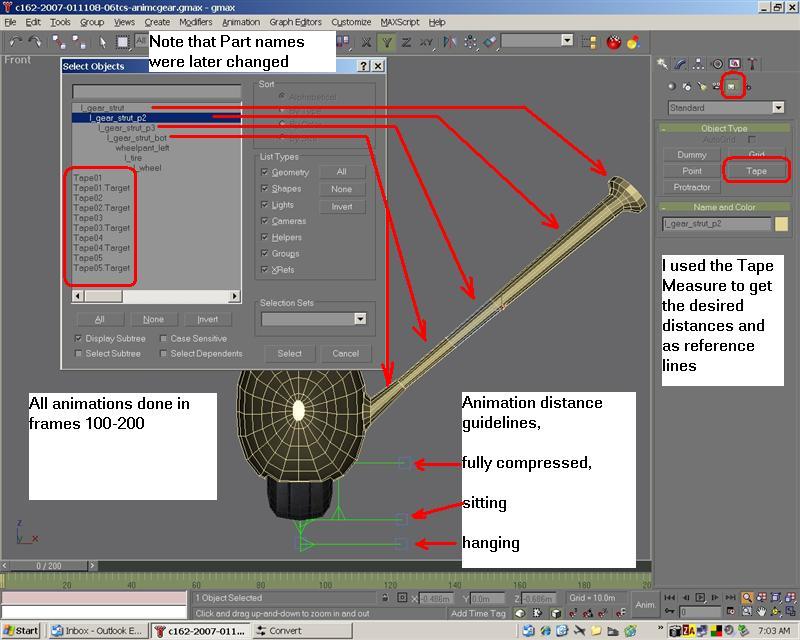
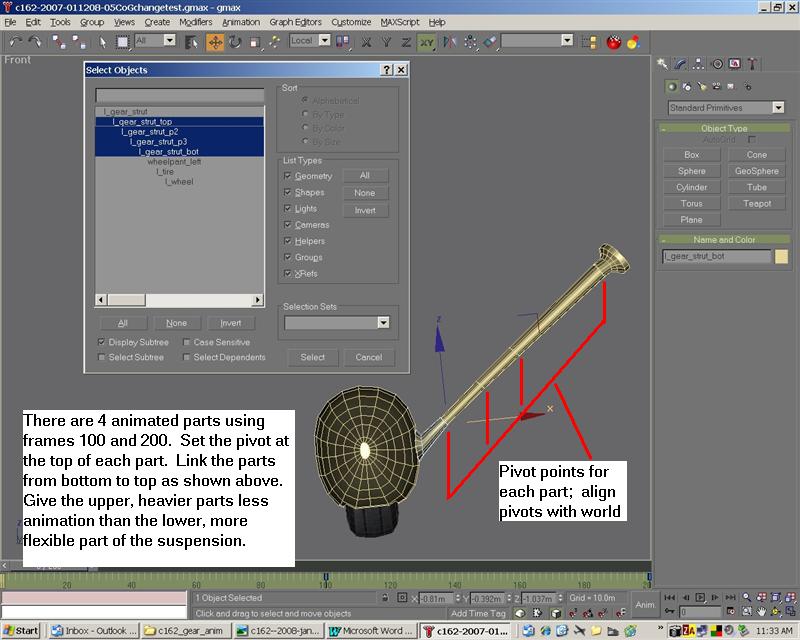
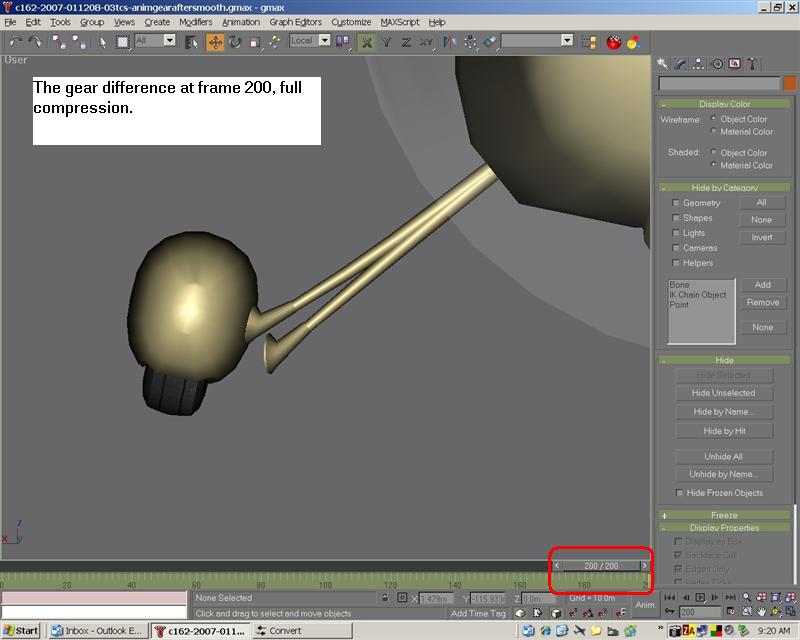
What I did here was to cut the gear strut into multiple gear parts and then animated them (remember to unsmooth your polys before using the slice tool).
l_gear_strut is attached to the fuselage so it gets no animation. The next 4 parts in the hierarchy shown above in picture are animated. Be sure to set up relevant names and setup the link hierarchy before starting animations. Establish proper pivot orientation and alignment then have some animation fun. I gave the top strut part very little downward and upward motion as it is the heaviest, stiffest part of the spring. As I went down the hierarchy, I gave more range of motion 5 degrees to 4 degrees per part, less downward movement and more upward movement.
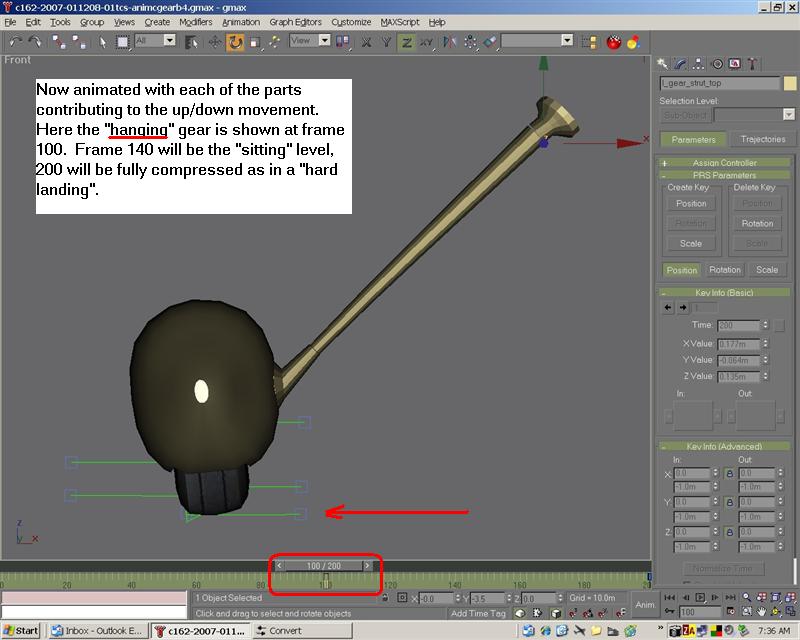
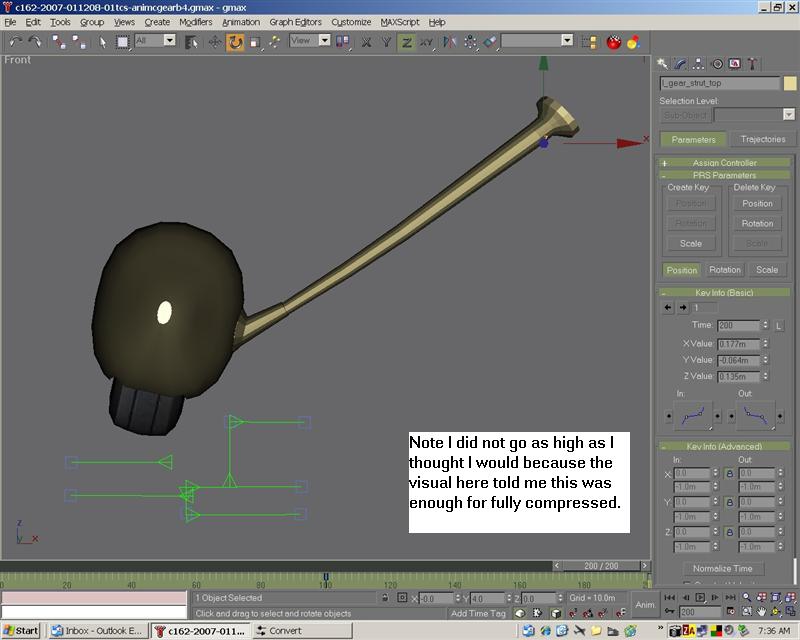
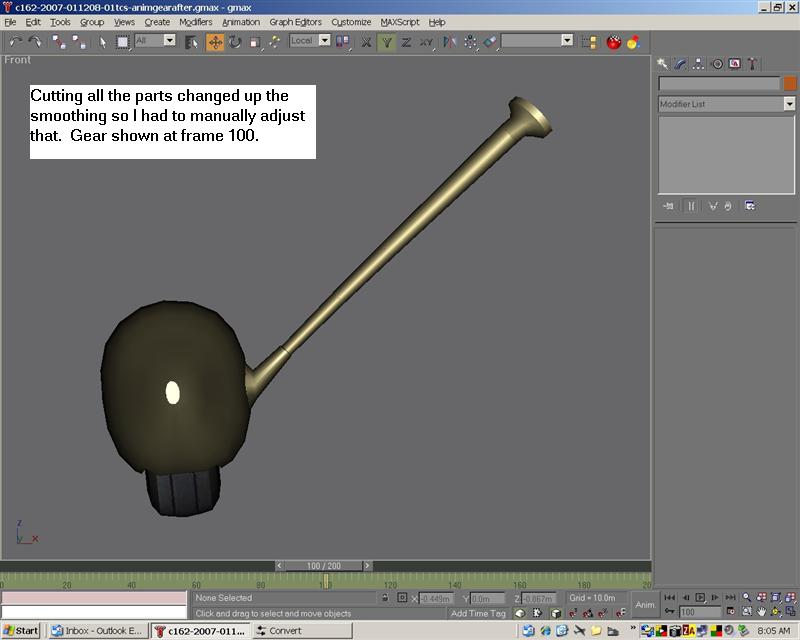
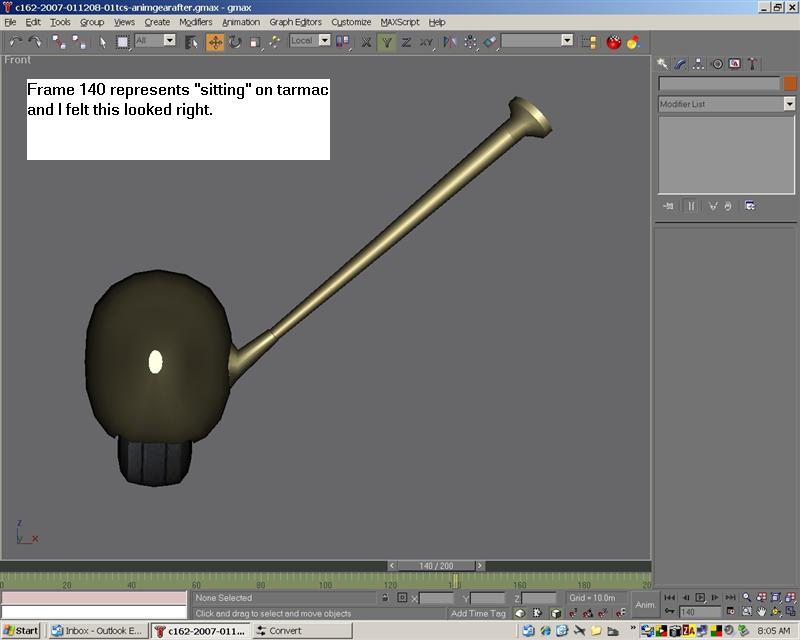
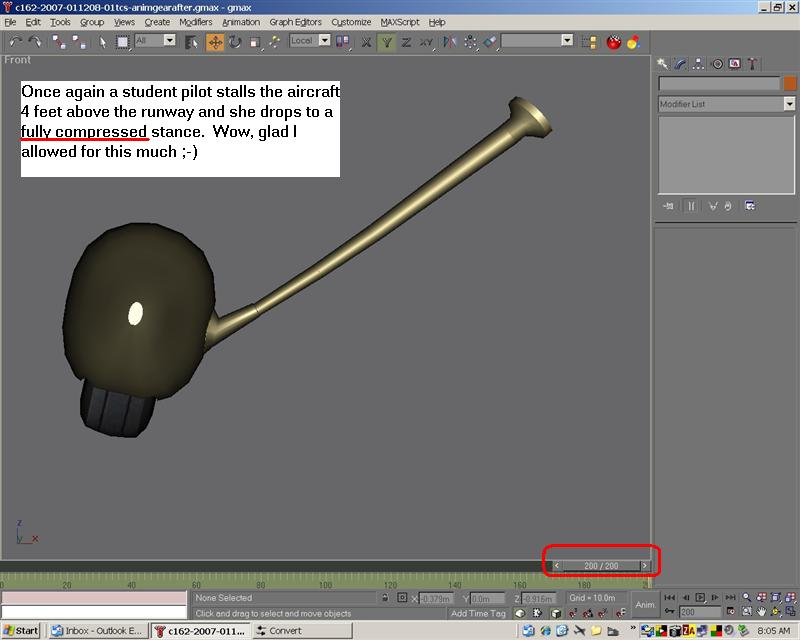
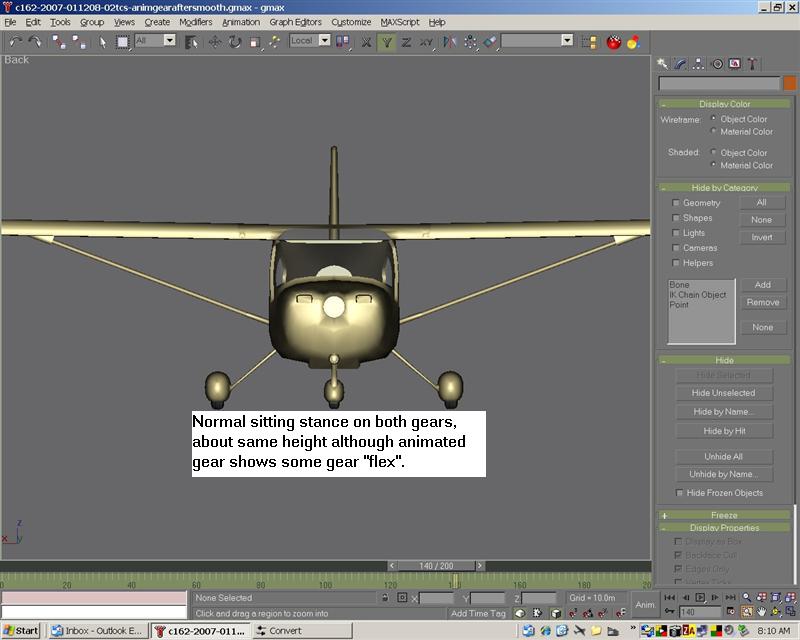
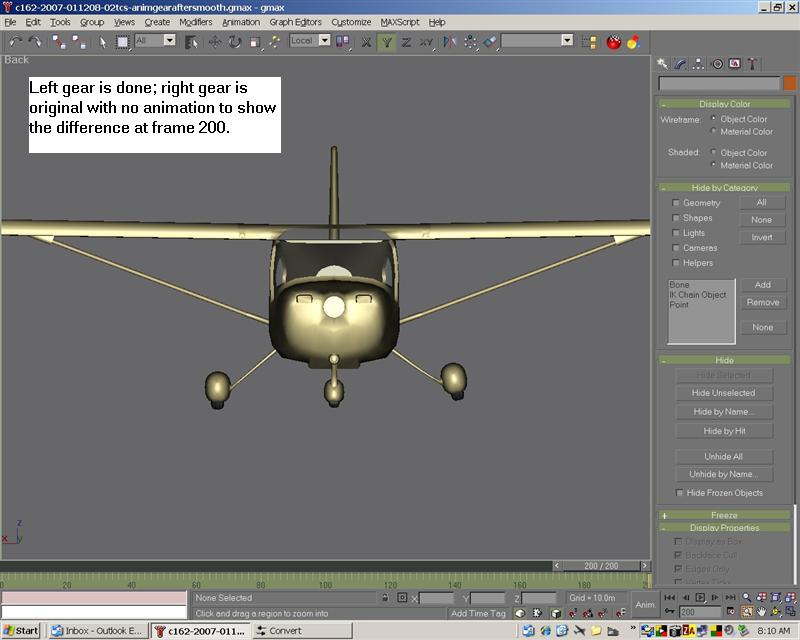
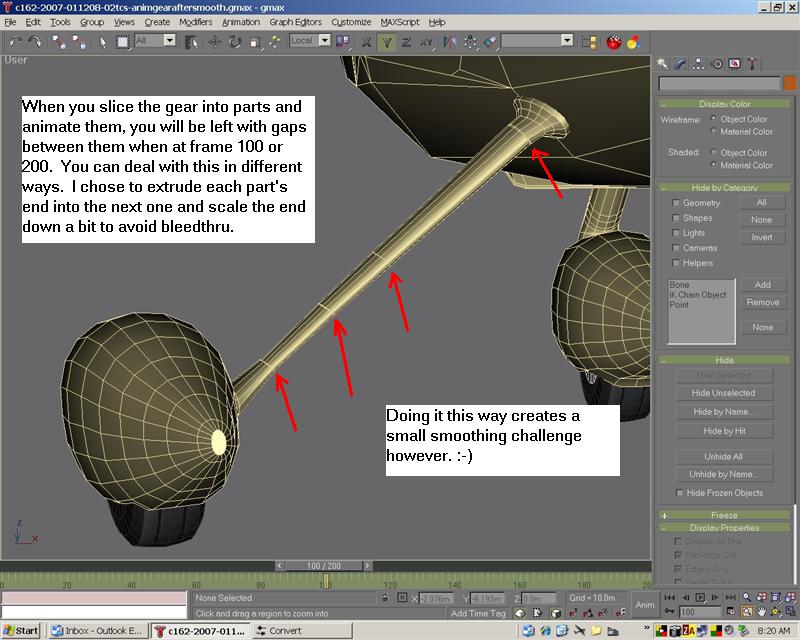
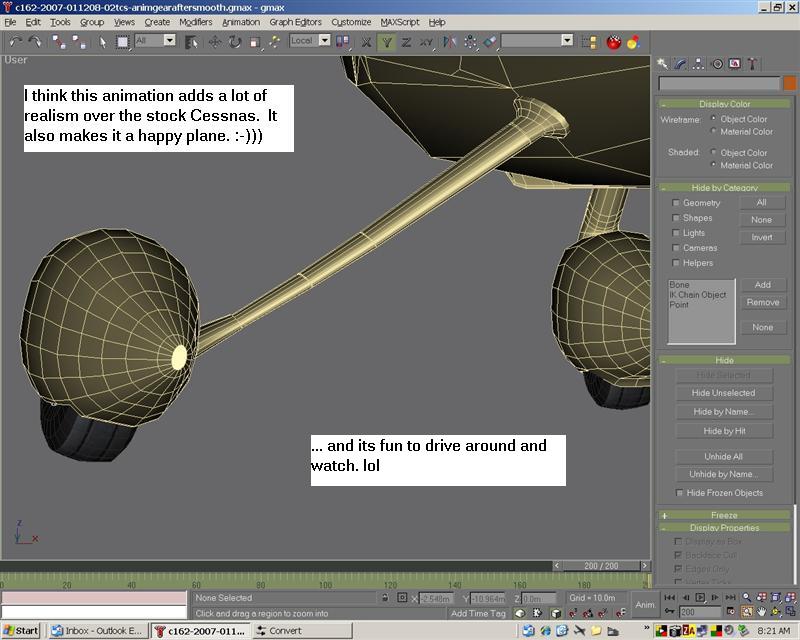
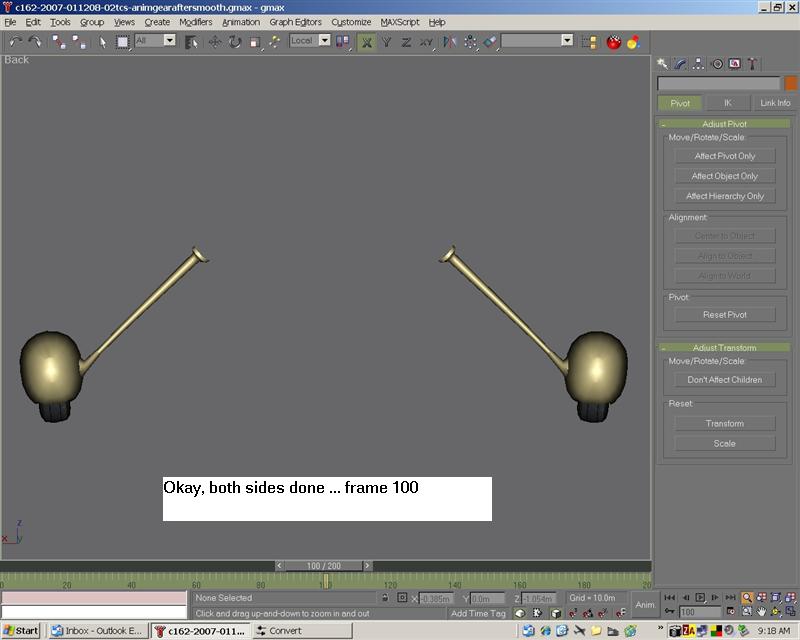
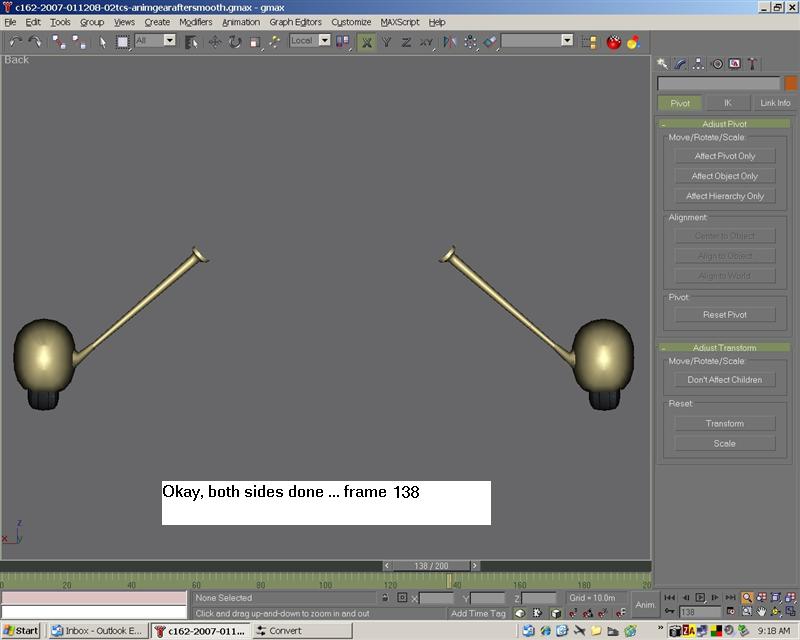
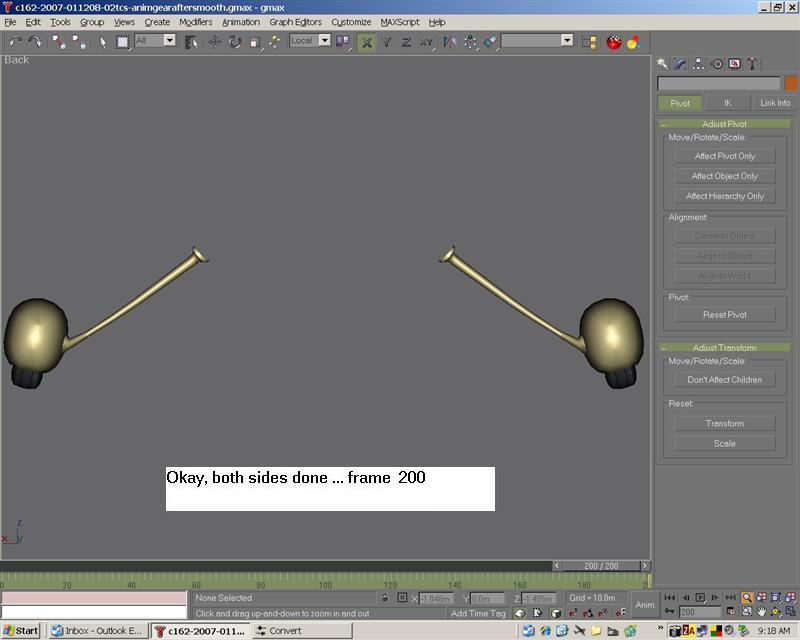
Not sure about you guys, but this kind of stuff makes it fun for me.
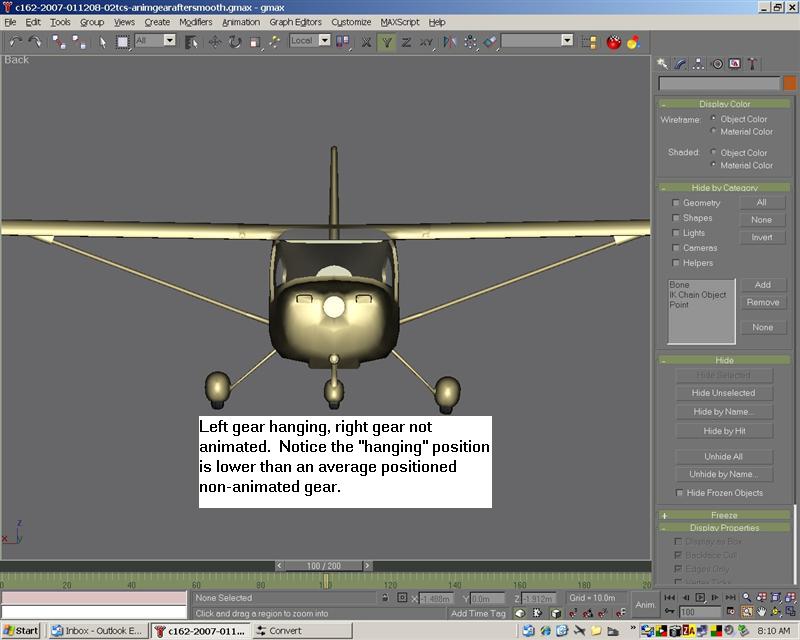
Of course when I had to mirror it to the other side, the fun was offset with … hmmmm … curiosity. LOL Best way I found to clone and mirror the whole gear was to.
- Group all the gear parts together (select the 5 parts, group them, exclude the wheel pant and tire), then
- Clone the group, then
- Mirror the group (use rollout modifier for this), then
- Ungroup, and
- Rotate the local pivots 180 degrees for the animated parts.
- Rename the parts to reflect the right side, and
- Link the right side wheelpant to the new gear structure.
Now, clean up the work and test her out.
Be sure to check out the suspension setup tutorial "sticky'd" at the top of the forum.
With any kind of rotation you will need rotation keys (at the start of animation) as with the top part of the gear in extension and retraction, and position key at the end of the animation. For straight line up and down movement, you need only use the position keys on each end if you do not use the rotate tool.
This concludes exercise twelve.
You made it this far its now its time to switch to the VC.