Mapping Exercise One
Basic mapping of the aircraft - Introduction
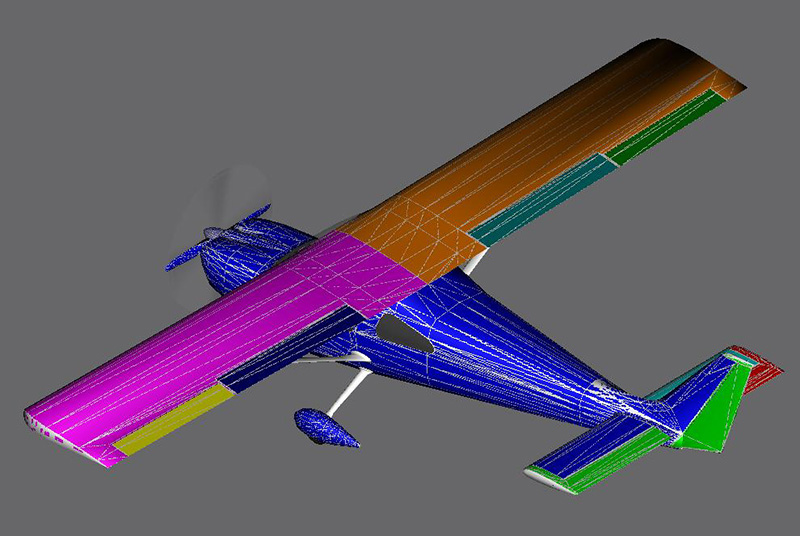
Exterior model mapped as shown in GMax
Objectives
 Explain basic mapping technique
 Show mapping steps required to texture the aircraft
 Explain purpose and use of md3 plugin and Lithunwrap
 Explain how to add alpha channels to textures

Overview
Once you have the exterior of the aircraft completed, you may wish to map it for textures before cloning it for the interior model. I will demonstrate a simple technique to map the aircraft and create texture templates.
This technique maps one or multiple parts to one texture sheet, creates the template, and applies that template to the aircraft. The template can then be used for texturing. This can be done quickly and accurately. It is the method i used for the model shown above. The whole mapping process required less than 3 hours.
Tools required are GMax, the md3 plugin for exporting, Lithunwrap to make the templates, DXTBmp to add the alpha channel and images/imagetool to convert the textures to the fs2004 texture format.
Go here for md3 and Lithunwrap download links:
Quake 3 GMax PluginLithunwrap
The md3 plugin allows you to export your selected object's maps from GMax to Quake3 (.md3) format. Lithunwrap then opens the .md3 files and creates texture templates. These templates are then saved as UVW maps and applied to the model, and later as templates for the texture artist.

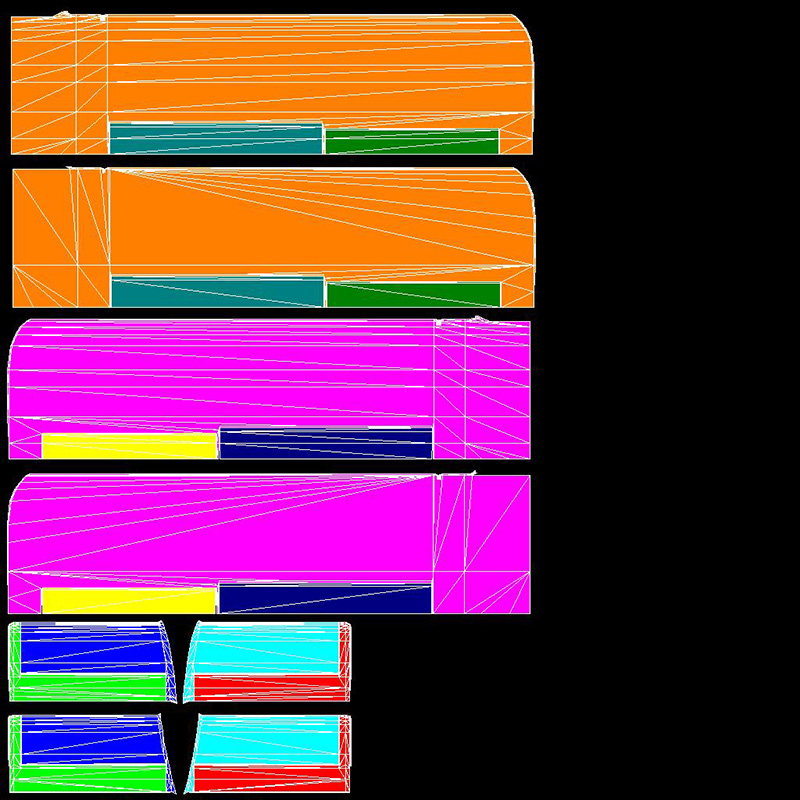
A typical wing mapping template
Considerations
The approach I use to mapping objects is right side, left side, top, bottom, front, and rear as necessary.
When considering what parts to place on individual texture sheets, I first organize related parts (e.g. left/right wings, ailerons, flaps- or -fuselage left/right/top/bottom and vertical stabilizer, passenger/cargo doors, nose gear bay doors). you can add smaller parts to the texture sheets as space allows.
To achieve similar levels of detail on all aircraft parts, especially fuselage, wings, stabilizers and other large control surfaces, consider pixels per foot of texture coverage. The more pixels per foot the better the detail. For example, if the aircraft is 30 feet long and you map to a 1024 x 1024 texture sheet, at best you will have 34 pixels to cover each foot of fuselage. A 60' long wing mapped left/right halves gives you the same pixels per foot. That allows the same level of detail for fuselage and wings. I would recommend that you stay within 15% on major body parts that will require some detail.
Exterior models do not require as high detail levels as interior (VC) models where everything is up close and personal.
The more texture sheets you have, the harder FS has to work to display them. more large texture sheets is demanding on the video memory and slows load times when switching views.
Texture sheets can be rectangular or square as long as the size in pixels is a power of 2 like 128x256, 512x1024, or 1024x256. the ratio of width to height must match the UVW map sizes like 7 meters by 14 meters, or 1m x 2m, or 6m x 2m.
Although you may map and create 1024 x 1024 templates for creating texture detail, you can resize your fs texture to be 512 x 512 later to reduce bmp overhead (and some detail). this does not require a model change.
For GMax mapping, I always create a project textures folder to hold the .md3 files and the UVW bmp files for ease of use while mapping. export to md3, create the UVW texture template bmps and apply in GMax. these bmps then become the source files for your aircraft textures. The process flow is: GMax exports to md3 files opened by Lithunwrap to create bmps to UVW folder for GMax to apply to the model.
Before we get started, I recommend that you download and view the first three John Howard White created video tutorials I posted. These videos are excellent for basic understanding of mapping, use of material id's, and gives a nicely paced exposure to GMax in these operations.
- GMax UVW Mapping Tutorial Part 1
- GMax UVW Mapping Tutorial Part 2
- GMax UVW Mapping Tutorial - Part 3
- Gmax UVW Mapping Tutorial - Part 4
The next tutorial will start our mapping process.
Have Fun
Milton Shupe
7/25/2008
Press on with the next step.