gman5250
Charter Member
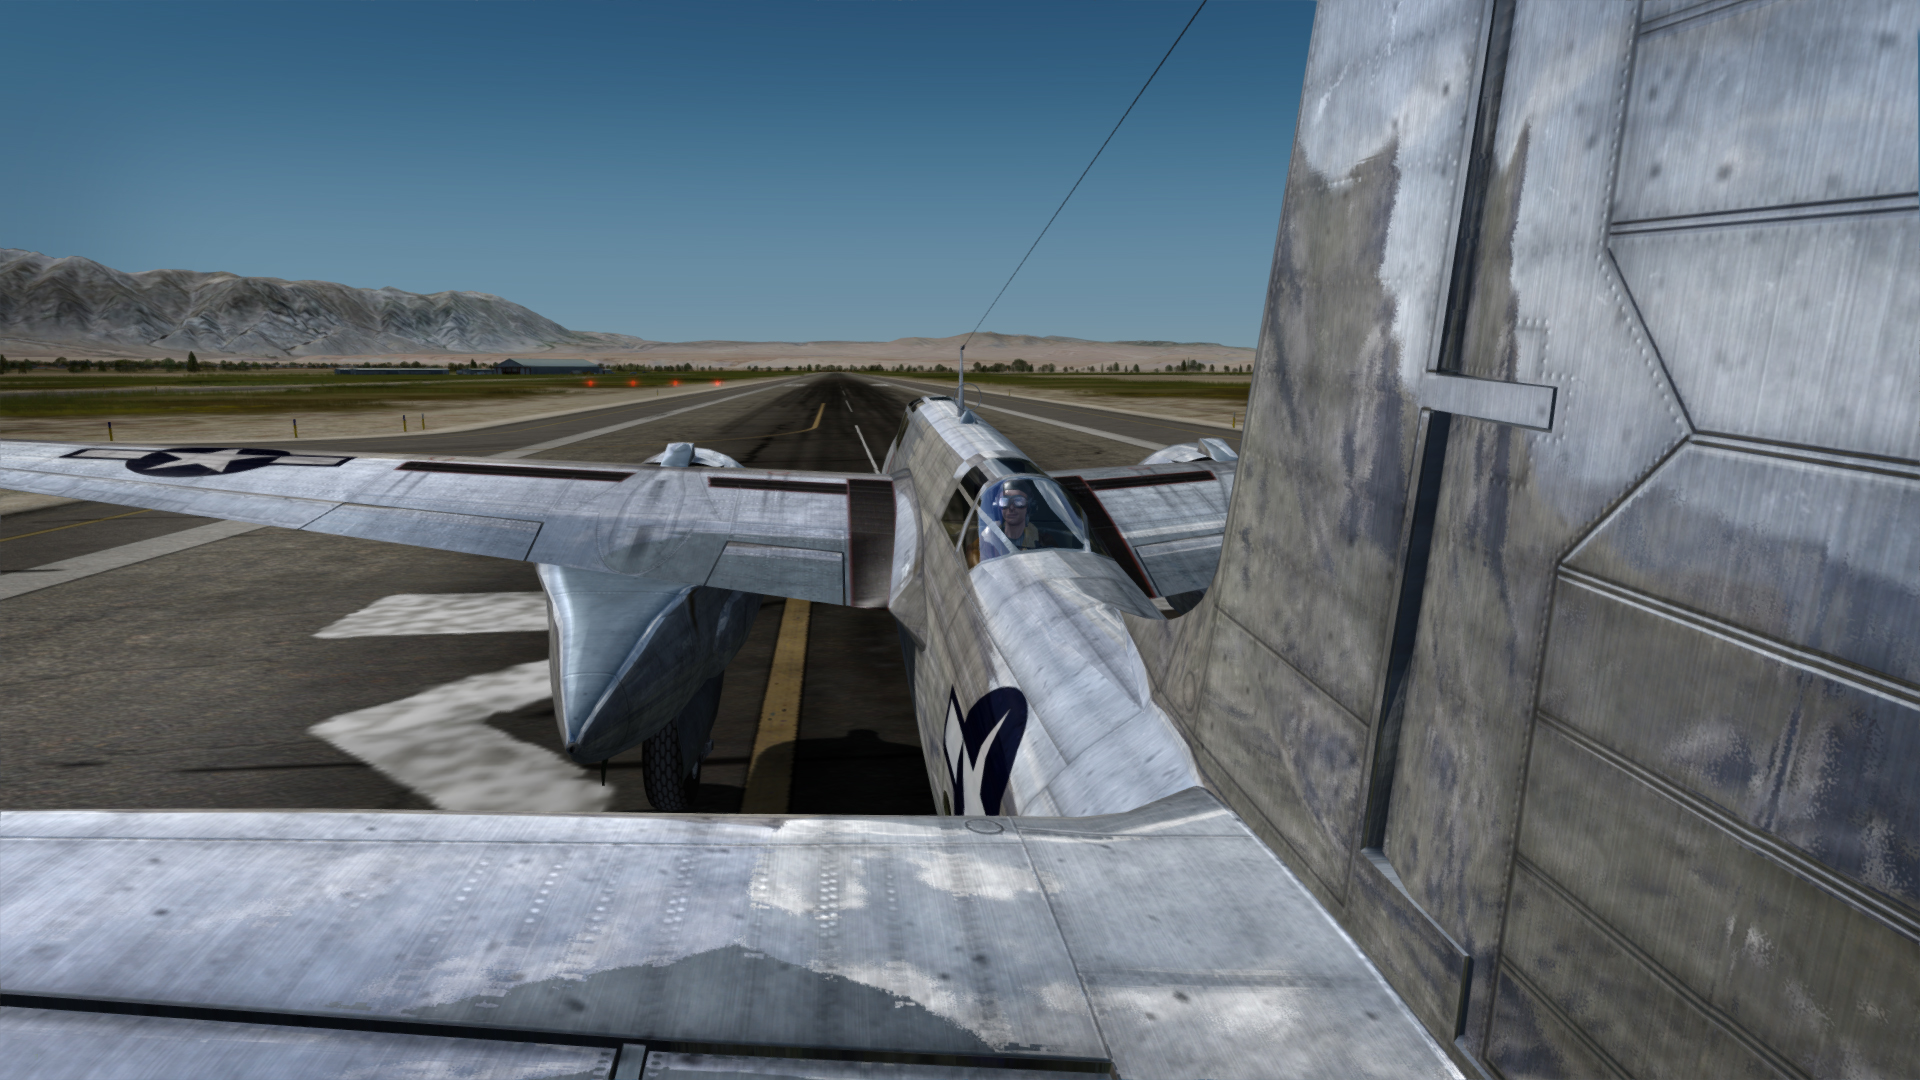
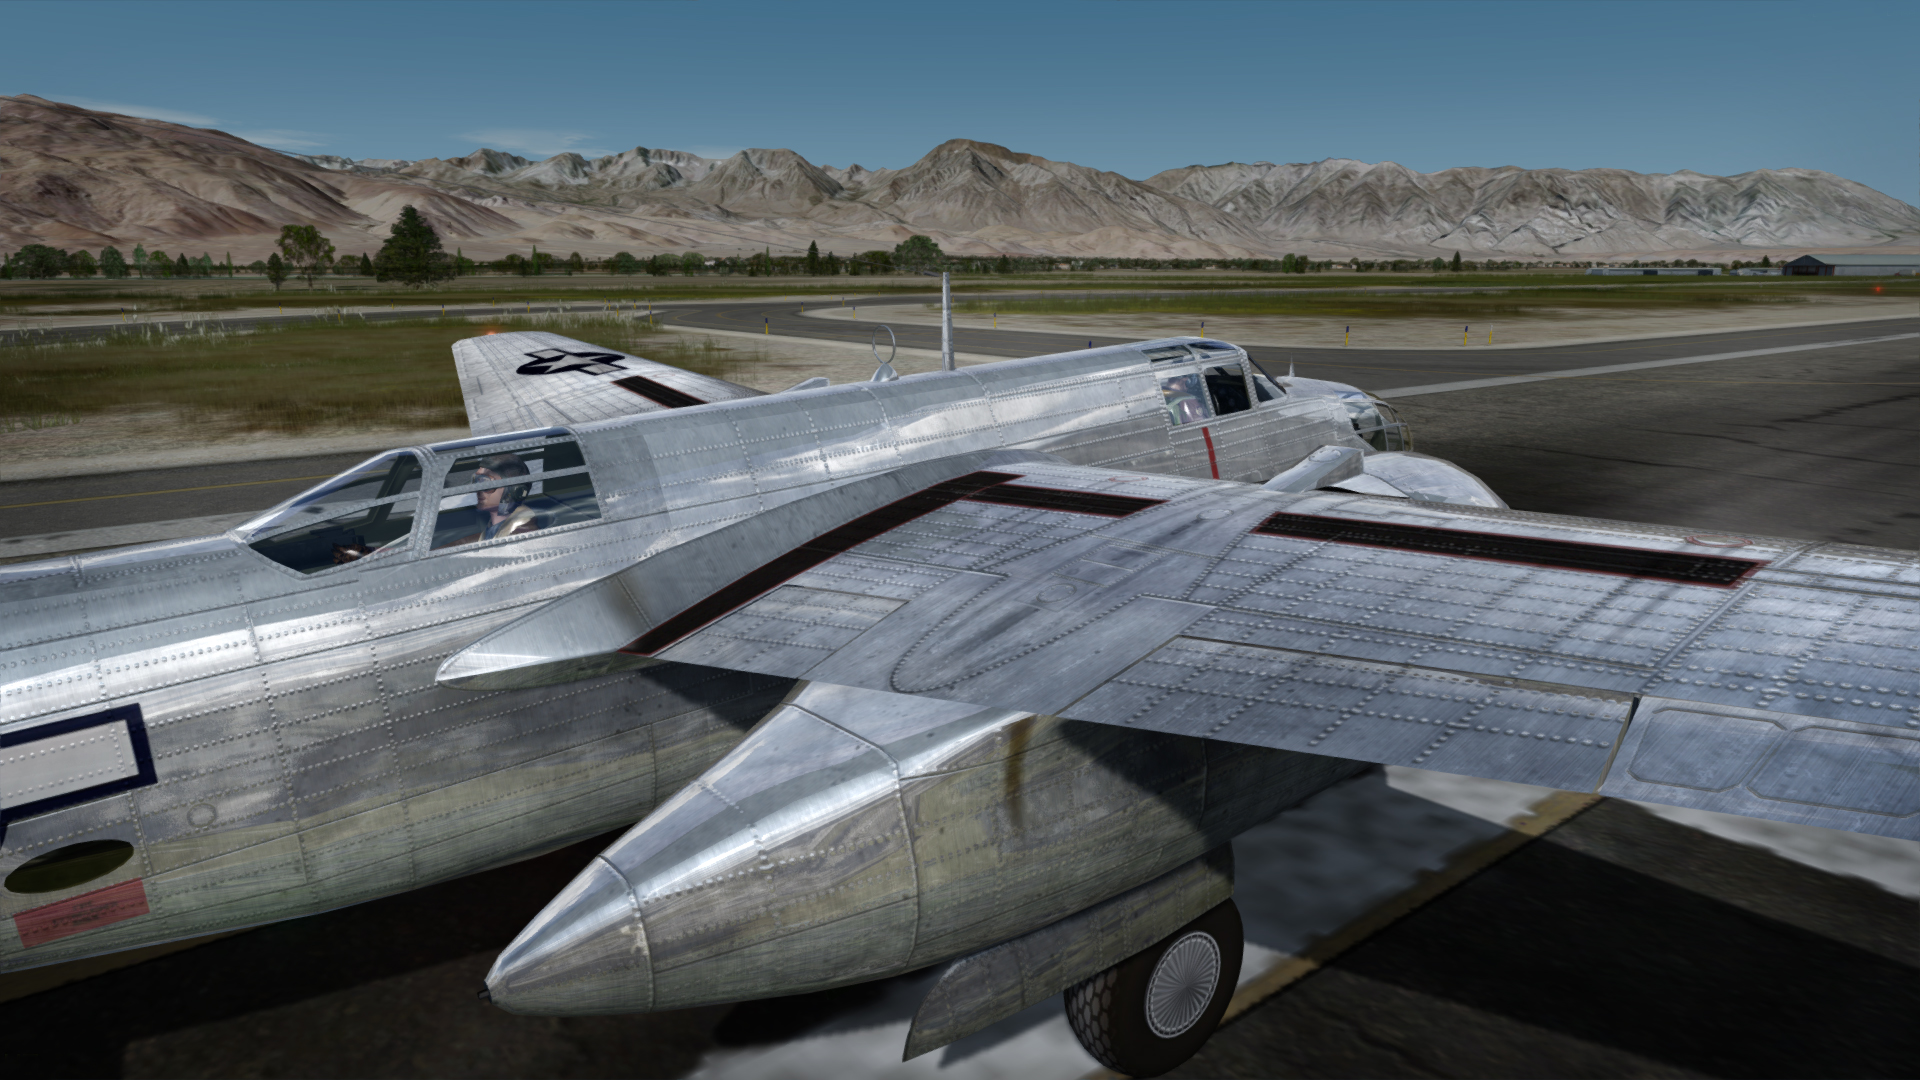
I had a metal skin waiting...more or less. I needed to adjust the alphas , spec and spec alphas. I made dedicated spec sheets for the skin. Shown here using the Bob Rivera GlobalEnv_AC_Chrome cube map.
This is Prepar3Dv4.1, Dynamic Lighting and Dynamic Reflections disabled. With DR on she is very contrasty in the gamma range, but it's a P3D thing...not the model. Alphas need special work for Dynamic Reflections airplanes.
For the painters, alpha and spec are pretty much right in the middle of the scale, which means you can take the metal just about anywhere you want. This one is roughly 50% gray alpha and produces a high level of shine.
Nice job Milton....
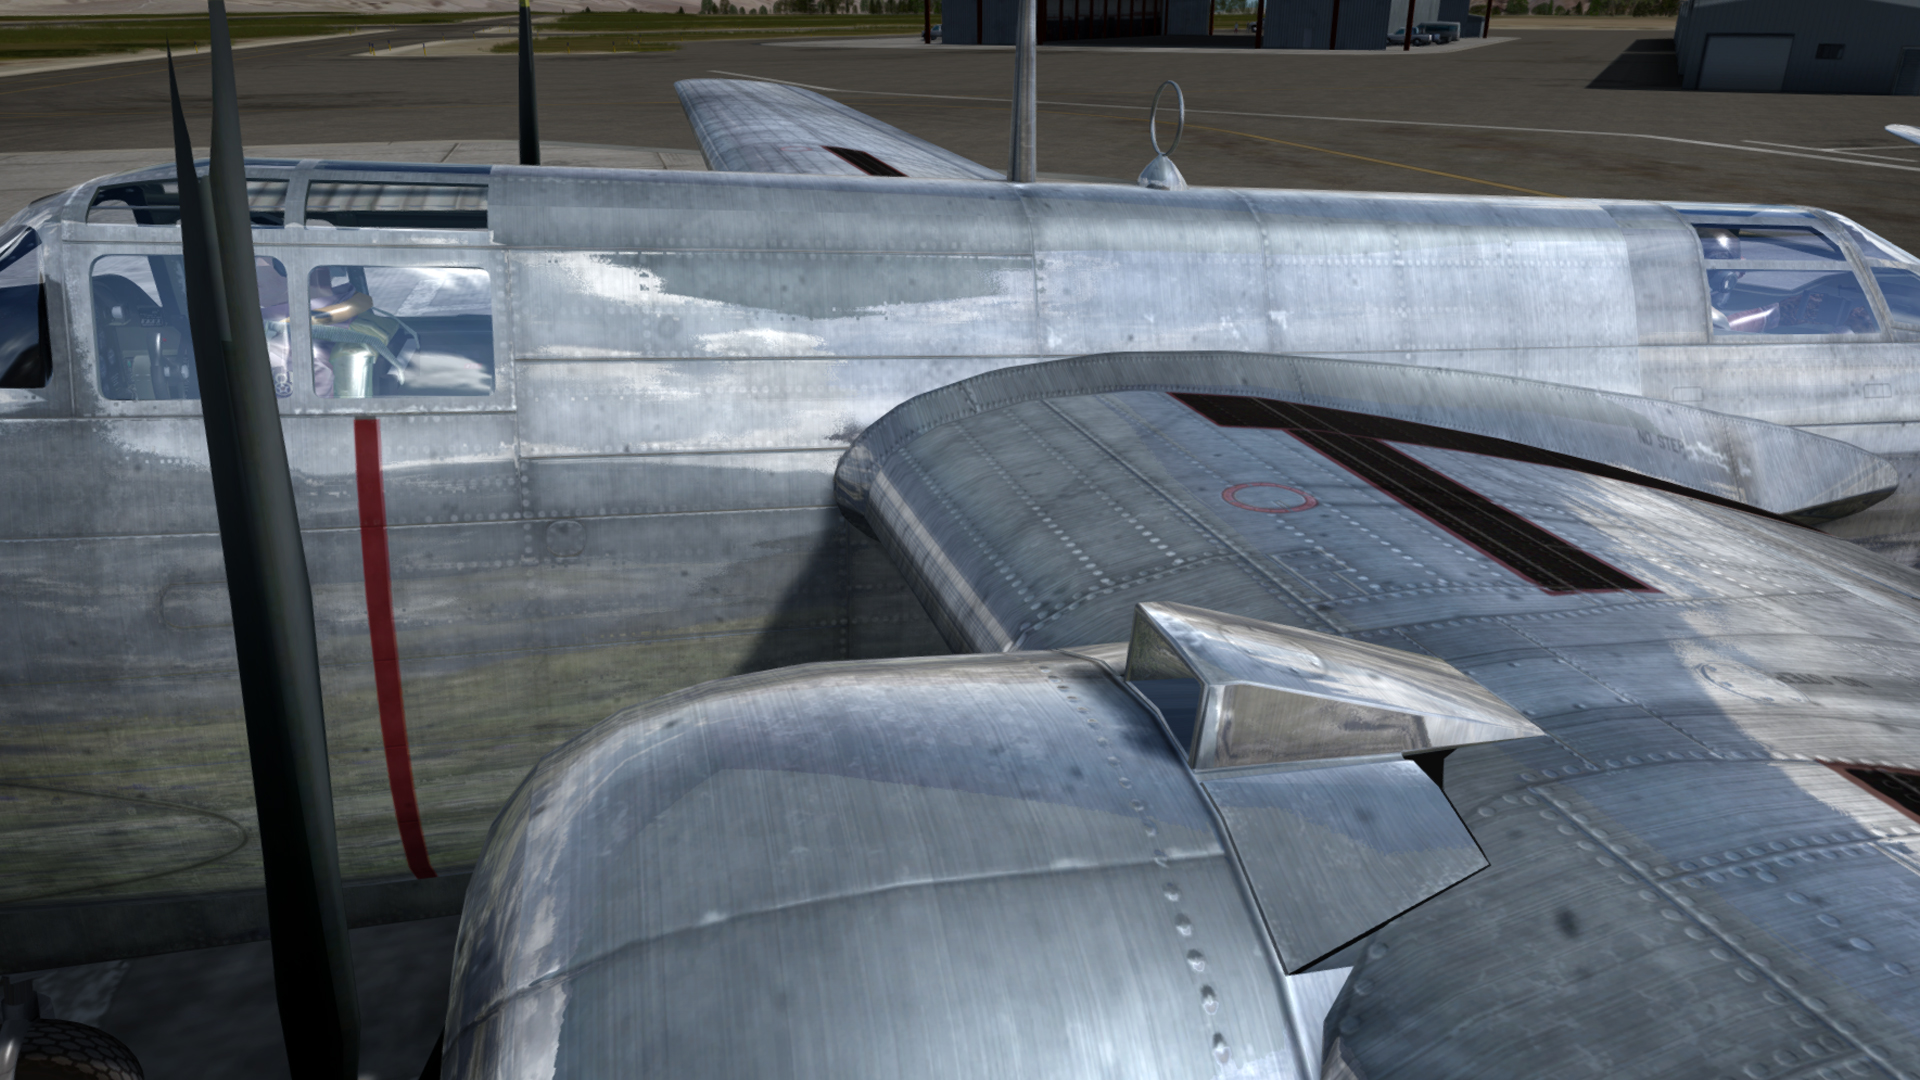
polished metal with slightly grungy wear

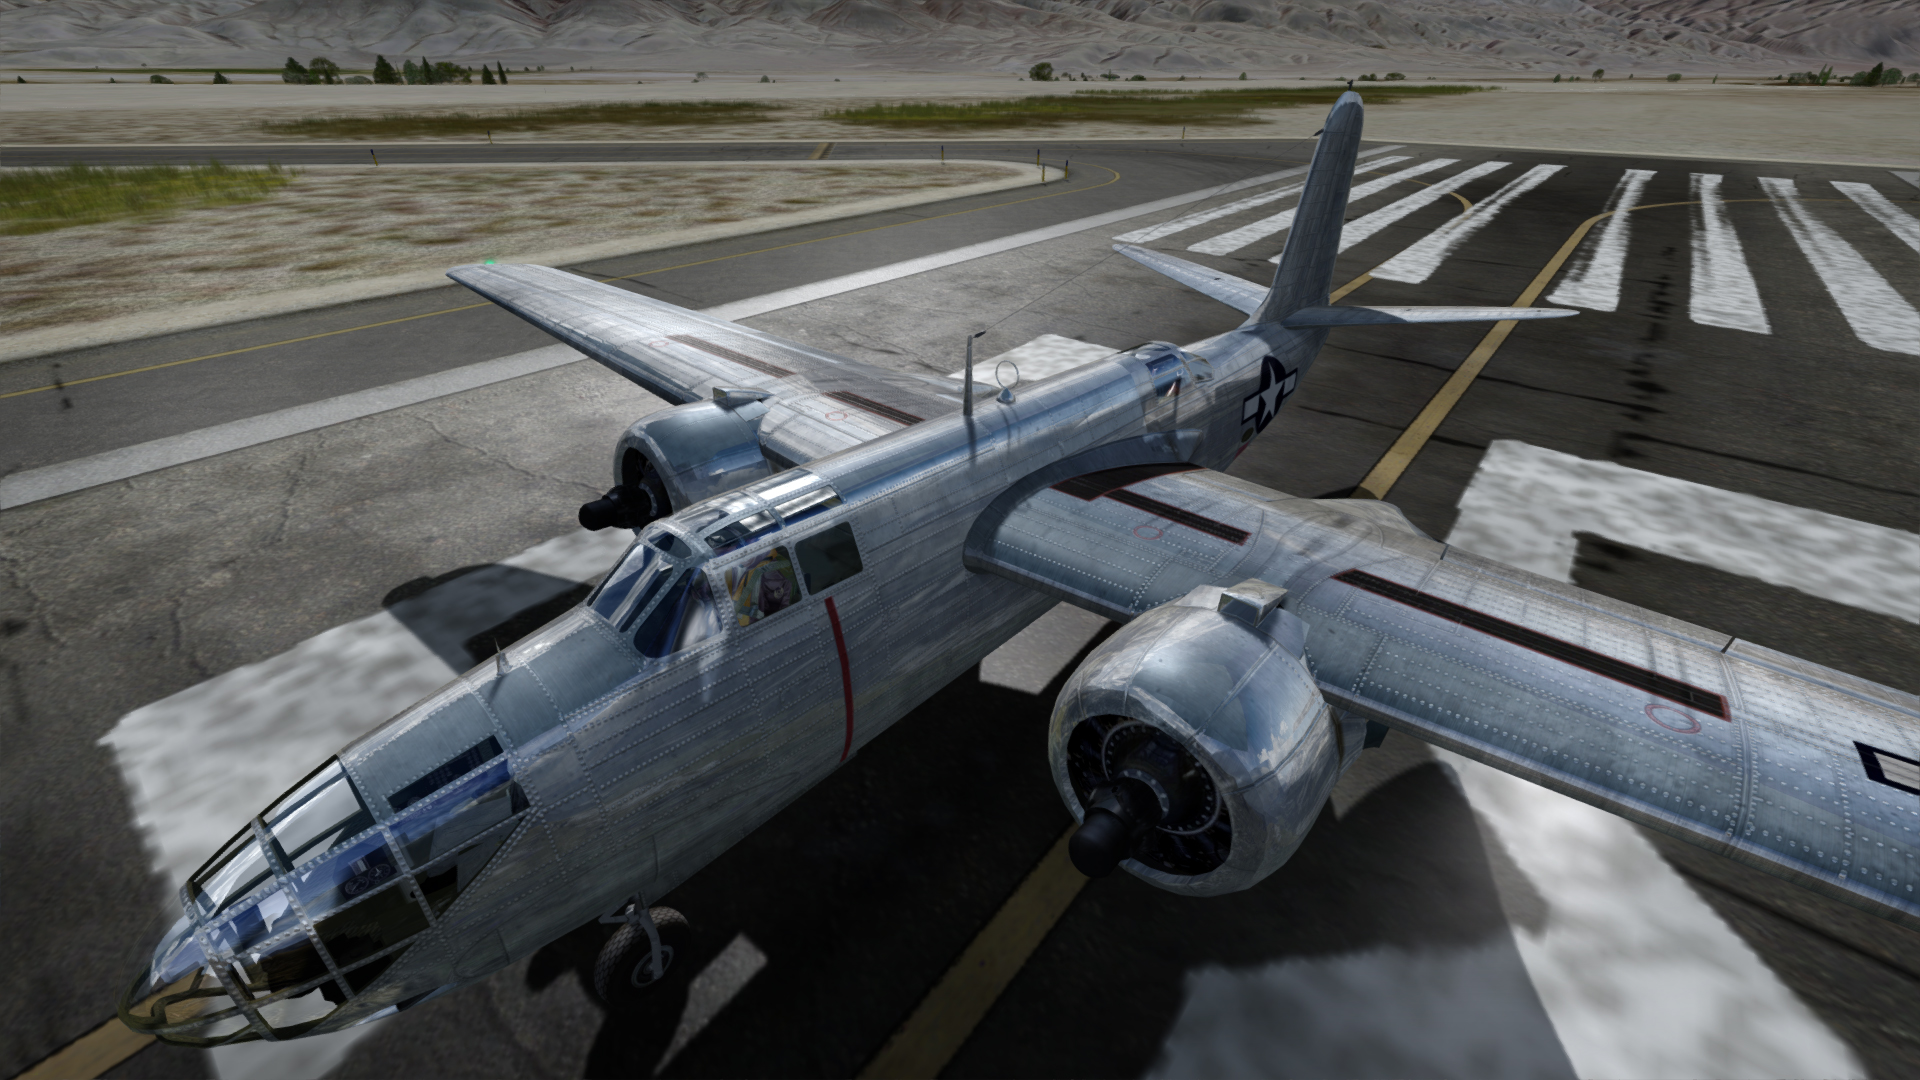
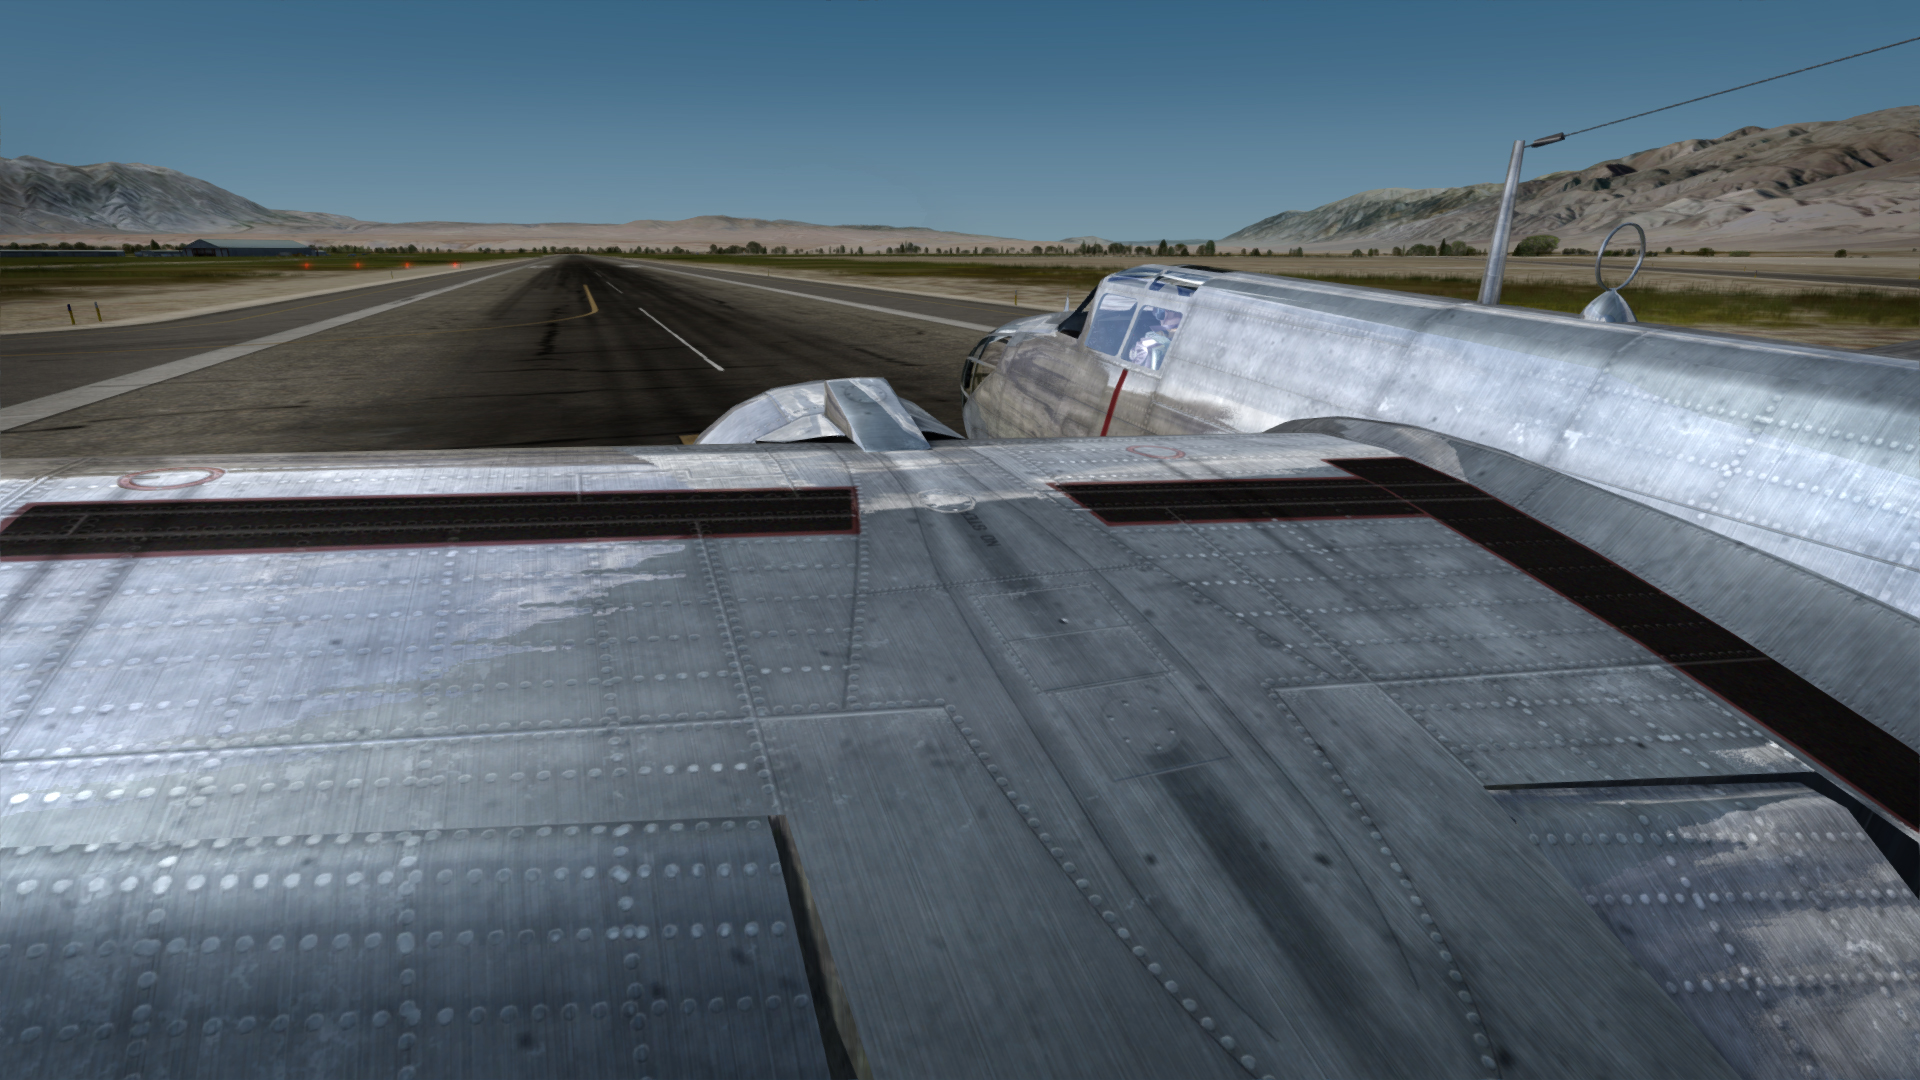
This is Prepar3Dv4.1, Dynamic Lighting and Dynamic Reflections disabled. With DR on she is very contrasty in the gamma range, but it's a P3D thing...not the model. Alphas need special work for Dynamic Reflections airplanes.
For the painters, alpha and spec are pretty much right in the middle of the scale, which means you can take the metal just about anywhere you want. This one is roughly 50% gray alpha and produces a high level of shine.
Nice job Milton....
polished metal with slightly grungy wear
 )
)")
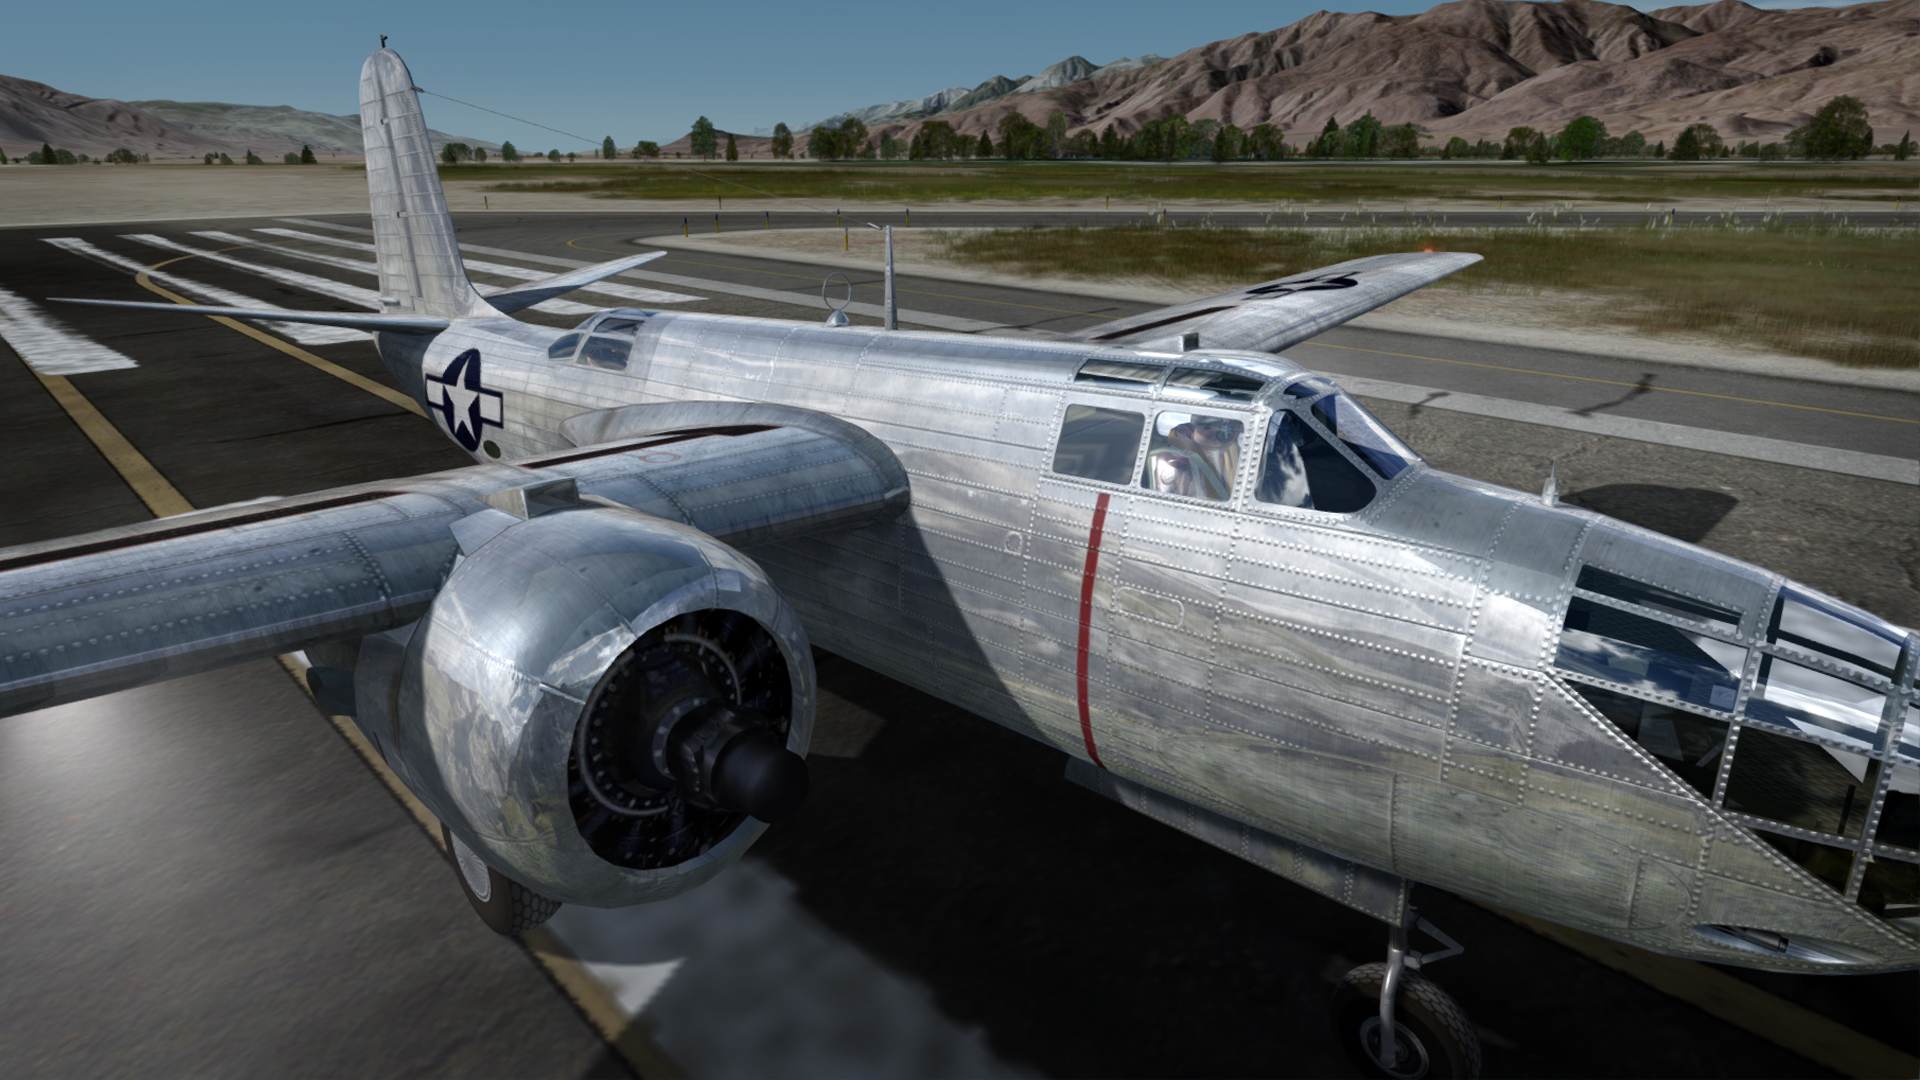
 Blame the rivets on me. I started out with one pixel rivets and hated the way it looked though in retrospect it might have been more accurate. I was trying to show some relief as in the many photos I used I saw a mixture, though you are certainly correct about the majority. I also used A-20 line drawings of the rivet patterns which biased me more toward the result you see. As Gordon mentioned there is a lot of work involved in changing them although it is certainly do-able and I will be happy to rectify though it will take some time. I will see what I can do.