I read and took under consideration all of the comments following the first video. I have adjusted my approach a tad to address the issues people brought up.
I'll begin by clarifying what is required to use Quixel, specifically cost and complexity.
Forward
Quixel can be used in conjunction with these free platforms to generate art.
GMAX
ModelConverterX
Gimp
Mesh can be fully prepared for Quixel using these programs to generate
assets for any Quixel project.
Textures generated in Quixel are easily converted for FSX/P3Dv2/P3Dv3 and P3Dv4. Slight tweaks will enable the 64bit features of a Quixel file for the 64 bit simulators.
The export process is exactly the same as multi layered FSX files prepared in Photoshop for texture, bump, alpha and specular files. Quixel layered files are simply flattened and exported with proper naming conventions as either BMP or DDS. FSX and current P3D engines will process those files in the same way any traditional bitmap file.
If and when Prepar3D moves into a dedicated PBR engine, Quixel PBR rendering will become fully realized, but until that time anyone can take advantage of the point and click interface to generate textures they previously thought out of their artistic reach.
One important thing to bear in mind is Quixel is not a purely PBR oriented workflow. Textures generated in the application can be used on
any FSX or P3D mesh.
GMAX and Quixel
Gmax can generate mesh that can be converted to FBX or OBJ using ModelConverterX. In fact, any mesh that can be imported into MCX can be converted for use in Quixel.
Generate your GMAX mesh and export as .mdl. Import the .mdl into MCX and export the object as either FBX or OBJ. This mesh will import perfectly into Quixel in either format.
Mini Tutorial
I'll prepare a fully detailed video of the process I used to generate this project, and post that link here.
This project used a .mdl file that I imported to MCX and exported out as both FBX and OBJ. I prepared a single layered mesh in 3ds Max with three material ID tags for the barrel/receiver, buttstock/handguard and magazine. GMAX will do the same task. You can add as many color IDs layers as you would like here, I chose three for this simple illustration.
Quixel
will support multiple
dedicated mesh layers, but bear in mind that numerous Photoshop layers are generated for each mesh layer and this can become problematic if working at 4K and 8K. You will need a capable system to work at that level. I prefer a single mesh layer with color ID map to select specific components. These steps can be done in either GMAX
or 3DStudio Max. BTW, if you want to try Studio free for a year, go down to your local college and enroll in any class to qualify for the student version of 3ds Max. That's a screamin' deal.
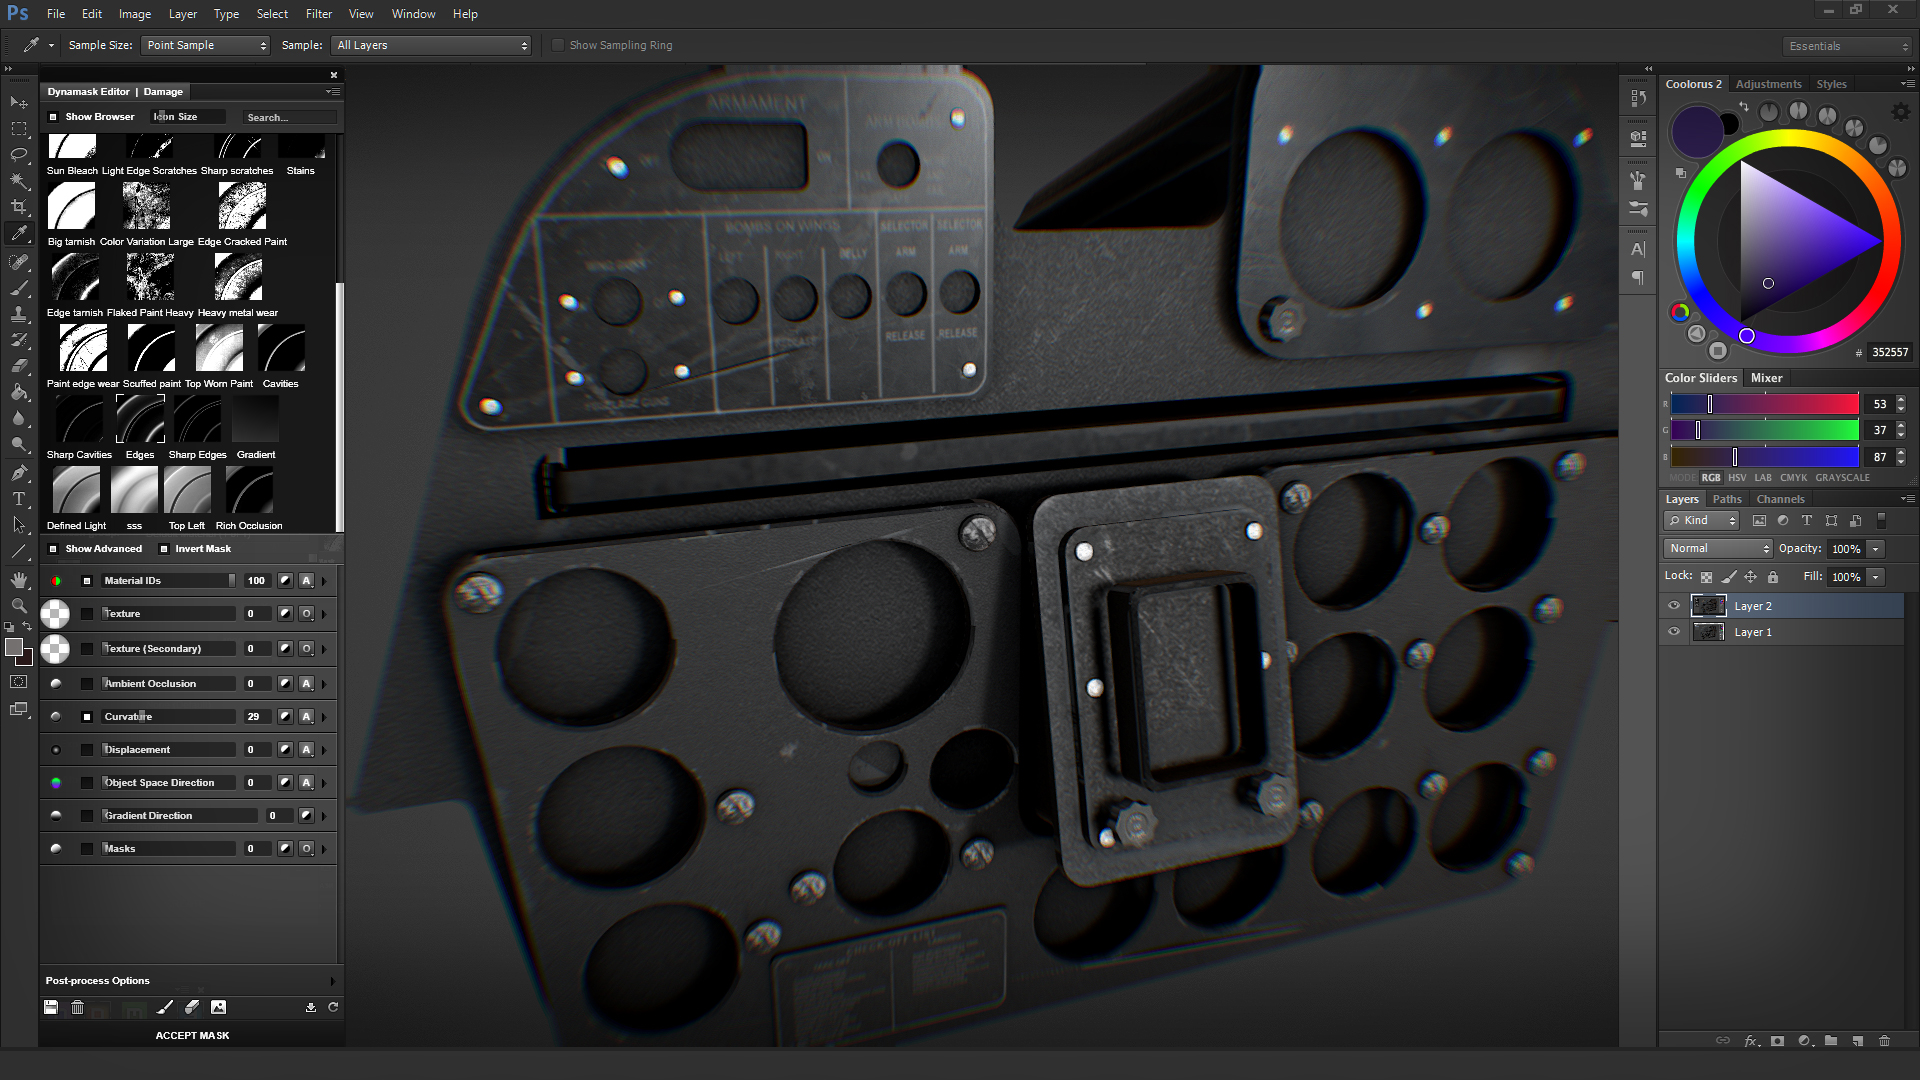
Step two, I prepared a color ID map based on the three materials that compose the mesh. Quixel will use the color template to assign textures to the mesh.
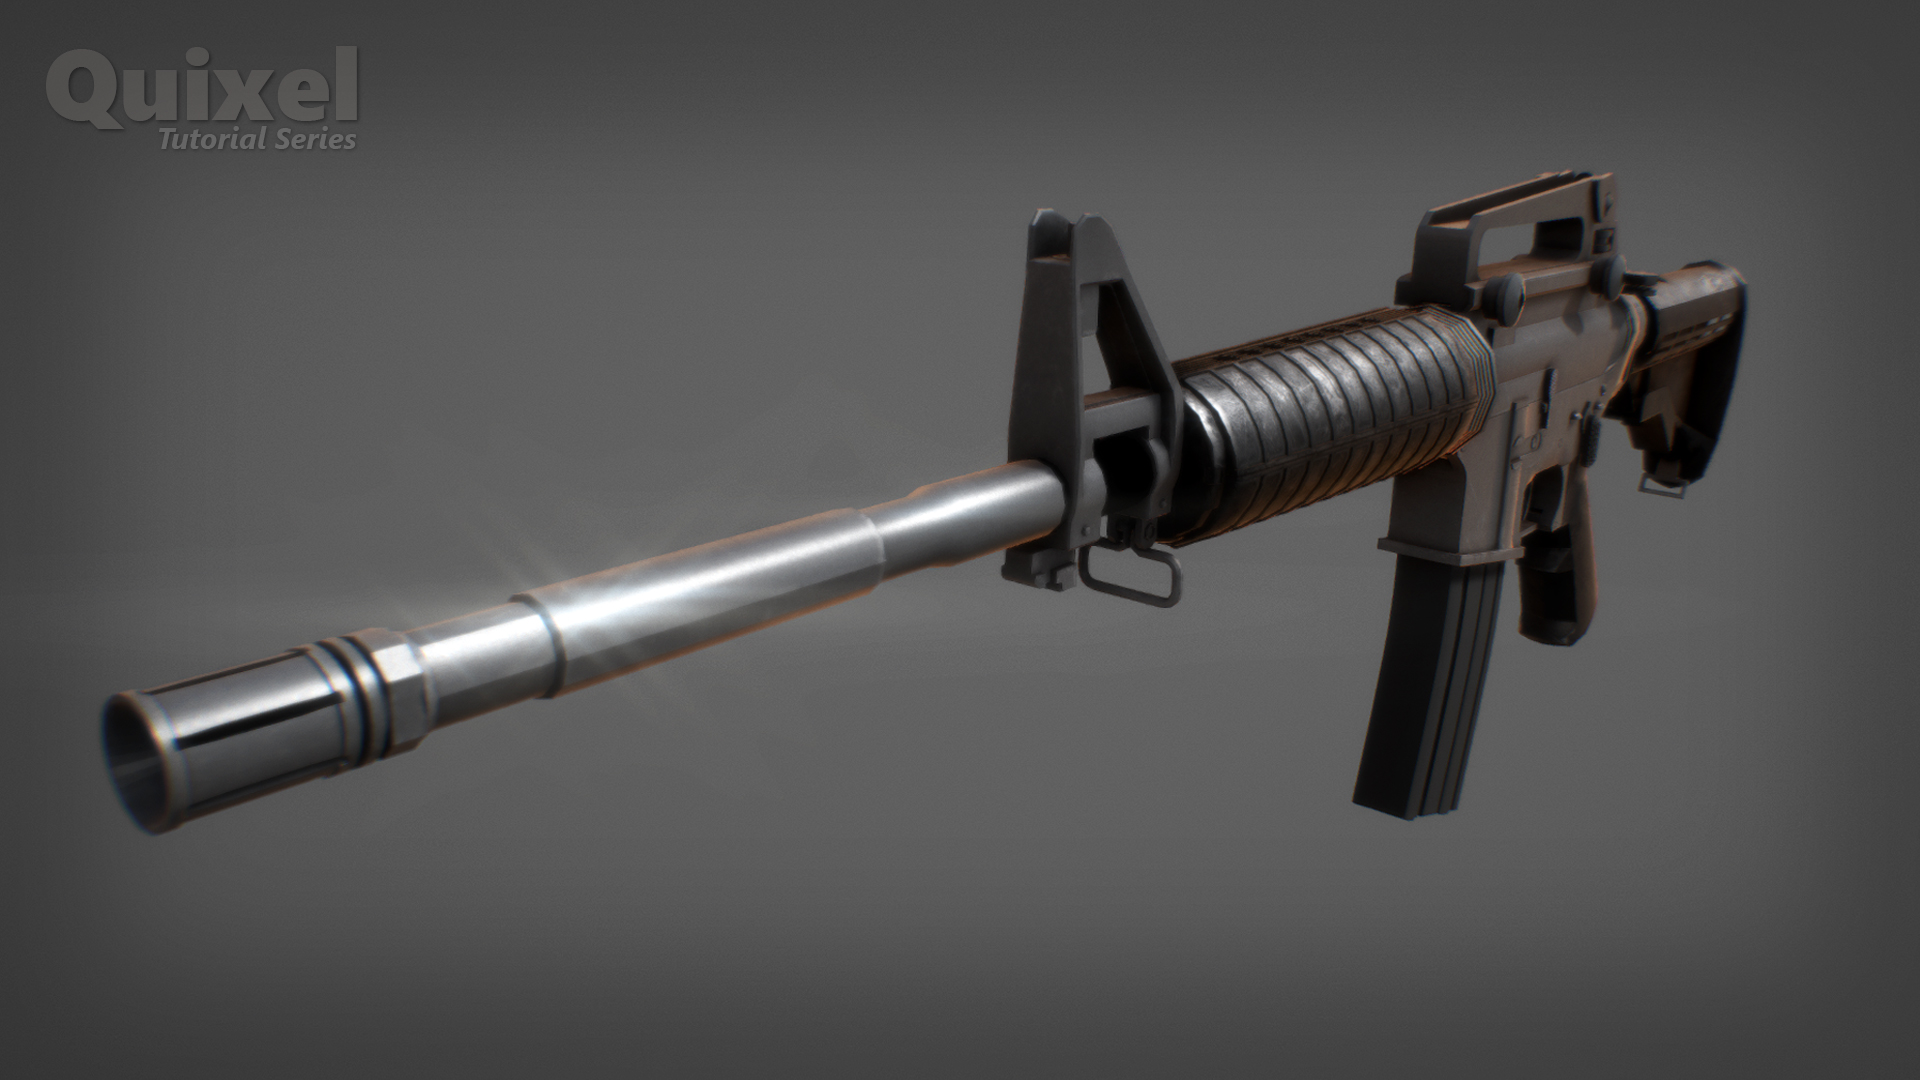
For the M4 Carbine in Quixel, I chose a polymer for the barrel/receiver, a camo polymer for the buttstock/handguard and gunmetal for the magazine.
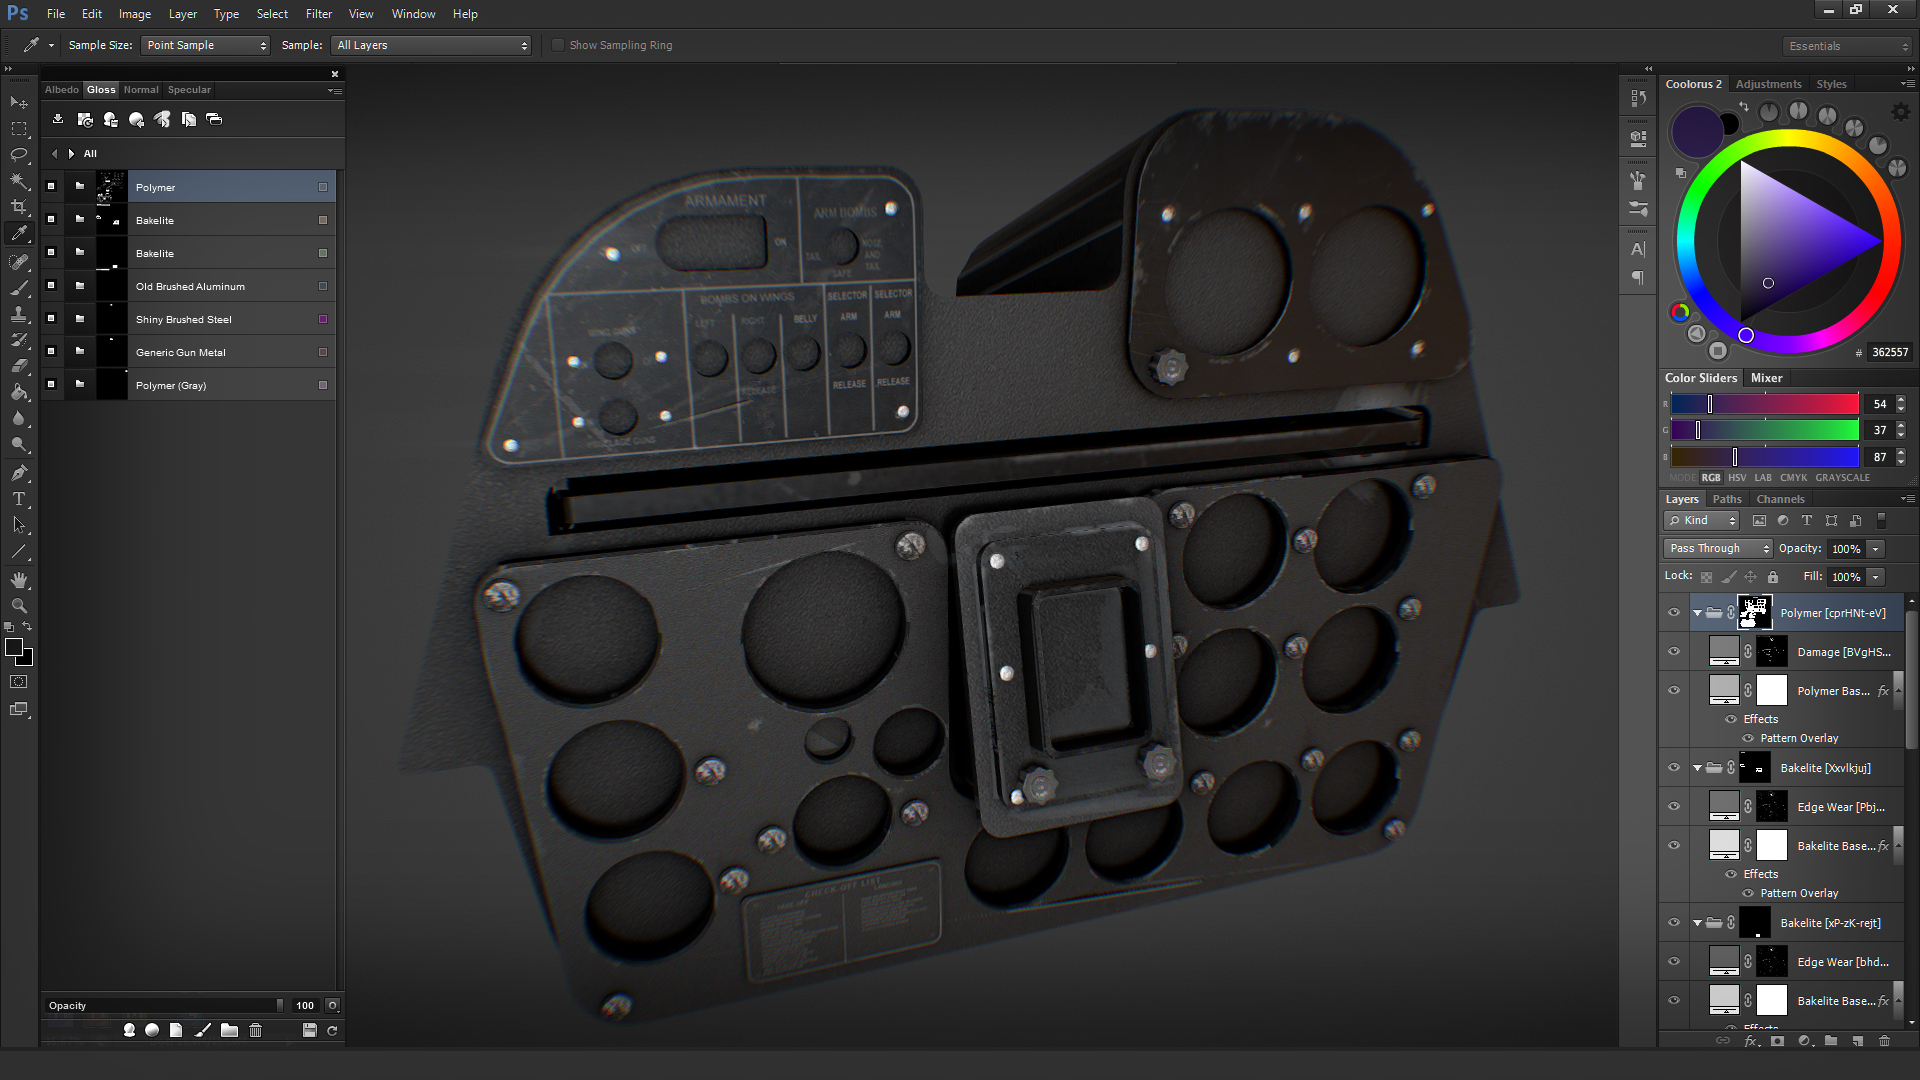
Third, I created an ambient occlusion map, which is optional for this project. Quixel can use a baked AO map, or generate one automatically if one is not pre-baked in. I prefer to bake in my own AO, then layer it into the final bitmap render for the finished simulation model. Quixel generates specular layers in most of the textures. A single texture may consist of three color layers, gloss layers and specular layers. I have found that their specular files work better in most applications than hand painted specular files.
All of the art in this project was prepared by adding Quixel textures and a basic point and click application. This art is now ready for final detailing i.e. grip texturing and appropriate metal stamping and engraving. These details are easily added as layers in Photoshop.
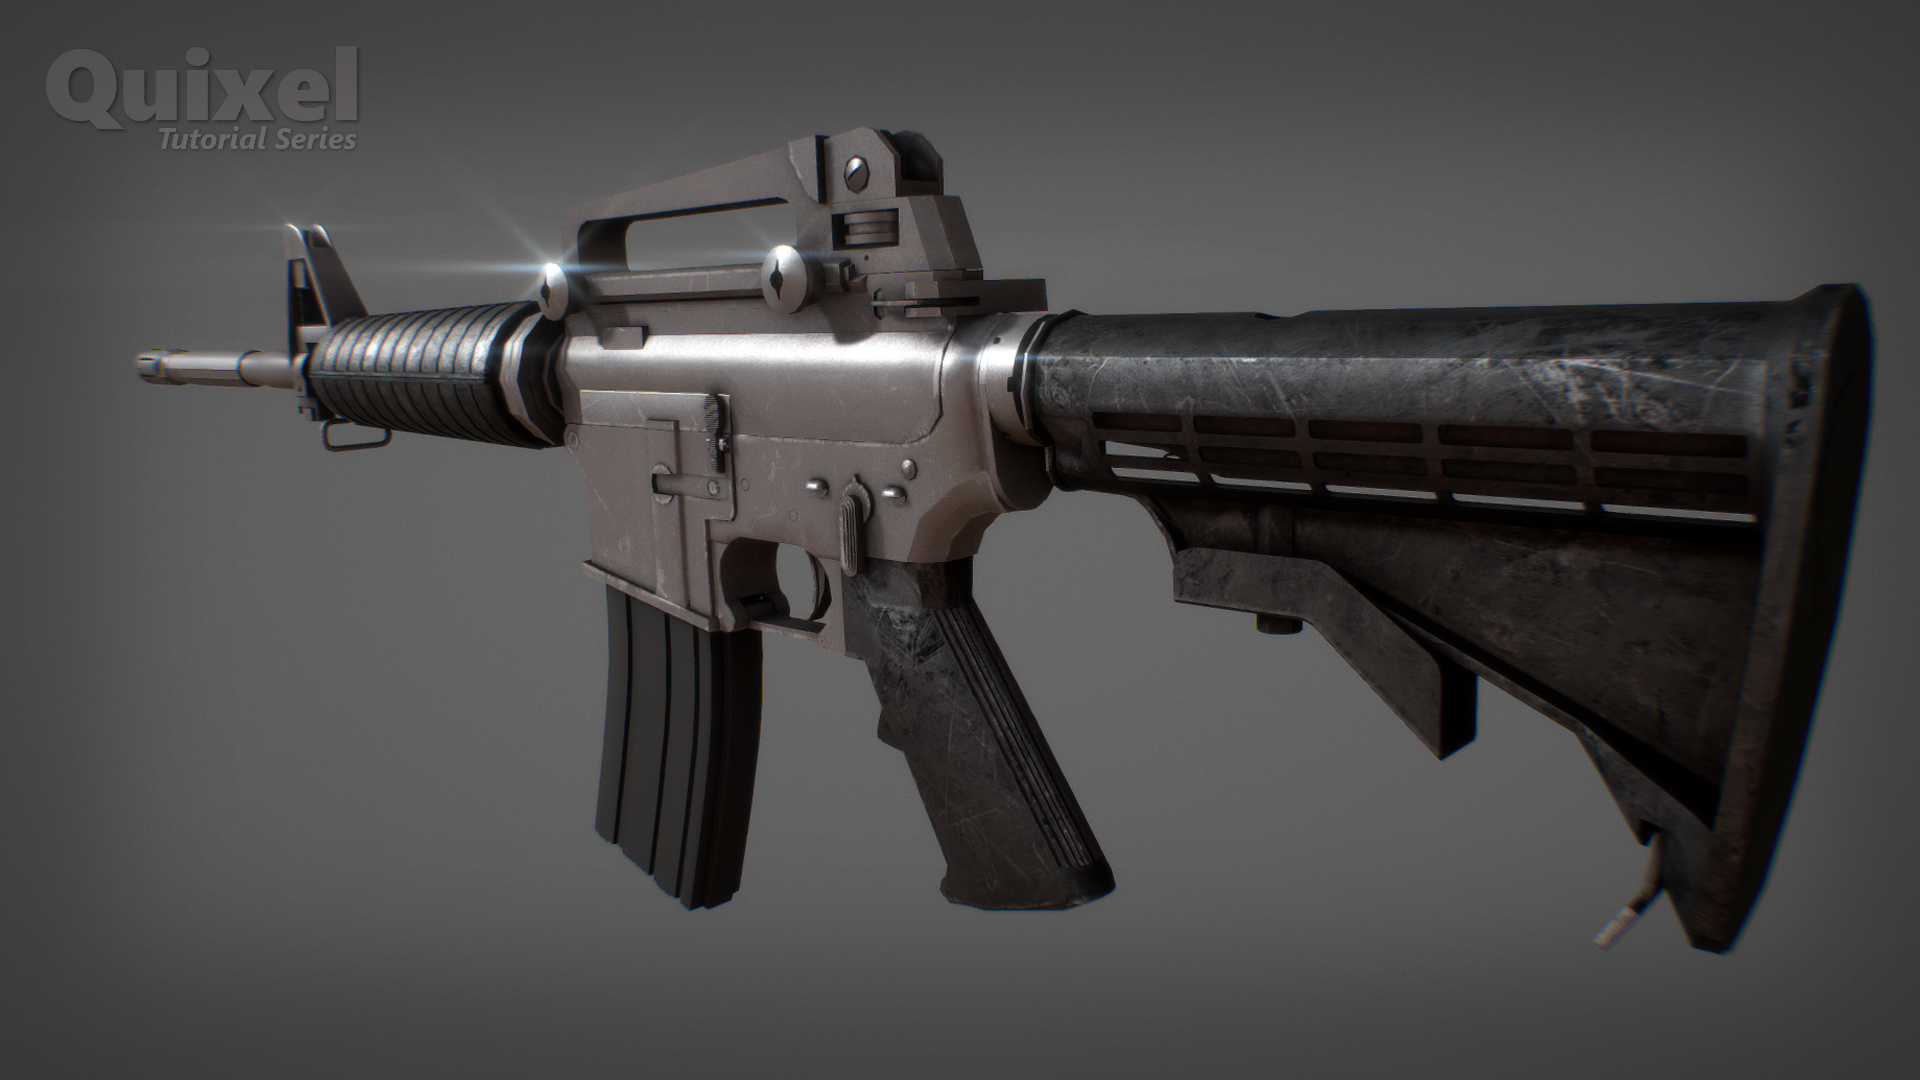
Total production time...nine minutes from gray mesh to the renderings shown here. Not bad.
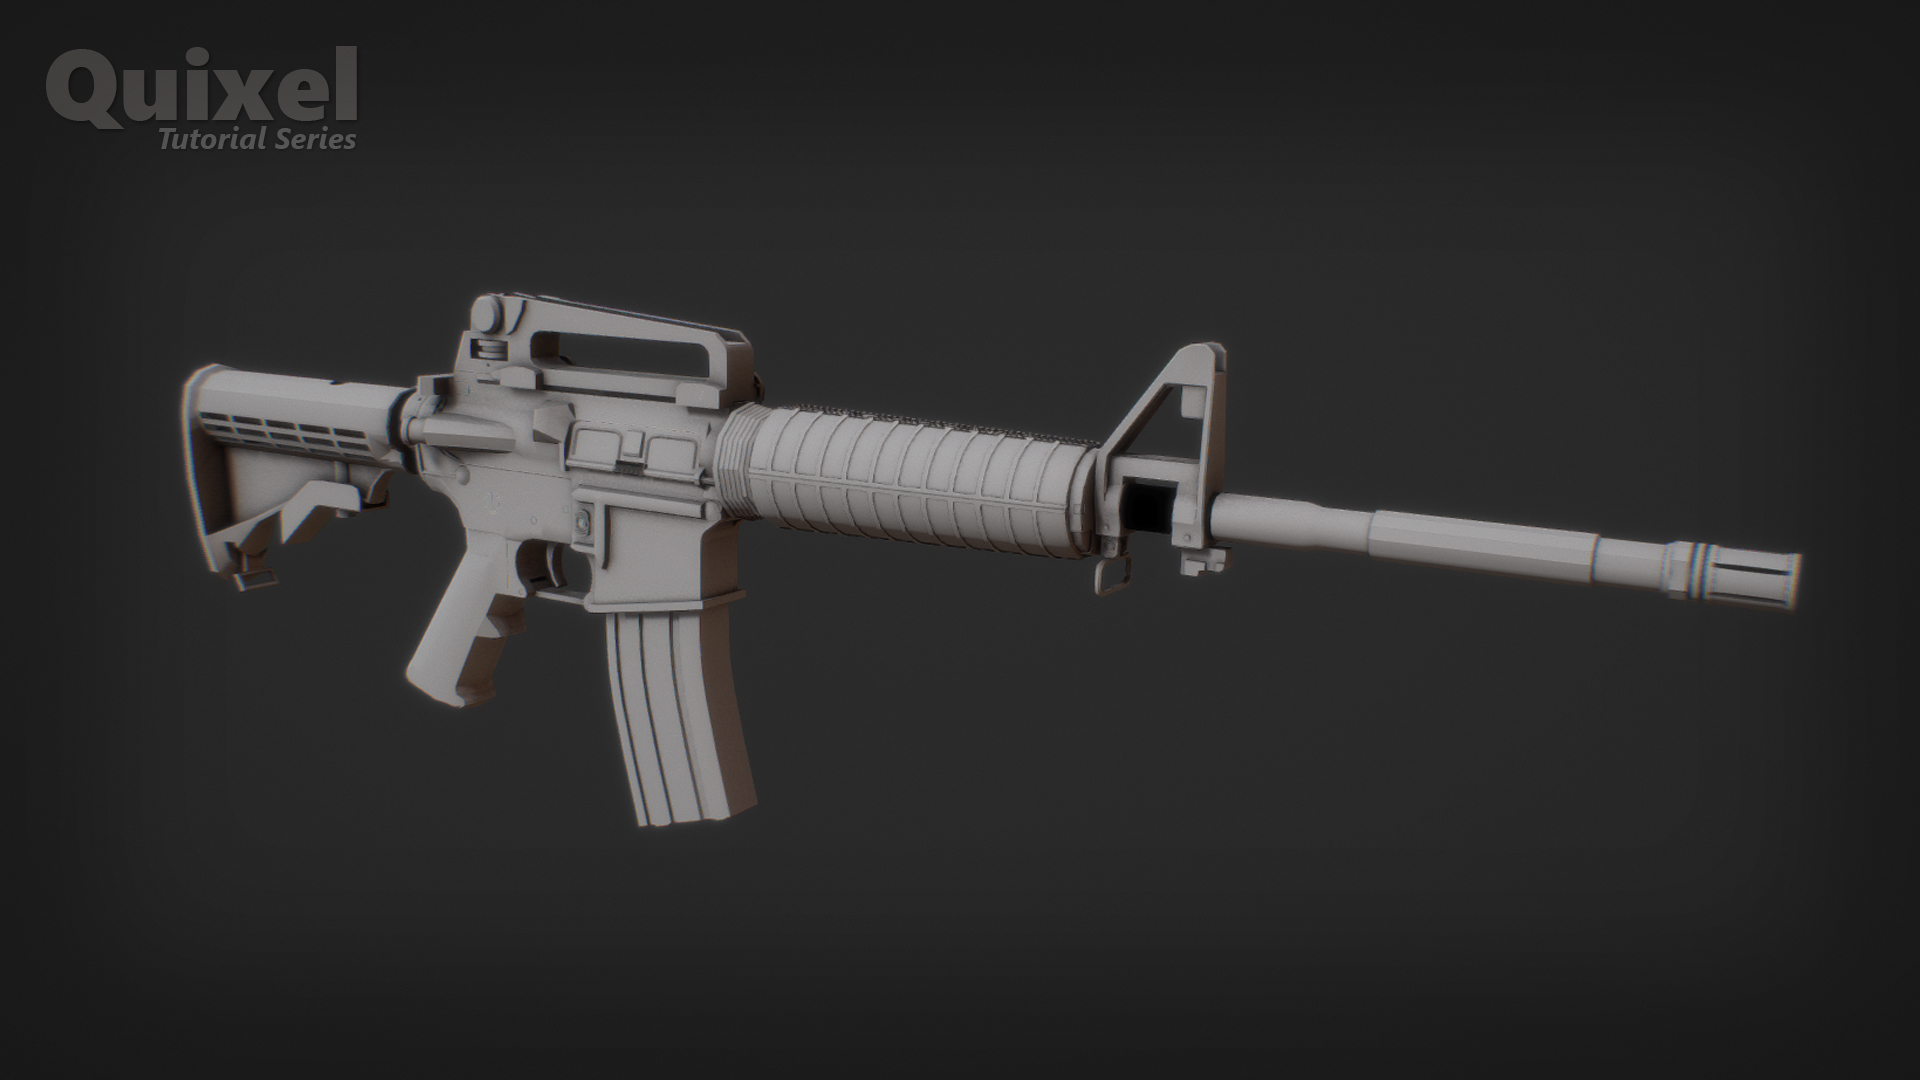
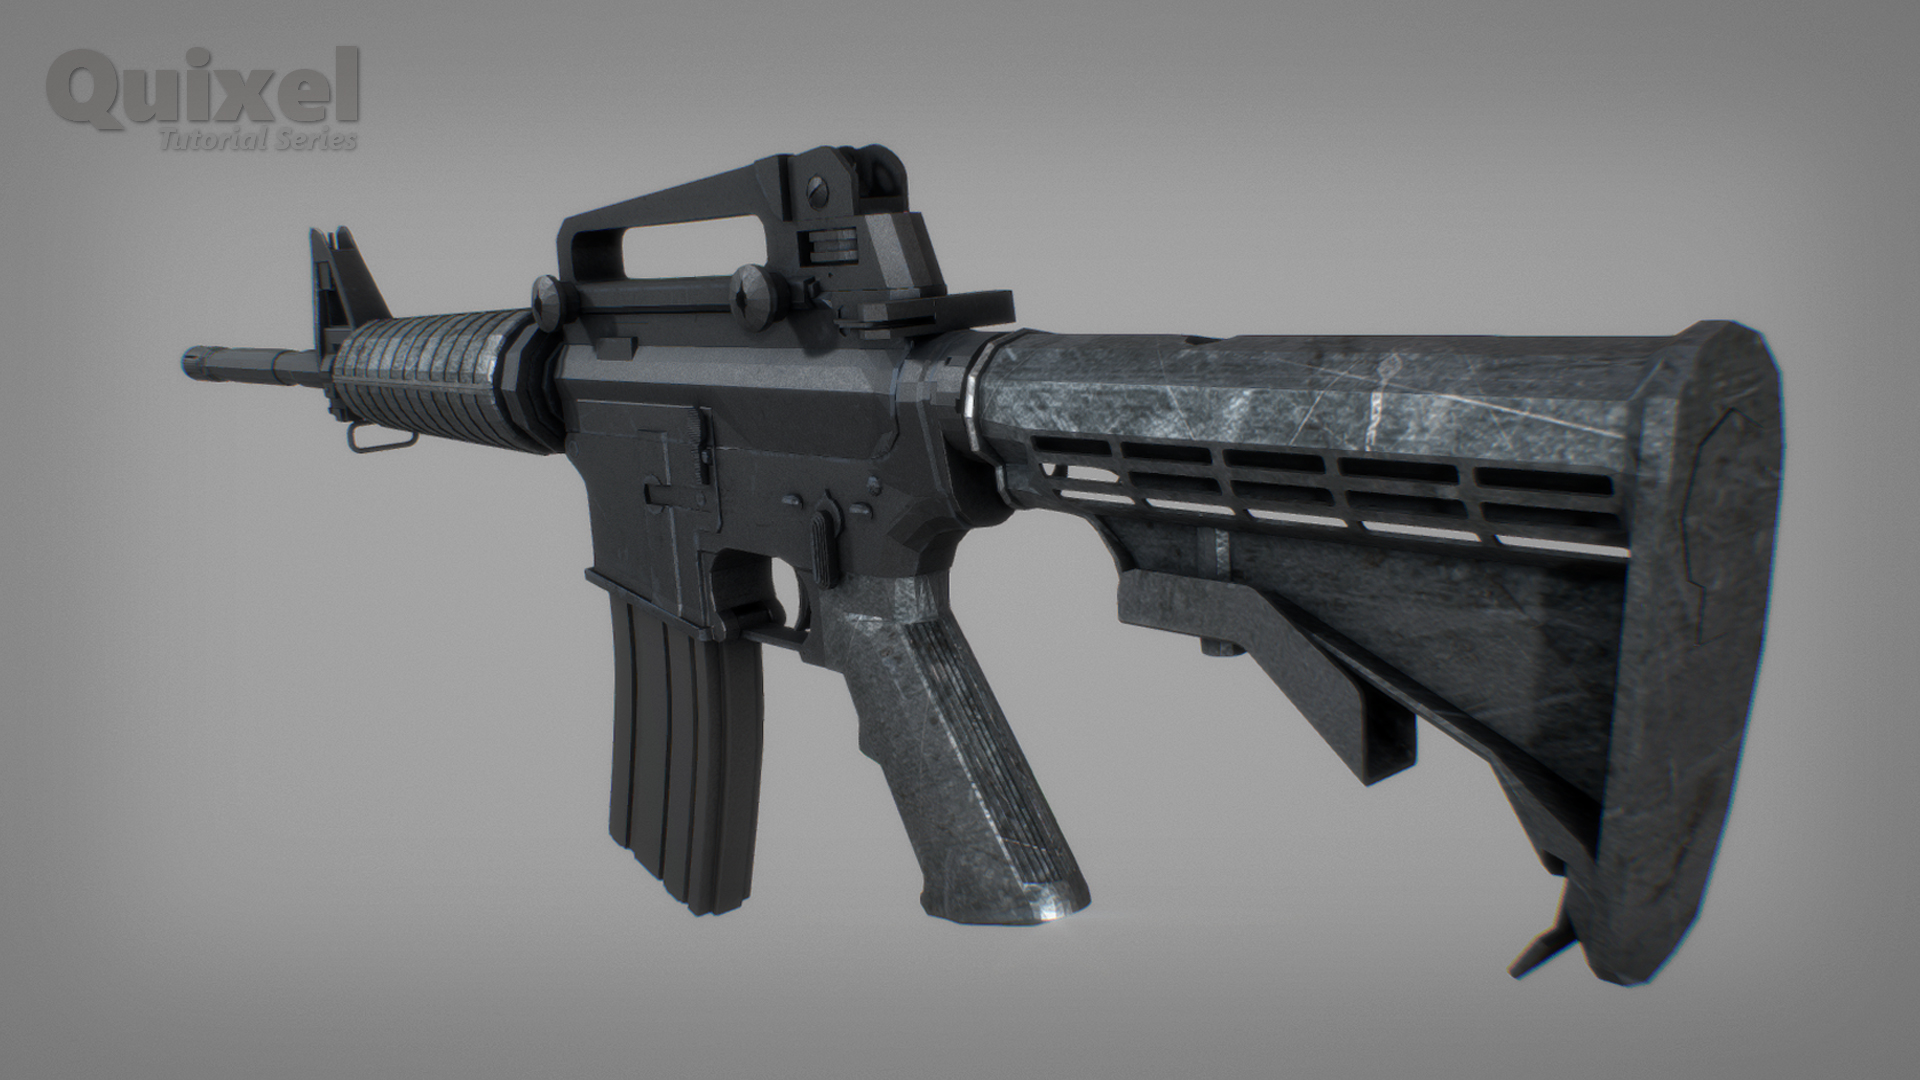
The raw FBX mesh with ambient occlusion applied.
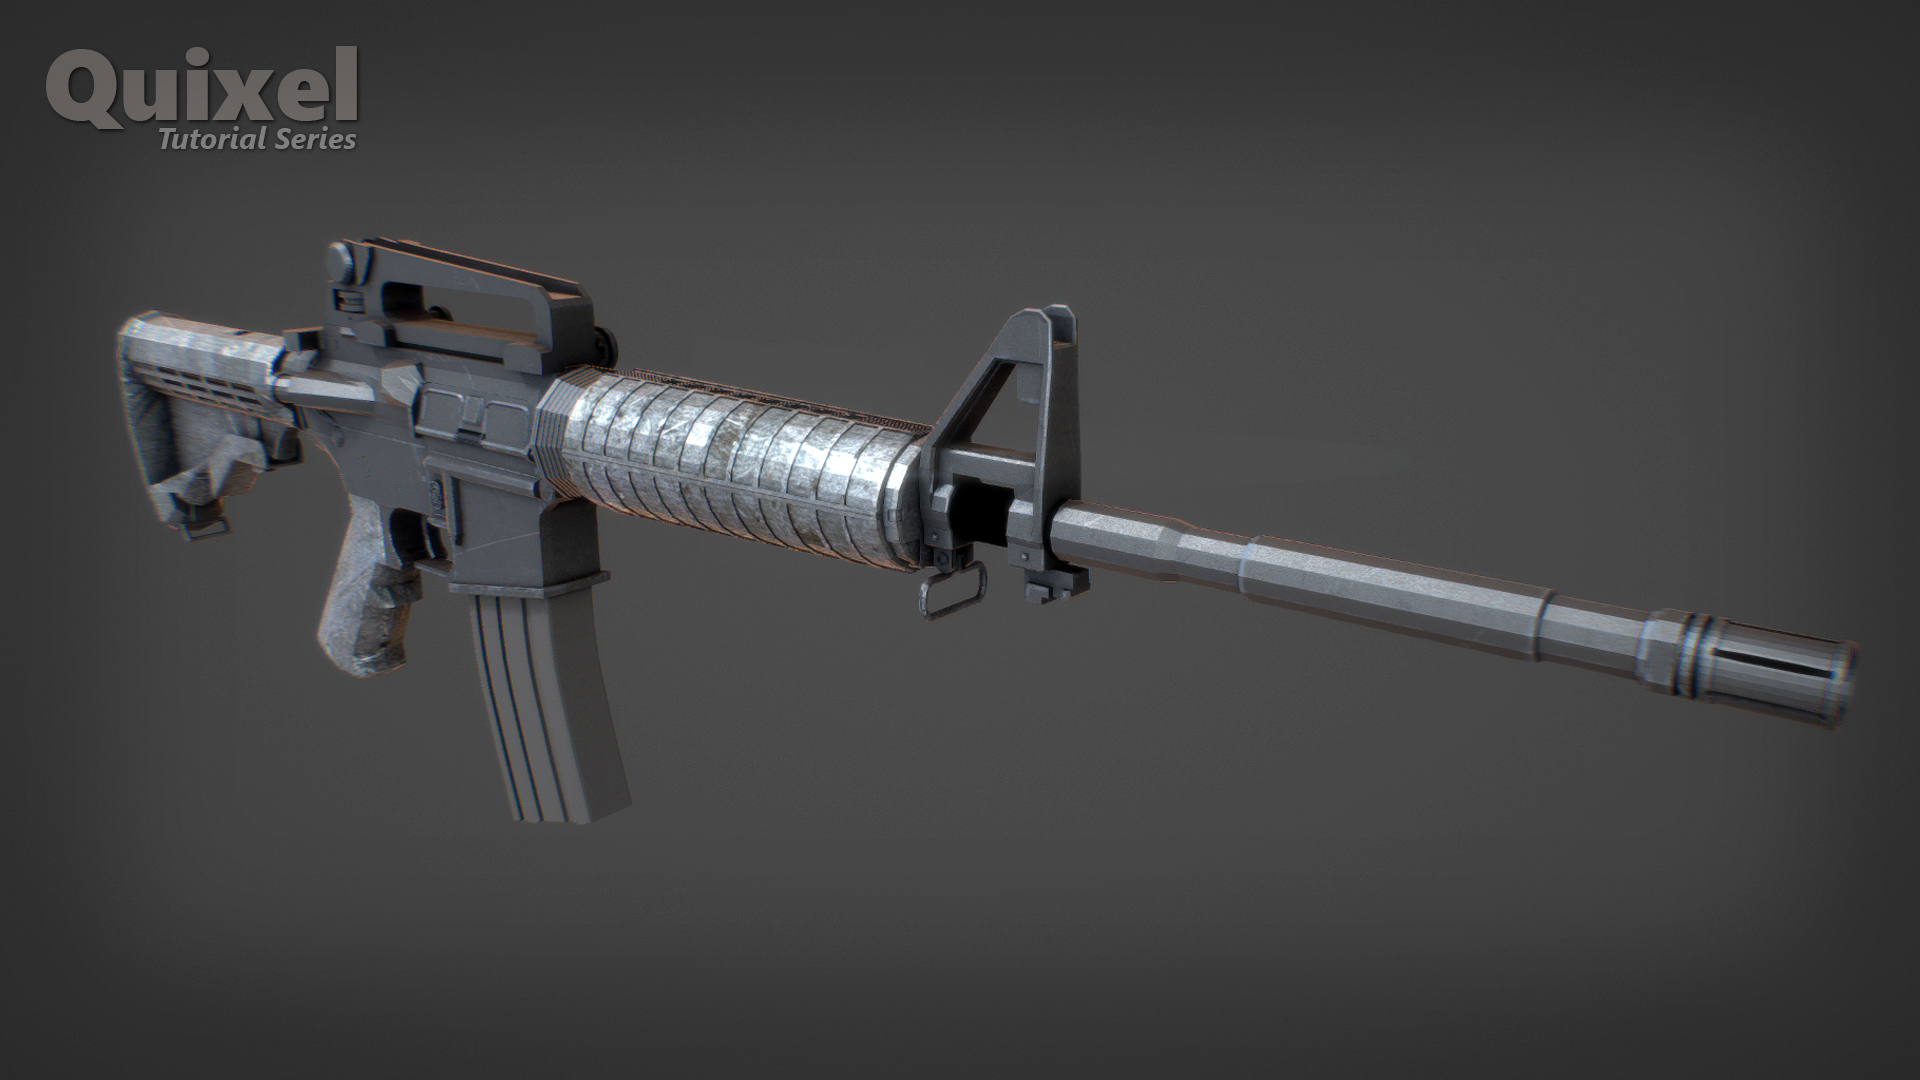
After application of three scan based materials to the mesh.


")