Next video will cover...
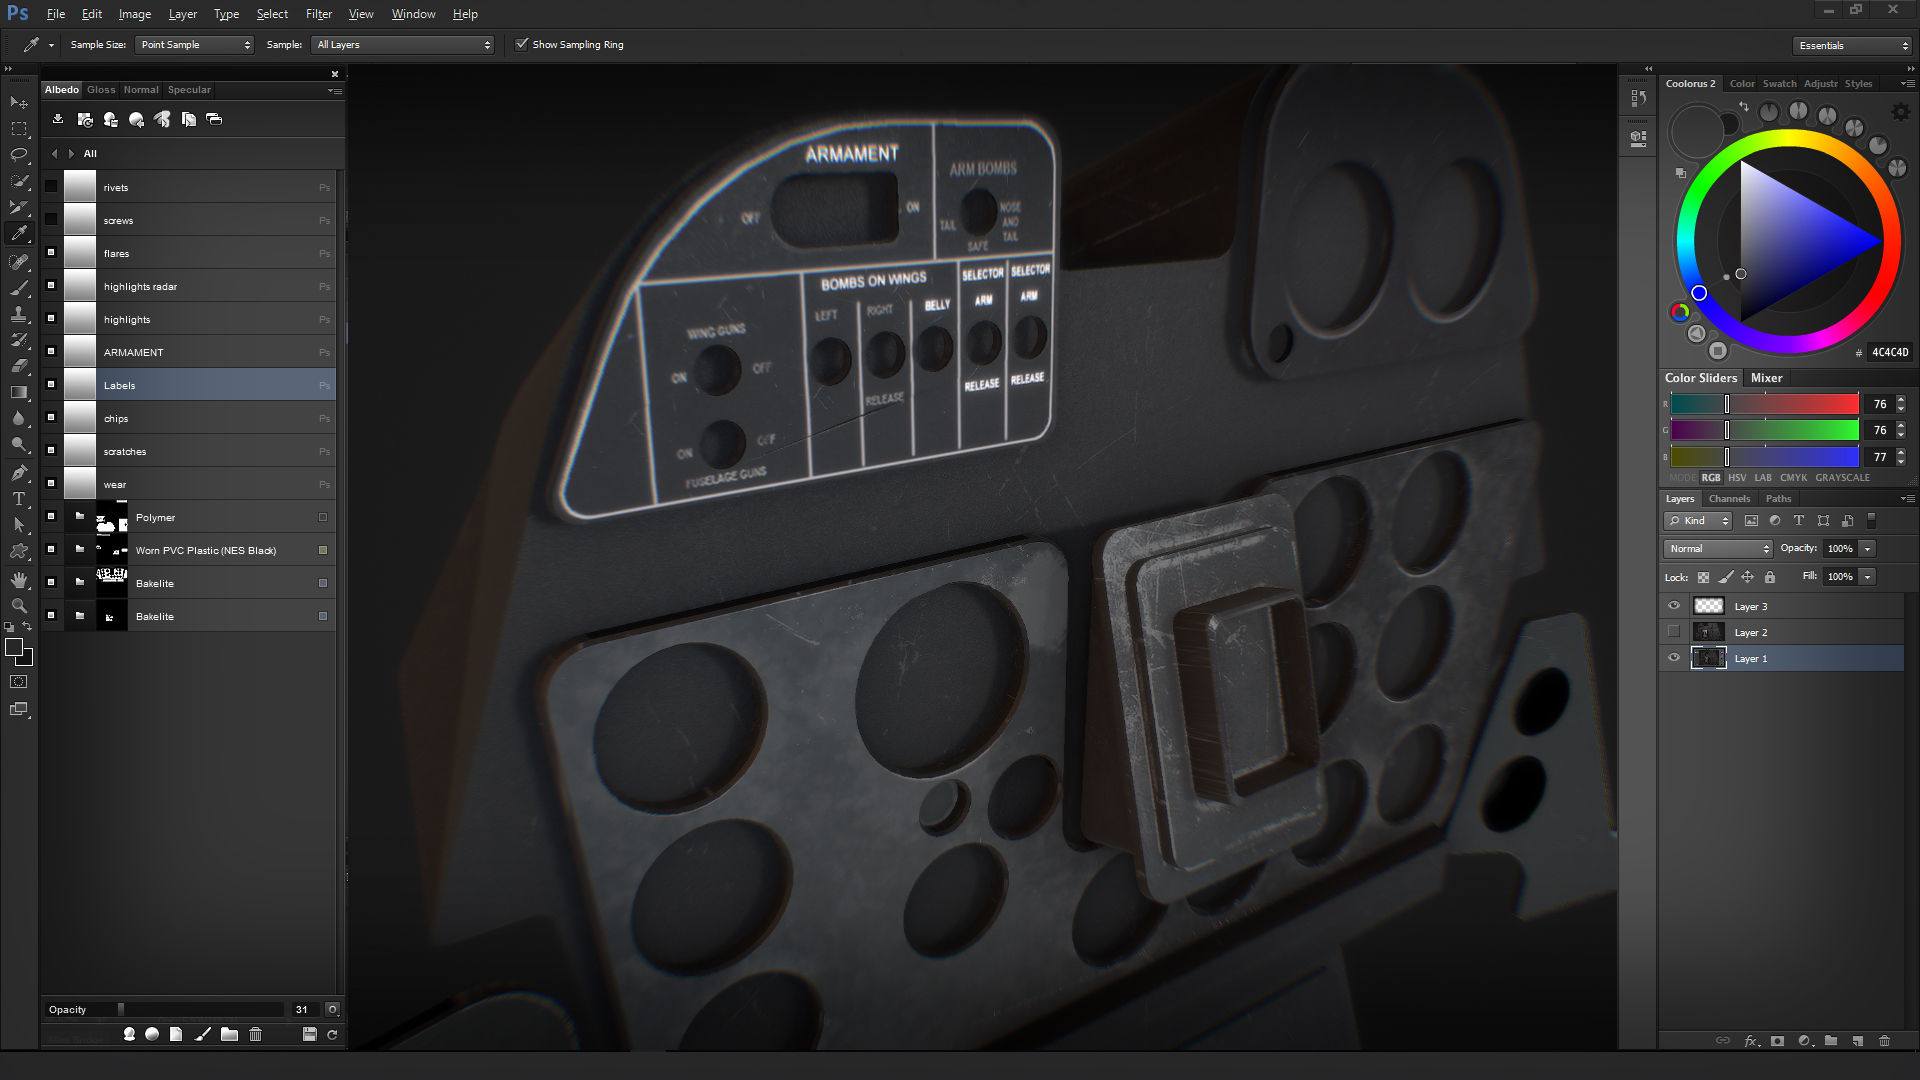
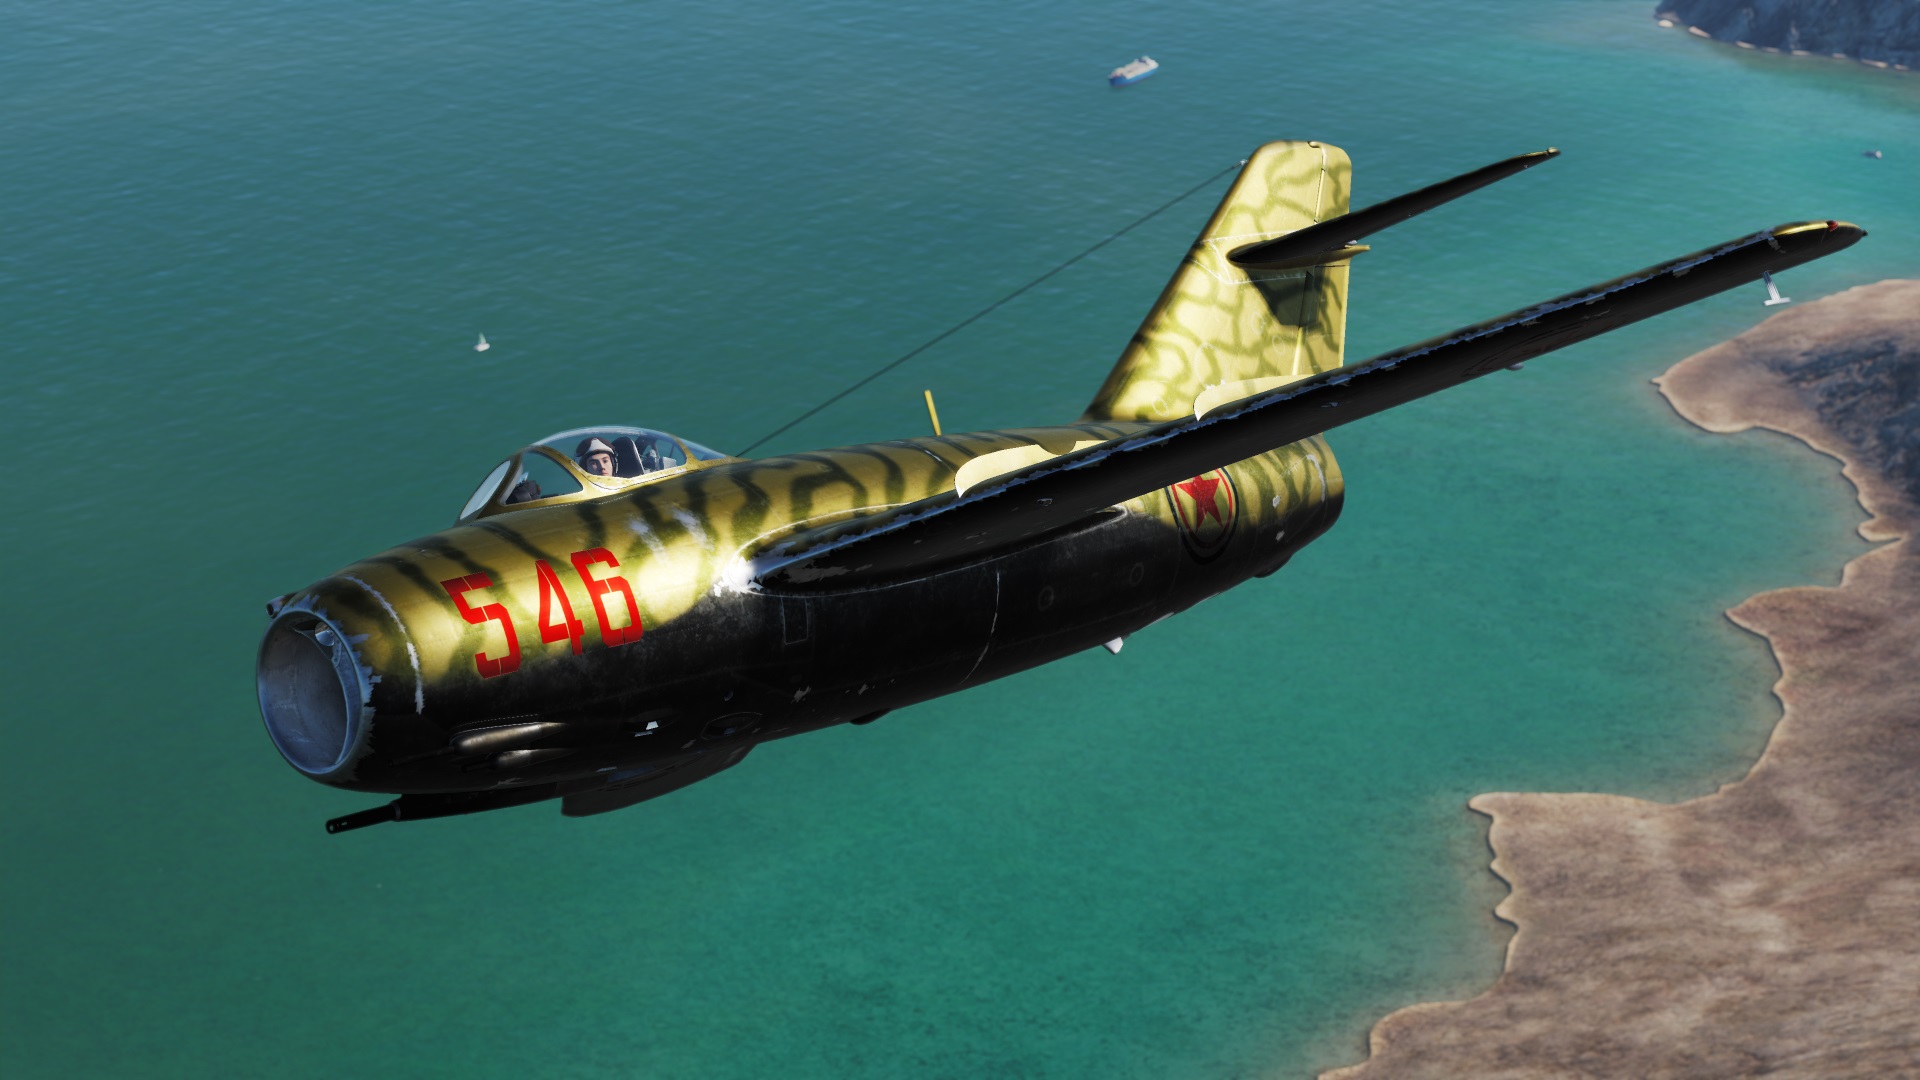
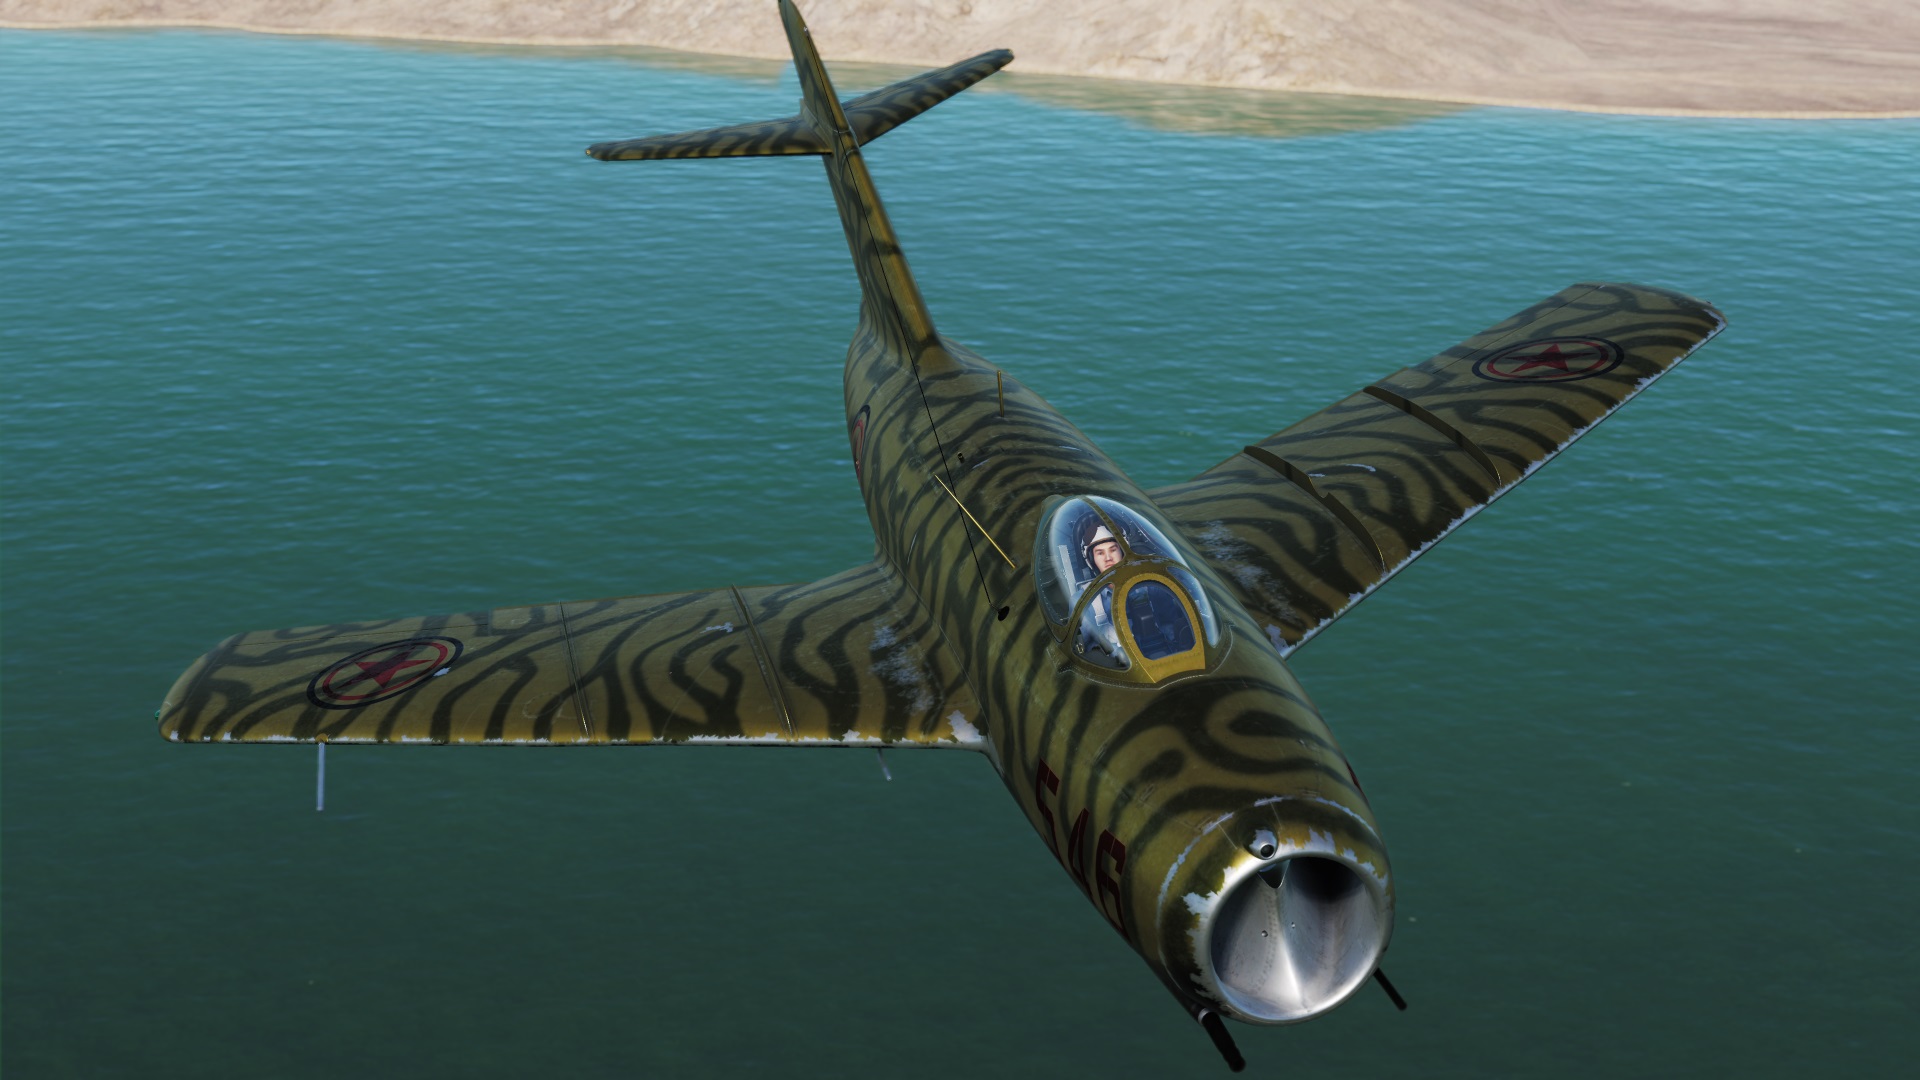
My workflow for PBR basically begins with assigning the textures to the mesh components, just the same as traditional methods, but the base textures are applied to the mesh in Quixel. This creates the foundational artwork in minutes instead of hours of hand painting. The flexibility in Quixel for adjusting gloss, bump height/intensity, specular and diffuse detail is impressive.
(The four bottom layers shown)
This is a good place to export the flattened bitmap out for use in GMAX or 3D Studio.
or
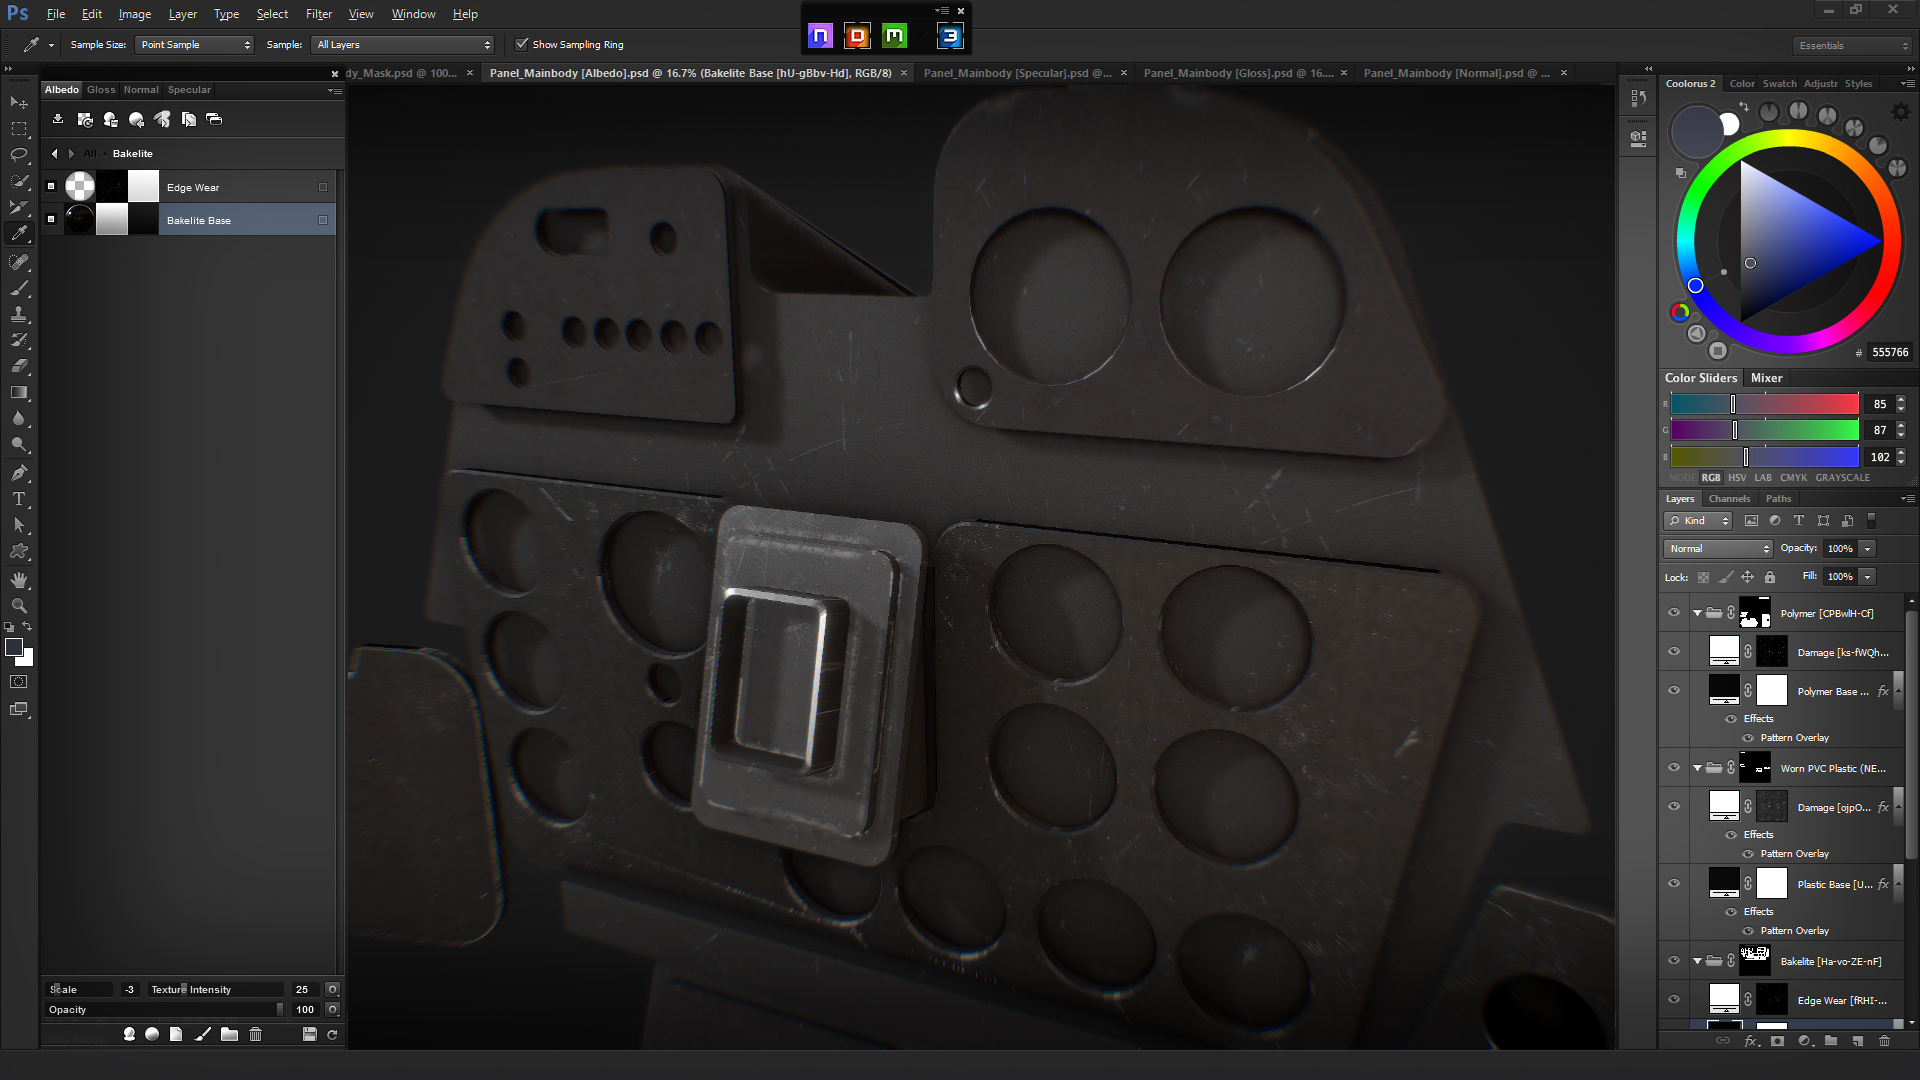
Layer in the photoreal elements, in this case from my master Photoshop file for the F7F Tigercat.
(The ten upper layers)
The thing to bear in mind is each mesh set should only be created for a single UVW map. For instance, the panel shown here fills one full 4K texture sheet, so all of those elements are included in the mesh. Using this method, I can customize all of the various elements, in this case four, in one painting session. The flattened bitmaps will now be assigned in their corresponding slots in the materials editor i.e. diffuse, bump, spec etc. The base art can be enhanced either by hand painting in Quixel, for instance bump detailing which is absolute magic in 3D. The editing process is non destructive to the originals, so changes or errors can simply be erased and corrected.
The challenge for most devs will be to incorporate the 4D chess game into their normal work flow. Once you integrate the logic of the process, it all makes sense. When we inevitably go to full PBR support in P3Dv5 (rumored) we will be able to use the economy of the method that Rick is showing us in his PBR work.
Four basic Quixel layers and my detailed art layered in.
The first four layers only. Less than five minutes from blank gray to this.