Sounds good, Josh! I had tried the .cfg file setup too, but I could never get it to work properly every time.
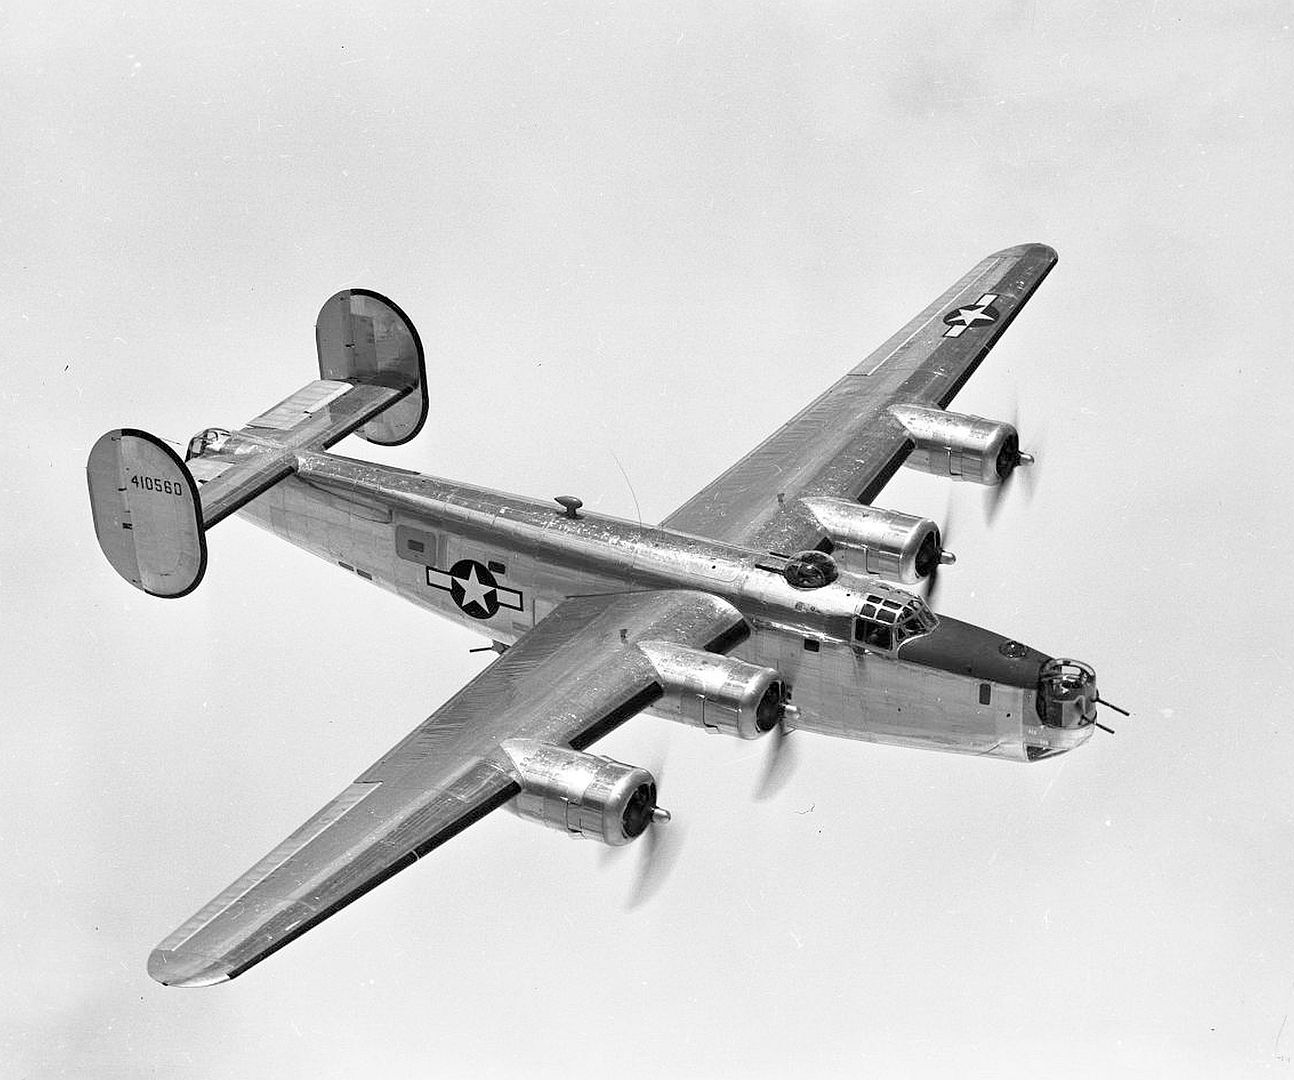
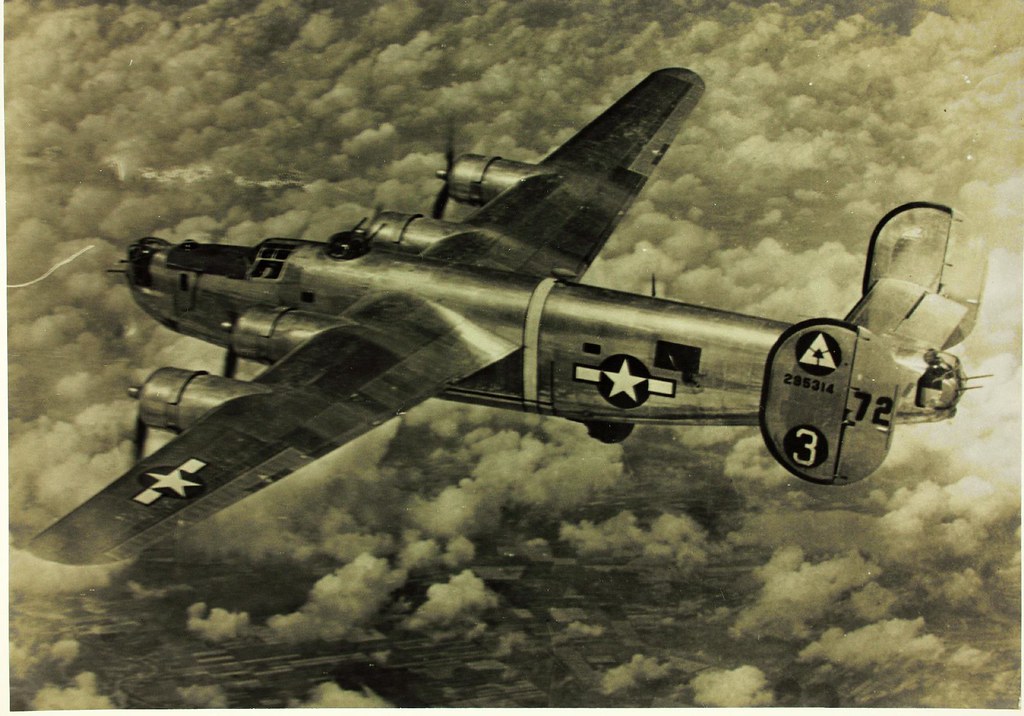
B-24's were very reflective and shiny when they rolled out of the factory. This wasn't due to any sort of polishing, but the fact that brand new, fresh aluminum from Alcoa with their "Alclad" finish, and from Reynolds with their equivalent "Pure Clad" finish, came that way. Skins/panels that had to be handled more and skins with complex curves became dulled in areas where tools (rollers or dies) left microscopic imperfections during the shaping processes (these duller panels can appear both brighter or darker compared to the rest of the skins, depending on the lighting/reflection scenario), but for the most part they were pretty clean machines when they came out of the factory. In the months to follow, they of course would begin to dull some with oxidation while in service - but you can even still see in color photos and movie footage taken in the Pacific, at the end of the war, of B-24's with numerous missions to their credit, still being very reflective (not always illustrated well in B&W photos). When doing "Pugnacious Princess Pat", I noticed it still had quite a high level of reflection in the surface of the aluminum skins (with 11 missions under its belt at the time), and I wanted to have it looking that way in the sim as well. I've also been inspired by model box art that typically portrays B-24's with quite a reflective/shiny finish too. On my repaint of "My Akin ?", it really should be dulled more, with all of the mission markings on it, but I really just wanted to keep it reflective and shiny with the red cowl rings, which really attracted me to it (as it is depicted with in artwork). It ensures the aircraft still looks nice flying into a modern airport or a virtual airshow in FSX or P3D as well. : )