Caro Manuele,
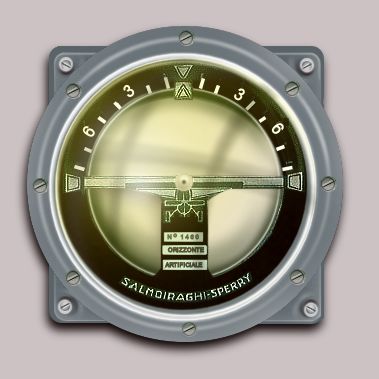
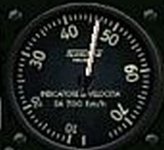
I used the jpg purportedly of the aforesaid gauge... to show what can be done with it..
and I just improved on it...
At any rate... my comment on the inaccuracy of placement stands... they are really not done well...
they are just hanging in the air...
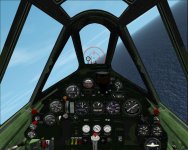
As to the panel... here is a photo.. purportedly of a Veltro... that shows a gauge
mounted over the panel and not from the back... and a pull handle that is on the other side... of the Alpha Oldie...
The gunsight does not look anything like the S. Giorgio at all...
go figure...
I don't fancy myself an expert on anything, except perhaps on the use of painting programs and a bit of artistry...
if I have a photo... no matter how blurred... I think I can do a fair job at rendering a good reproduction...
The photo of the Veltro might, again, be incorrectly labeled...
Maybe we are talking about two different panels... My comments were on the Alpha Oldie shown in the post...
I don't want to ruffle any feathers... please...
ciao, ciao
Carlos
Bloodl_Hawk23,
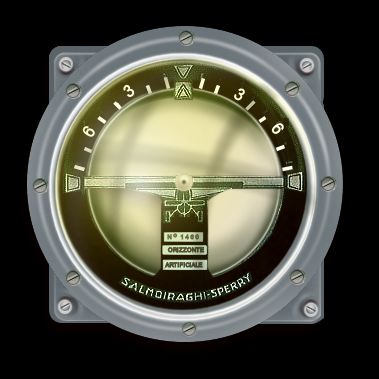
The technique is simple.. working in layers... you use a layer for the glass... and play with the transparency... I usually start with a
circle filled with the solid color... make it very transparent (looking through the layers over the dial)... Then, add layers one at a time... for cockpit braces mirroring on the reflection (then make it barely visible), then shines and light spots.. etc. when I am happy with the results... I fuse all the glass layers into one.. of the proper luminescence, transparency, etc. so the dial shows through... if you are interested, I can do a step by step tutorial in my regular thread... let me know...
Thanks for the words of encouragement...
Carlos
Manuele,
I think I know now what you are referring to... thought you meant the panel made by Kelti...
As far as the gauge you are talking about... the face is correct... and since the bmp is made from a layered file,
one can use only the circular bezel layer.. and forget about that plate...
I think we both jumped the gun... you not knowing the intricacies of the design of the file (layers)... and I thinking you were talking about another post... At any rate... The artwork is definitely better than that pic (in Kelti's post) and DOES NOT have to be used with the flat plate with four screws...
G.


 , which is a serious offense because these temp files are often deleted with a batch file (on my rig at least) to keep the gauges folder clean. So i may end up deleting a vital component inadvertently.
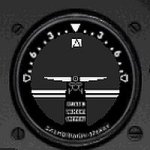
 left out from the Gorrini's memorial package.
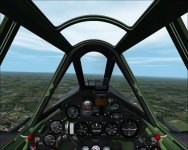


 The gauges look great.