SteveDra
Members +
There are some real screenshot "Artists" here! (Tips!)
Hey Guys,
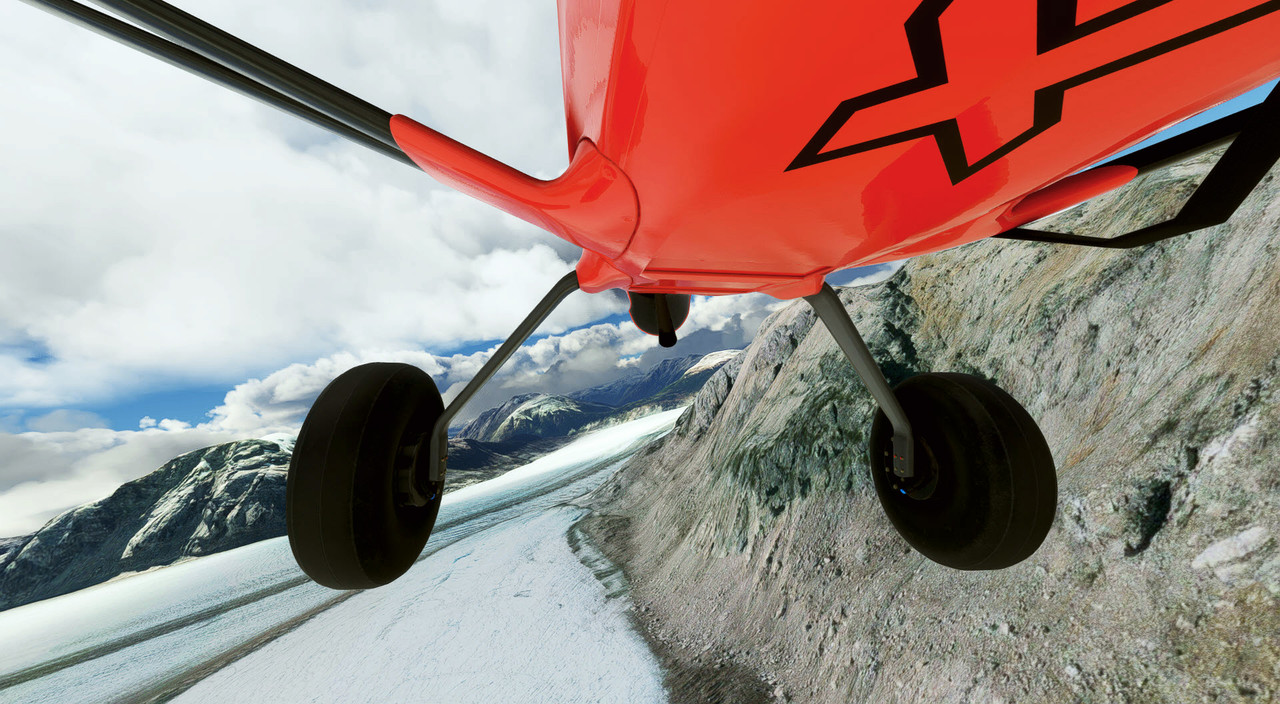
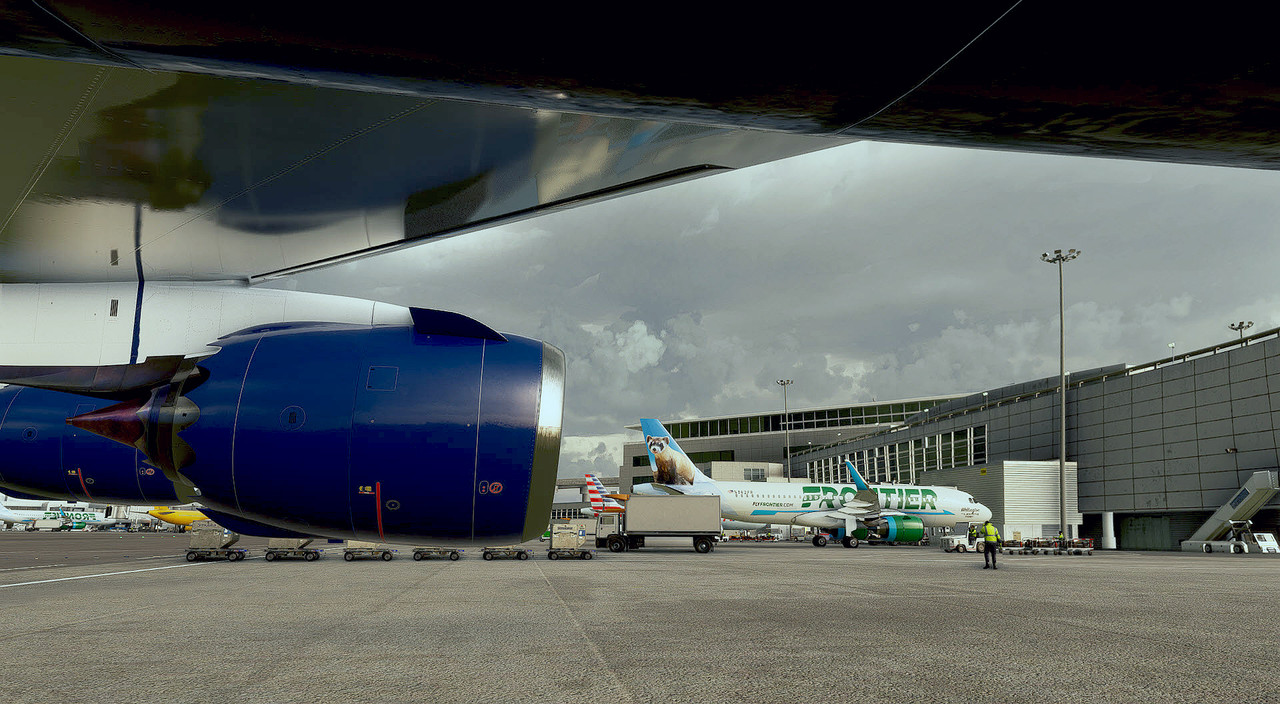
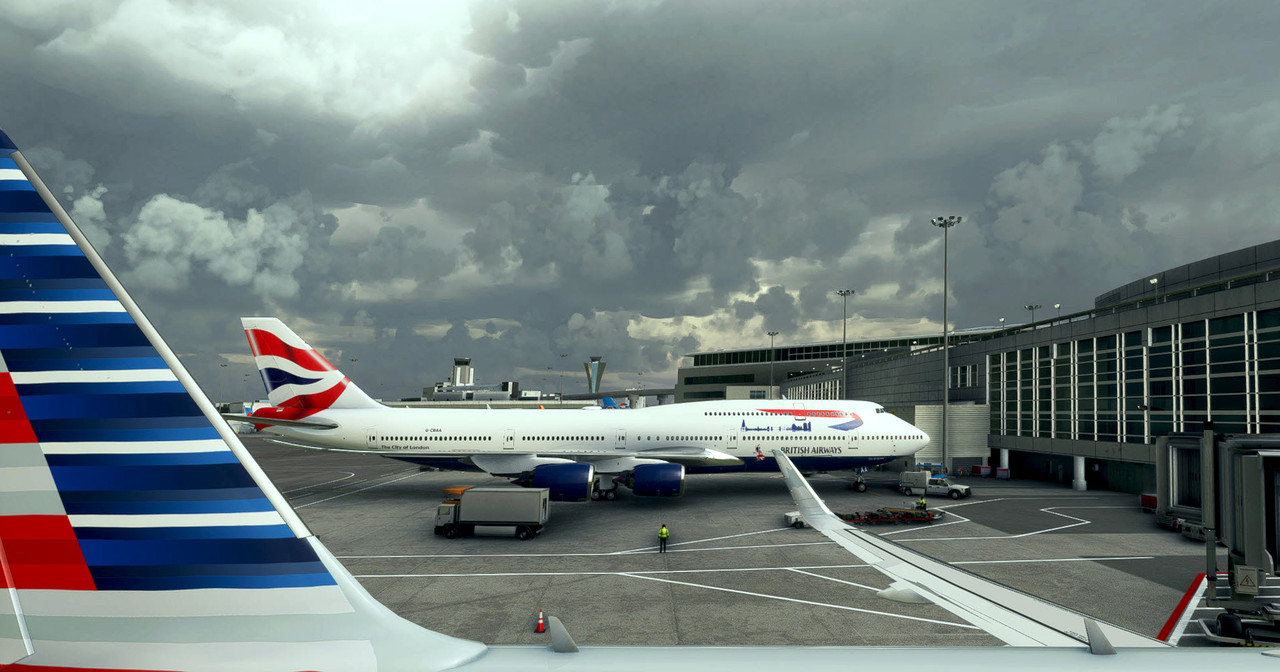
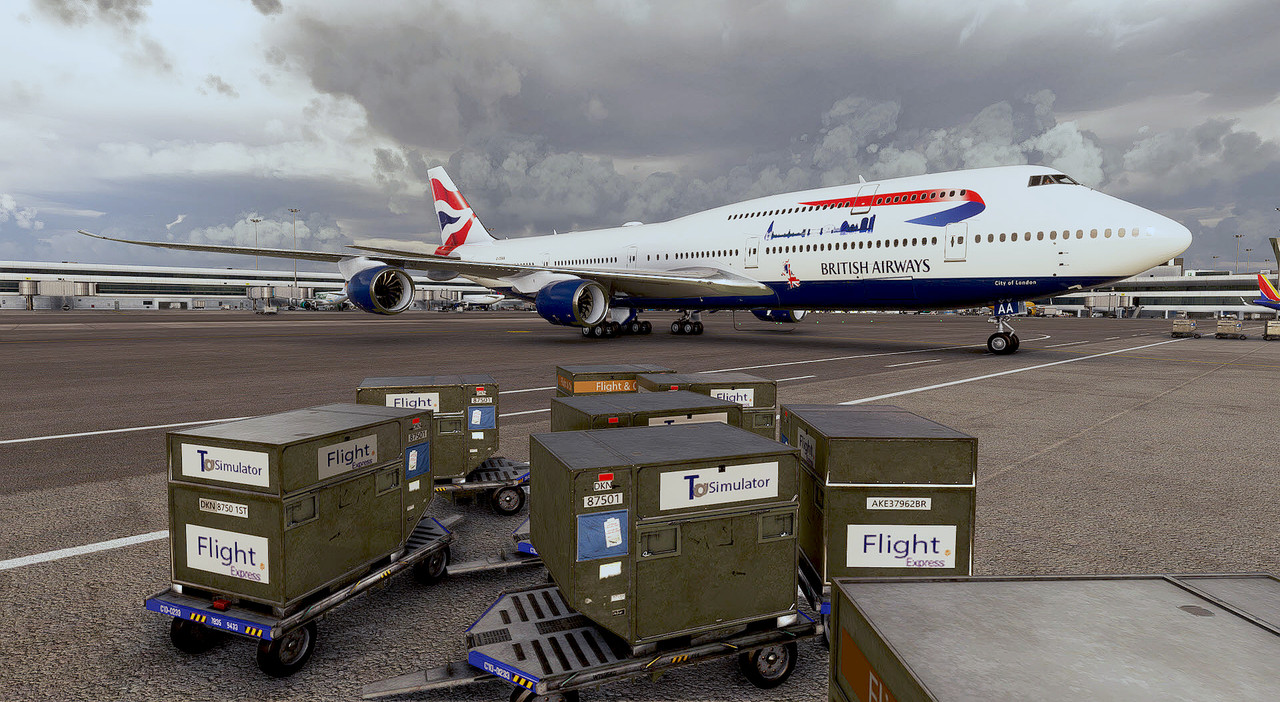
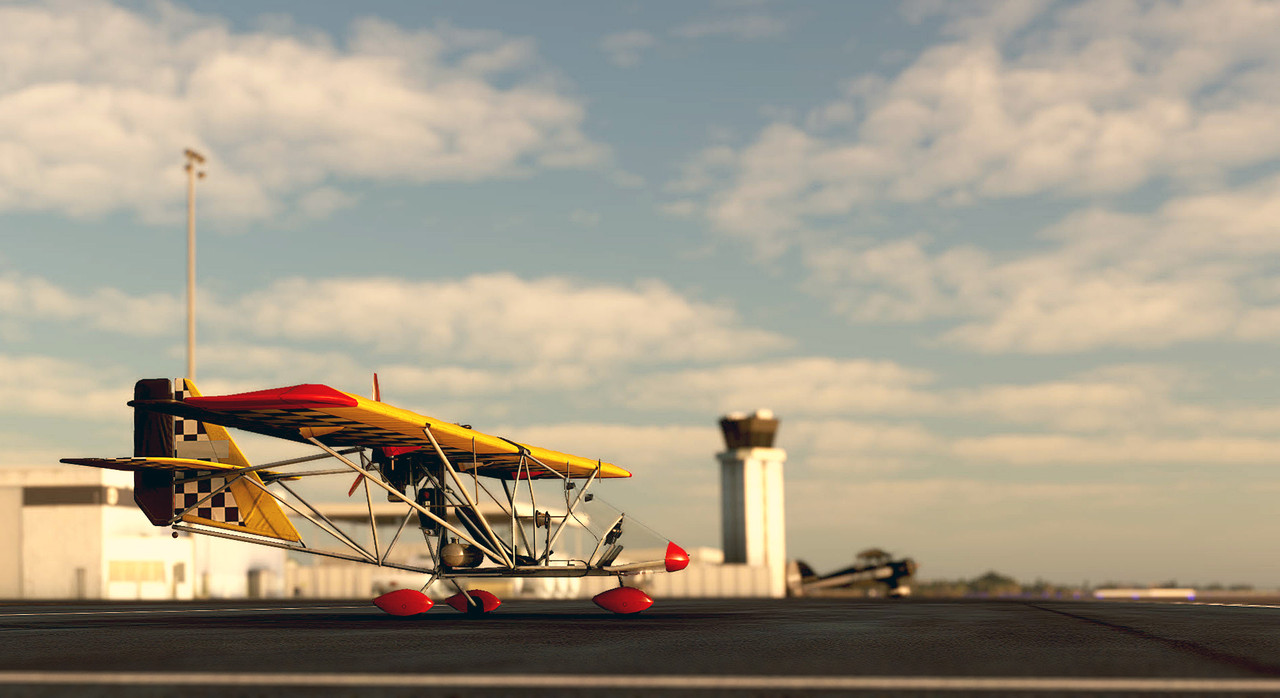
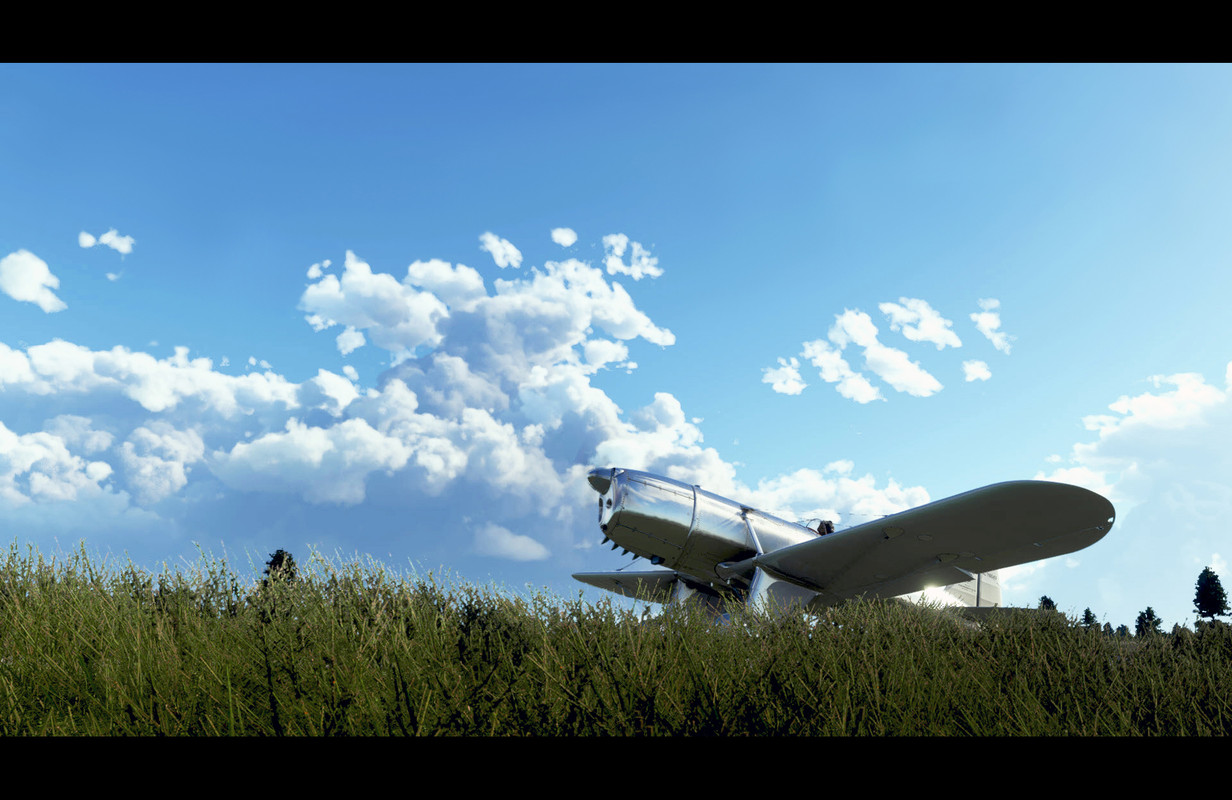
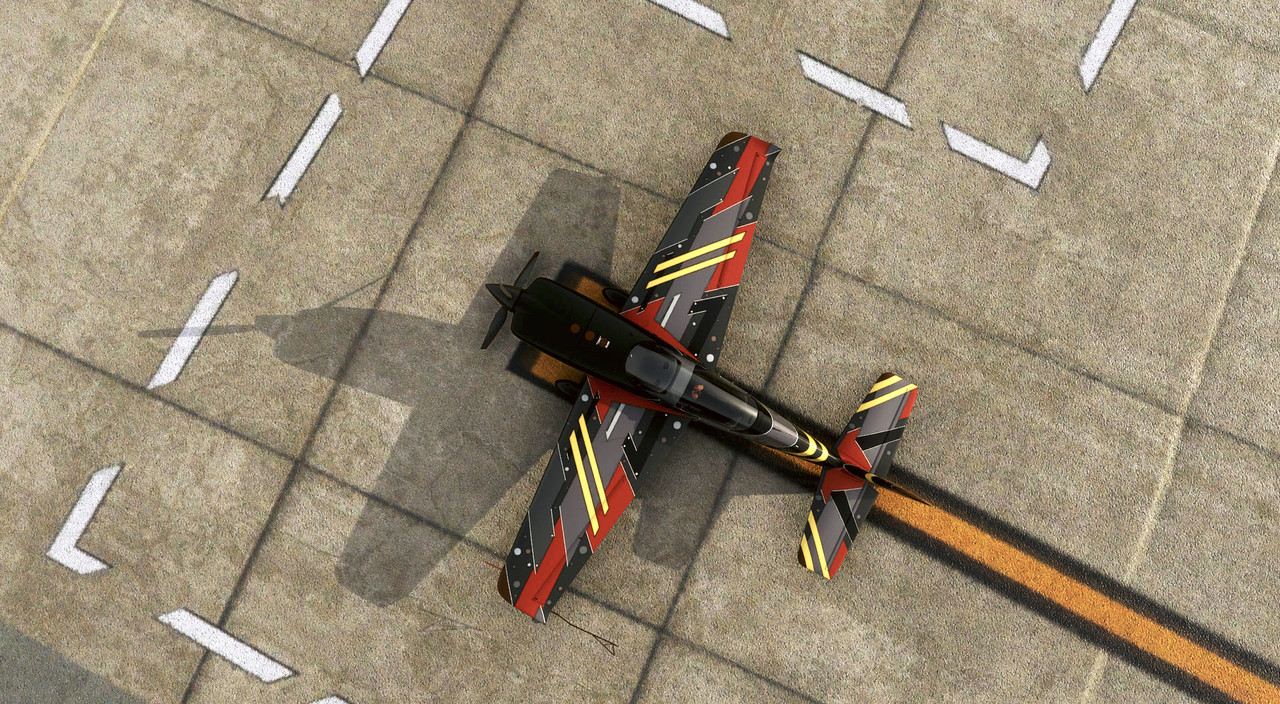
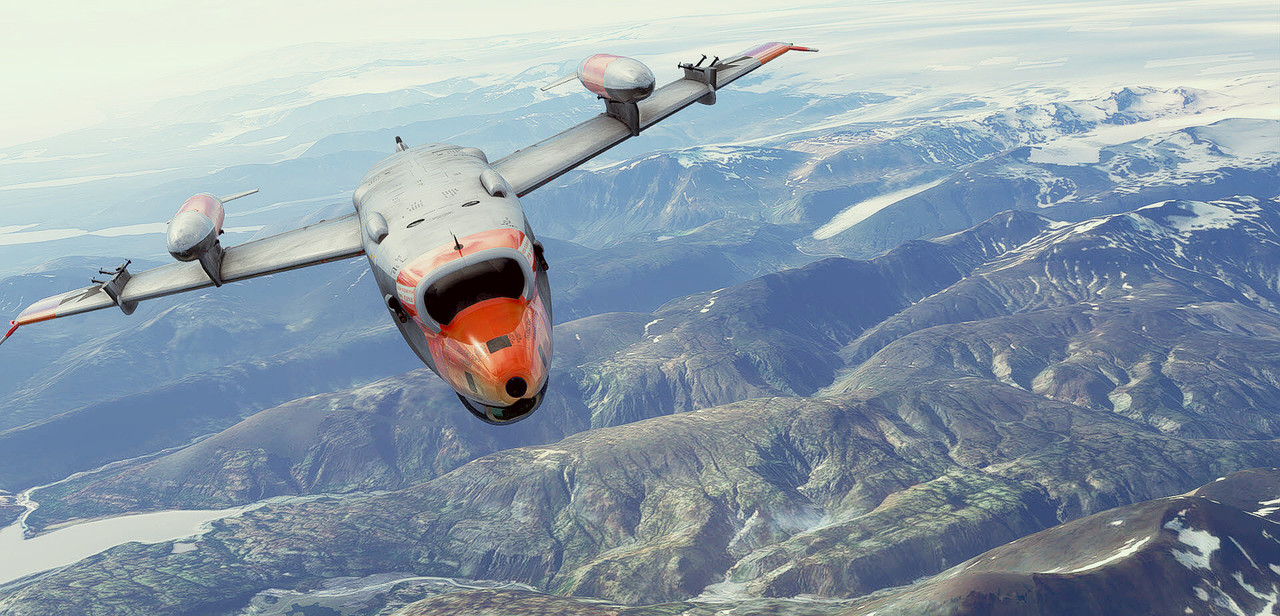
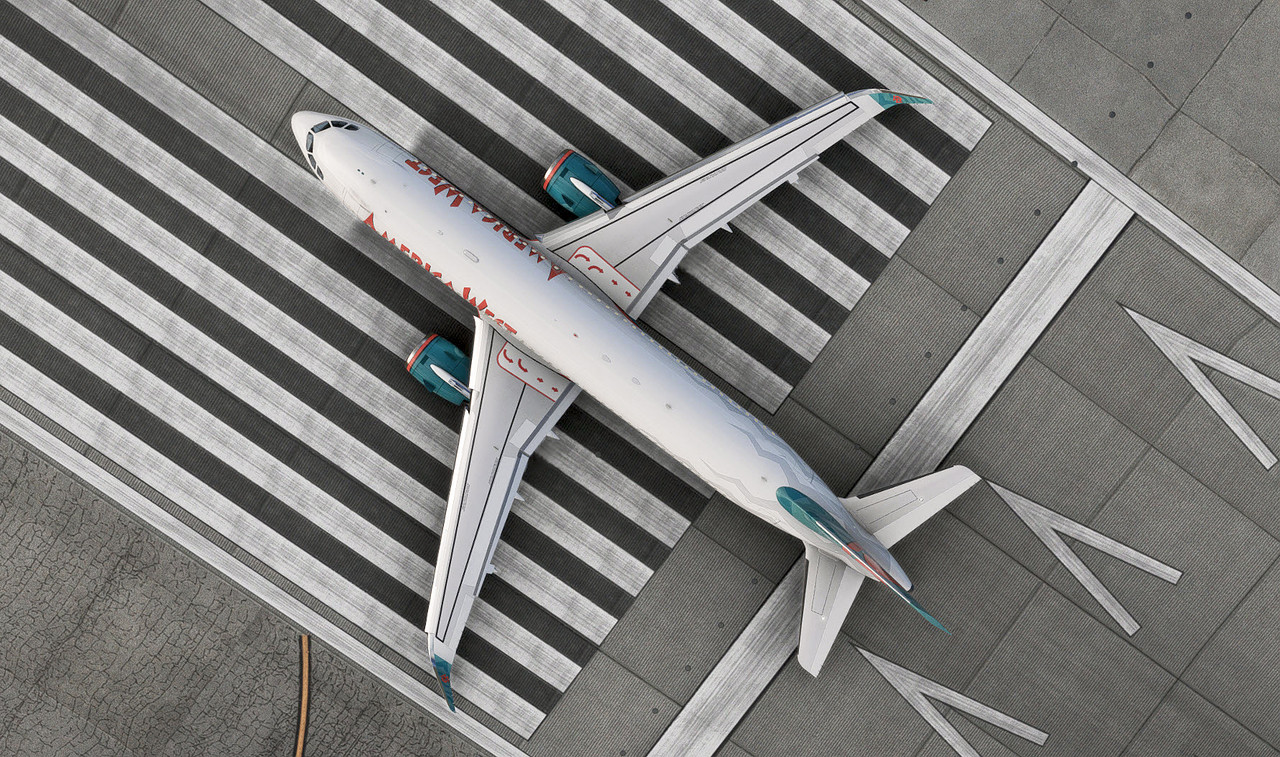
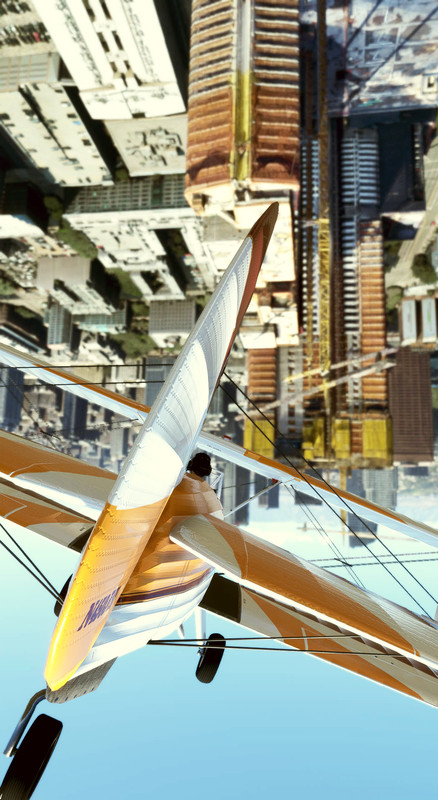
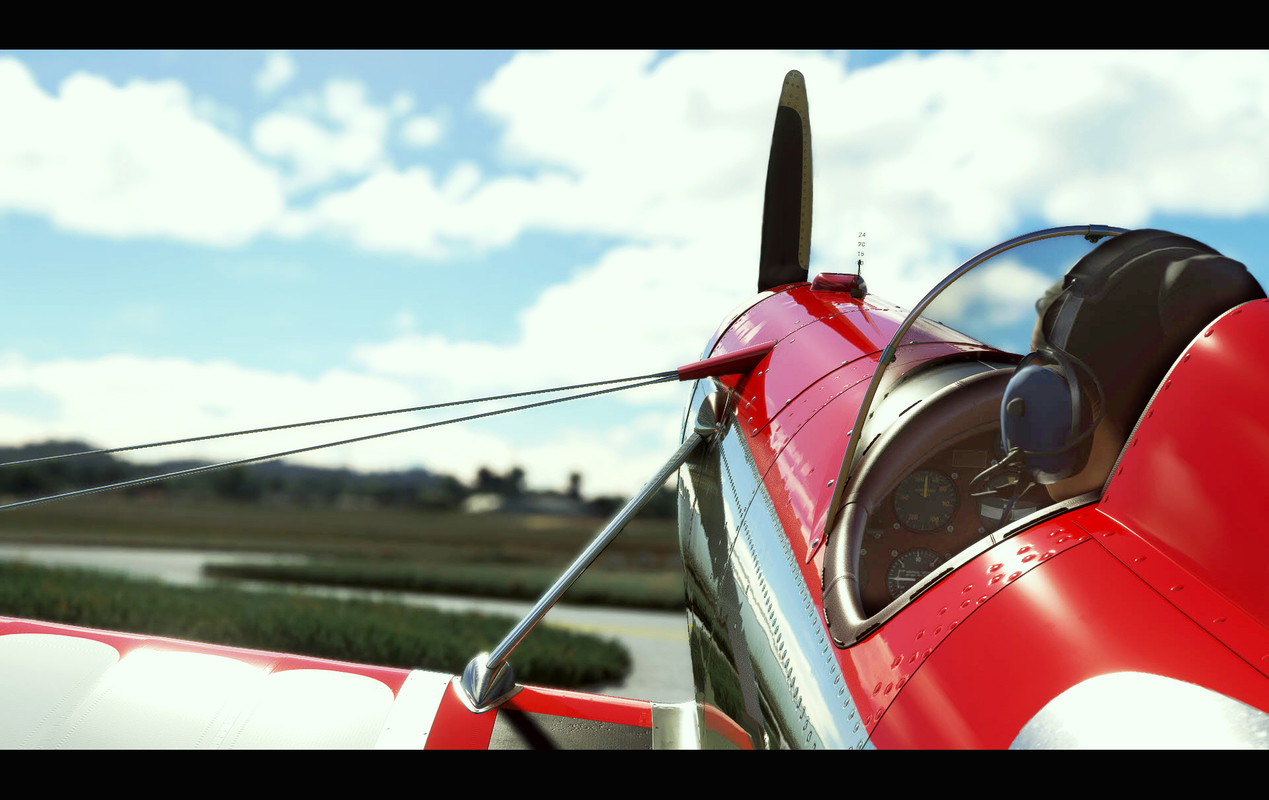
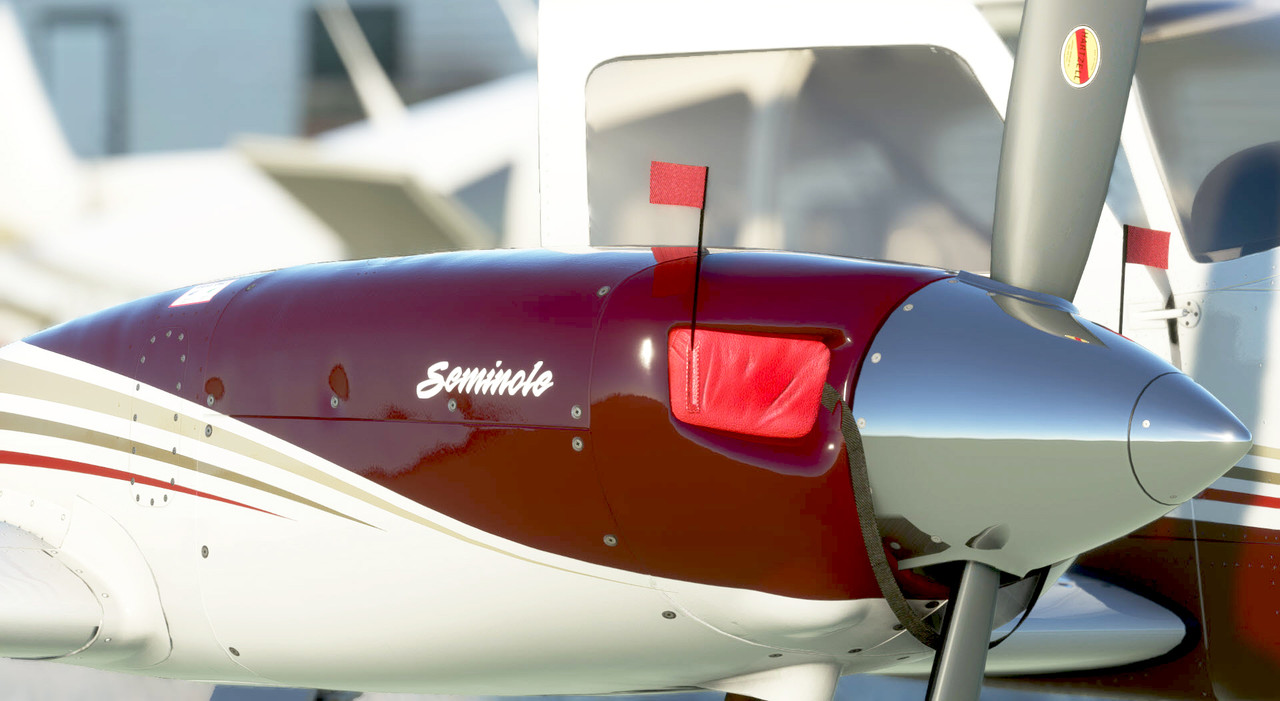
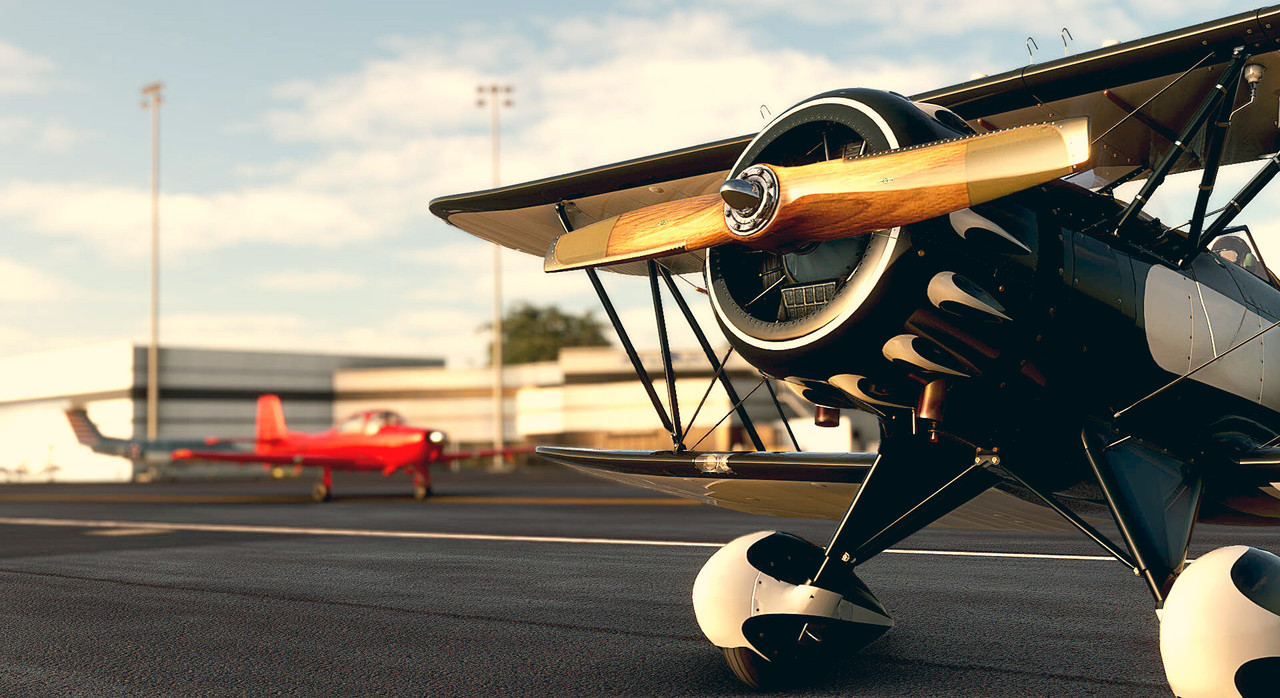
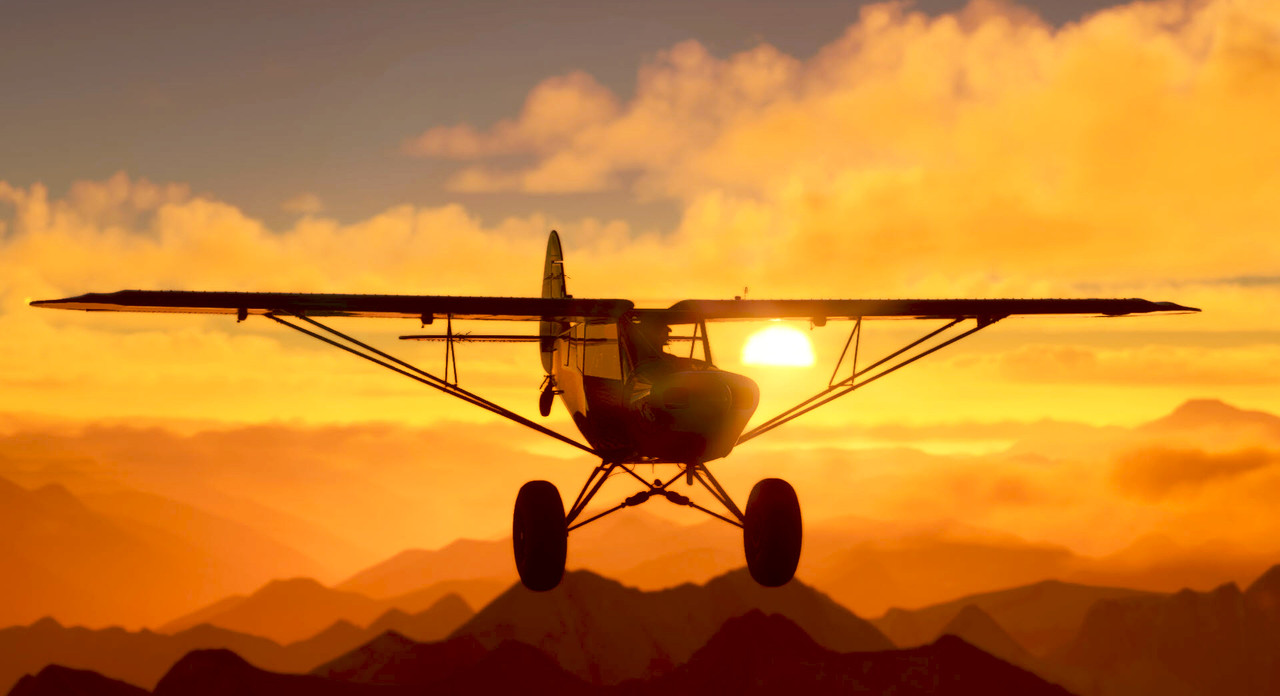
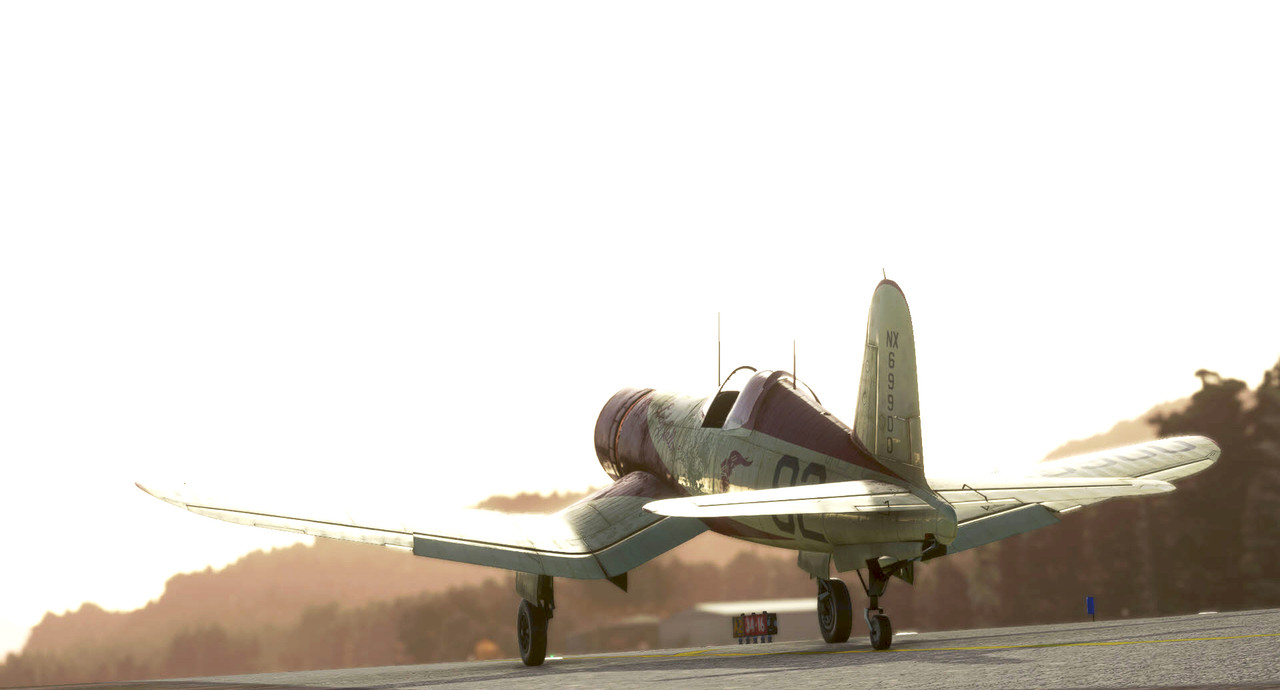
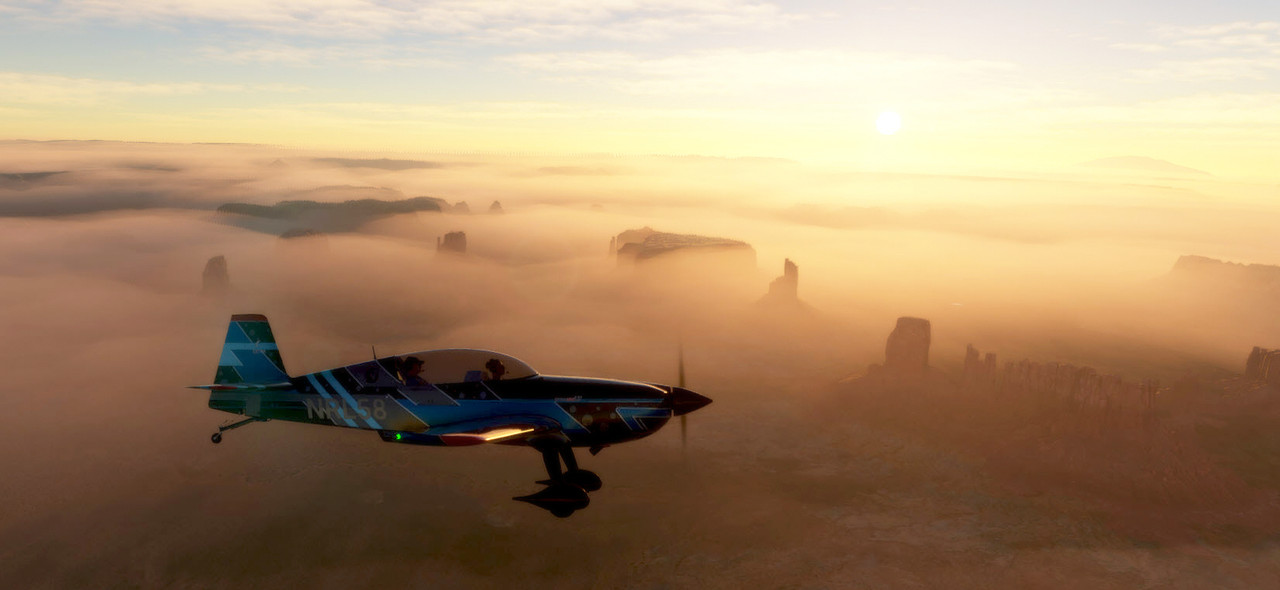
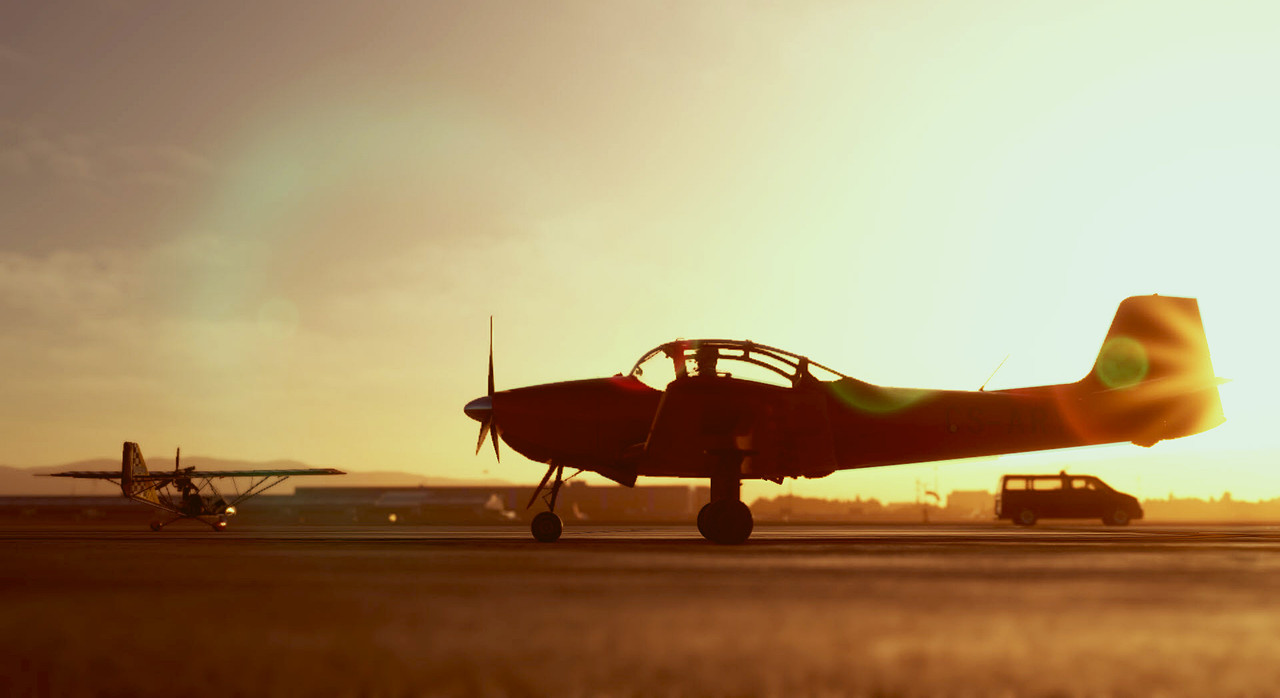
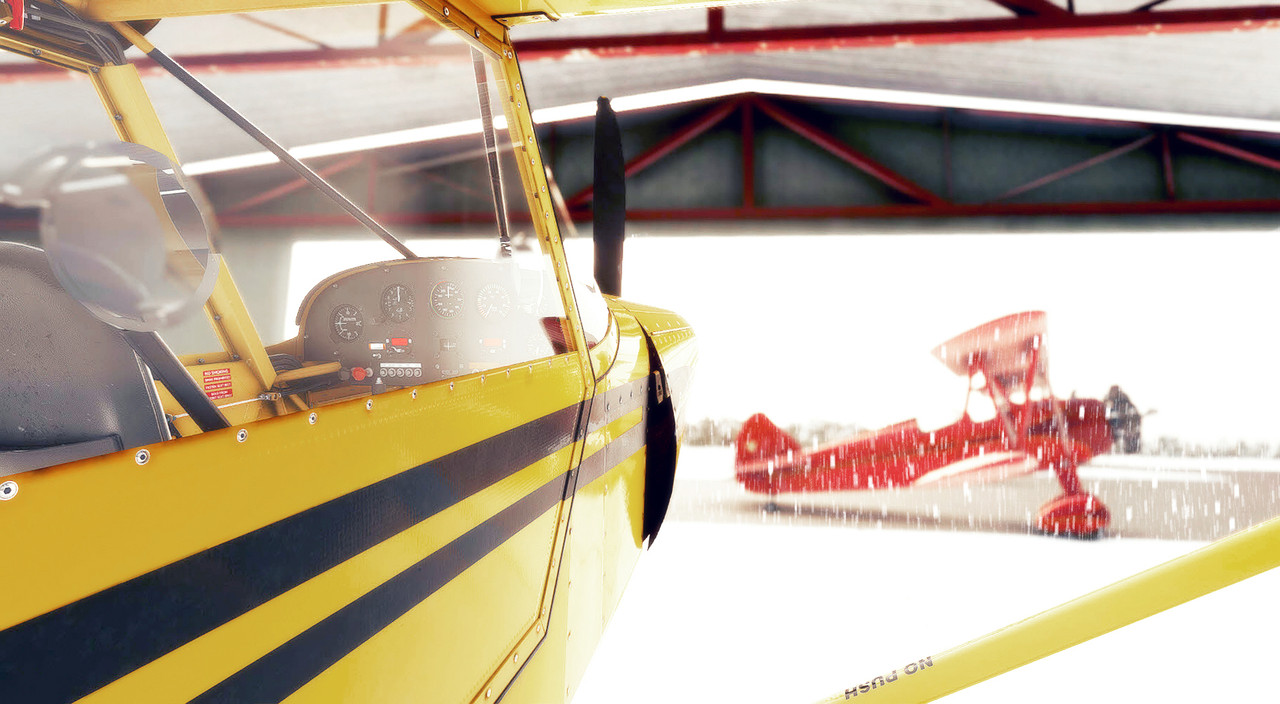
Some of you know me as a "painter" who's been in the the 'biz for a while. While it's a talent I share with many great painters we all know and love, I am literally awestruck by the screenshot artistry that I consistently see in the Screenshot thread here.
Let's be clear....I visit many flightsim sites, each with their own screenshot boards, but they absolutely pale in comparison to what I've witnessed here.
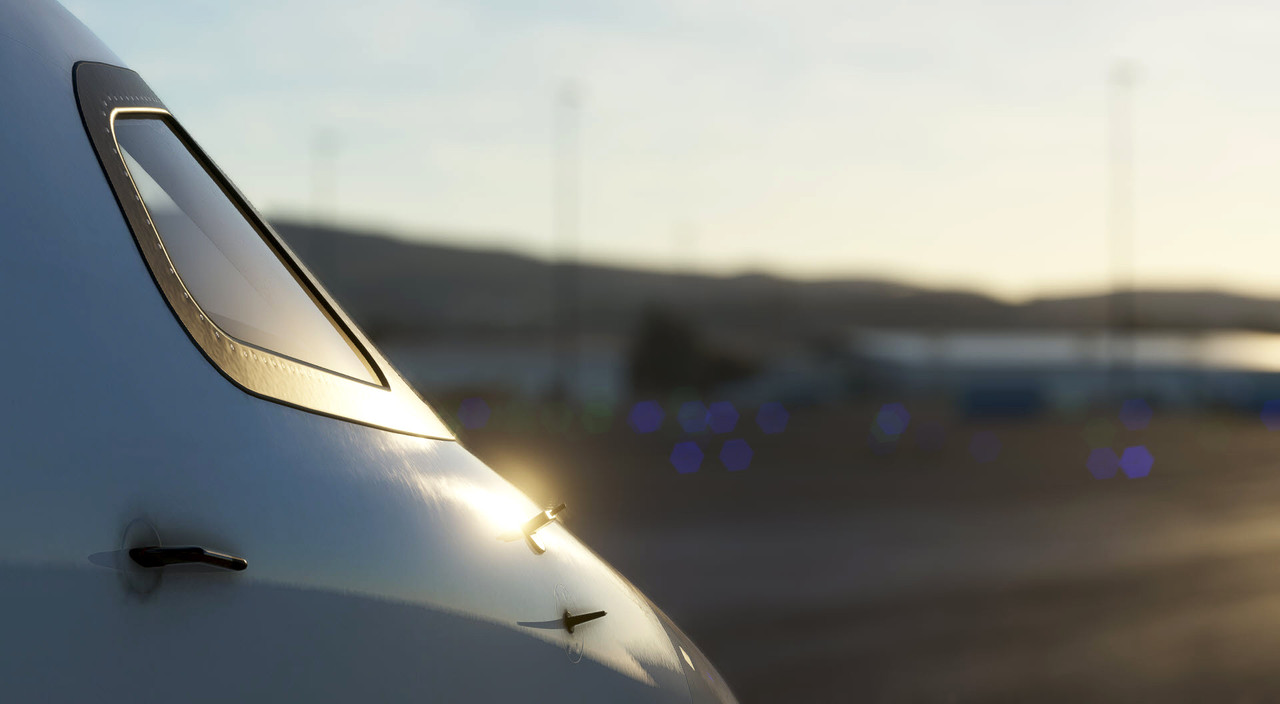
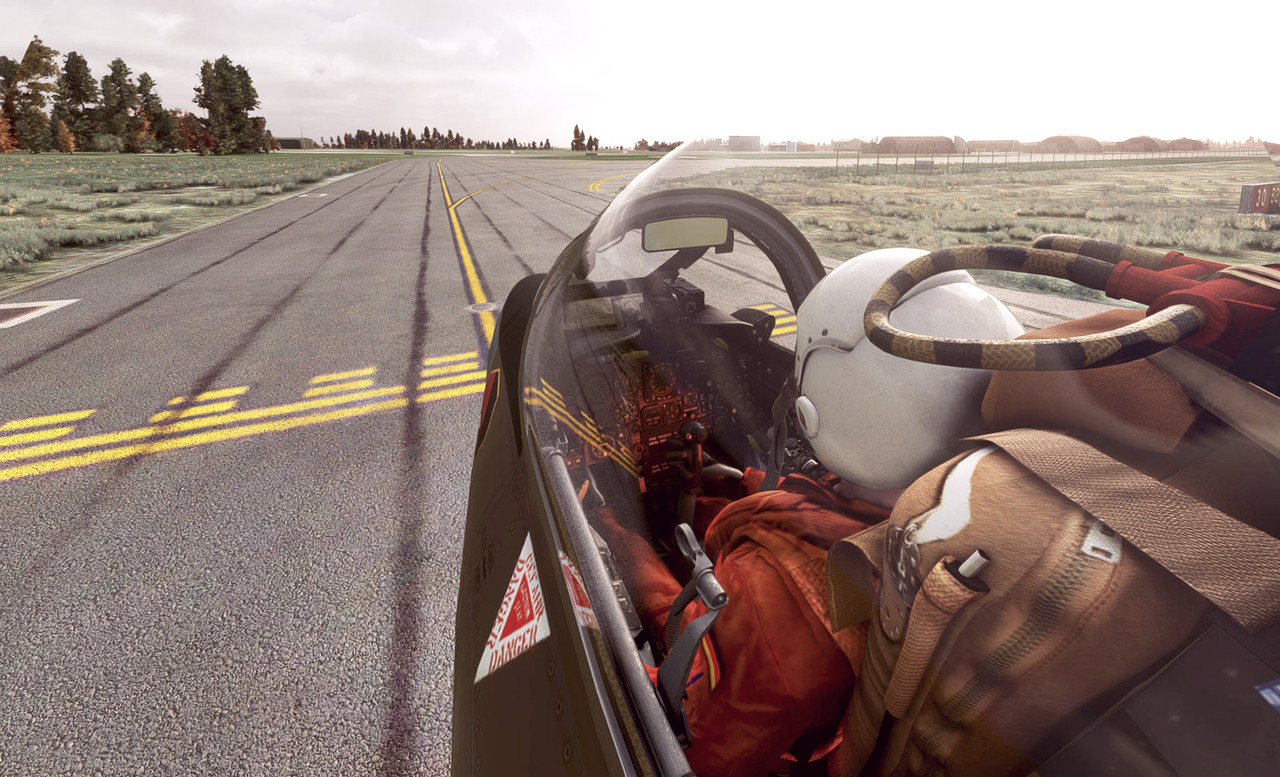
I considered myself a screenshot artist before I ventured into actually painting them for the community nearly 2 decades ago (where does the time go?). I rationalized that every painter needs to be a proficient screenshot taker to properly showcase their work, so the two talents go hand in hand, but for the non-painters here who display their "Art", I give sincere credit to your talents and thoroughly enjoy your work! Trust me...I see in EVERY finely framed screenshot...the effort you put into getting it just right, and some leave me gob-smacked! I see the angle of the shot, the position of the camera, the time of day, the weather, and the impact each individually have on the outcome of the shot...it wonderful to see the effort.
I KNOW that you just don't hit the external view key, whip the camera to a spot, hit "screenshot" and post here. I see all the careful planning you do (either consciously or unconsciously at this point), to get everything "just right" before clicking that shutter button.
Post-processing or not? To me, this can be a contentious topic to "Artists"...but I view it this way: Every screen is going to see your work differently because every simmer will have different shader/monitor/GPU settings than you, so all you can do is process the screenshot to take out all the known artifacts and try to make it look as natural as possible. That's my view and I'm stickin' to it, hehe. It's really hard to deal with as a painter...because some colors just don't render well in the sim, and each sim does it a bit differently. Then there's PBR, non-PBR, etc. A classic example is KLM and the new Southwest blues. I'm currently painting both for P3d V5. I've tried the official RGB color tiles of each in the sim...and they render waaaaay too light in the sim. So its a lot of trial and error to get the color looking just right....in the sim. Probably the hardest thing to do as a painter (and the most frustrating as you'd love to just pop the real color on the plane and be done with it, LOL)
To those who don't post-process (effects anyway....jpeg compression to tame the size of our creations...its a must or we'd bring this server to its knees, LOL)...and I'm seeing a totally unretouched "photo" that is on your screen....I tip my hat to you and your completely dialed-in settings.
I recently had cataract removal surgery for both eyes, and have been painting (and seeing the world) through an increasingly yellow tint over the years...so after the procedure on my left eye 1st, when I covered each eye to see the difference...this is what I saw:

Hard to describe the feeling...but it was life-changing to say the least.
Anyway, it is an absolute joy to now see the world how it really is, and the screenshot thread here is an experience to visit and see folks as crazy as me when it comes to aviation, flightsim and screenshot artistry.
Should you all want to add to this discussion about the tools and tricks you use to achieve such artistry, please feel free to indulge your secrets here. I'll add my tricks and stuff later if I see you guys wanting to continue this discussion.
Please only include actual screenshots as examples if you're demonstrating your tips as to not turn this into a separate "screenshot" thread from the official one. Shots of the tools and how you use them would be appropriate though.
Hey Guys,
Some of you know me as a "painter" who's been in the the 'biz for a while. While it's a talent I share with many great painters we all know and love, I am literally awestruck by the screenshot artistry that I consistently see in the Screenshot thread here.
Let's be clear....I visit many flightsim sites, each with their own screenshot boards, but they absolutely pale in comparison to what I've witnessed here.
I considered myself a screenshot artist before I ventured into actually painting them for the community nearly 2 decades ago (where does the time go?). I rationalized that every painter needs to be a proficient screenshot taker to properly showcase their work, so the two talents go hand in hand, but for the non-painters here who display their "Art", I give sincere credit to your talents and thoroughly enjoy your work! Trust me...I see in EVERY finely framed screenshot...the effort you put into getting it just right, and some leave me gob-smacked! I see the angle of the shot, the position of the camera, the time of day, the weather, and the impact each individually have on the outcome of the shot...it wonderful to see the effort.
I KNOW that you just don't hit the external view key, whip the camera to a spot, hit "screenshot" and post here. I see all the careful planning you do (either consciously or unconsciously at this point), to get everything "just right" before clicking that shutter button.
Post-processing or not? To me, this can be a contentious topic to "Artists"...but I view it this way: Every screen is going to see your work differently because every simmer will have different shader/monitor/GPU settings than you, so all you can do is process the screenshot to take out all the known artifacts and try to make it look as natural as possible. That's my view and I'm stickin' to it, hehe. It's really hard to deal with as a painter...because some colors just don't render well in the sim, and each sim does it a bit differently. Then there's PBR, non-PBR, etc. A classic example is KLM and the new Southwest blues. I'm currently painting both for P3d V5. I've tried the official RGB color tiles of each in the sim...and they render waaaaay too light in the sim. So its a lot of trial and error to get the color looking just right....in the sim. Probably the hardest thing to do as a painter (and the most frustrating as you'd love to just pop the real color on the plane and be done with it, LOL)
To those who don't post-process (effects anyway....jpeg compression to tame the size of our creations...its a must or we'd bring this server to its knees, LOL)...and I'm seeing a totally unretouched "photo" that is on your screen....I tip my hat to you and your completely dialed-in settings.
I recently had cataract removal surgery for both eyes, and have been painting (and seeing the world) through an increasingly yellow tint over the years...so after the procedure on my left eye 1st, when I covered each eye to see the difference...this is what I saw:

Hard to describe the feeling...but it was life-changing to say the least.
Anyway, it is an absolute joy to now see the world how it really is, and the screenshot thread here is an experience to visit and see folks as crazy as me when it comes to aviation, flightsim and screenshot artistry.
Should you all want to add to this discussion about the tools and tricks you use to achieve such artistry, please feel free to indulge your secrets here. I'll add my tricks and stuff later if I see you guys wanting to continue this discussion.
Please only include actual screenshots as examples if you're demonstrating your tips as to not turn this into a separate "screenshot" thread from the official one. Shots of the tools and how you use them would be appropriate though.
Last edited by a moderator:


