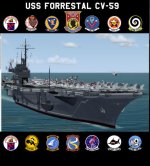
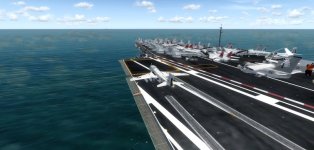
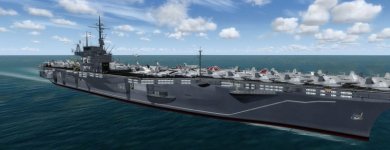
Hello, my best wishes to everyone, I hope you are taking care of yourself, with some time these days I was able to work on the project for the CV-59 USS FORRESTAL, which will be published in SIMMARKET,
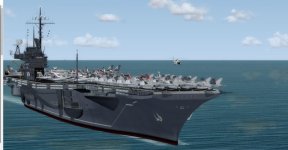
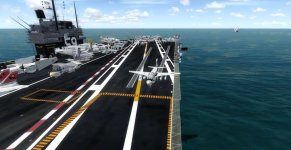
- Trip USS FORRESTAL
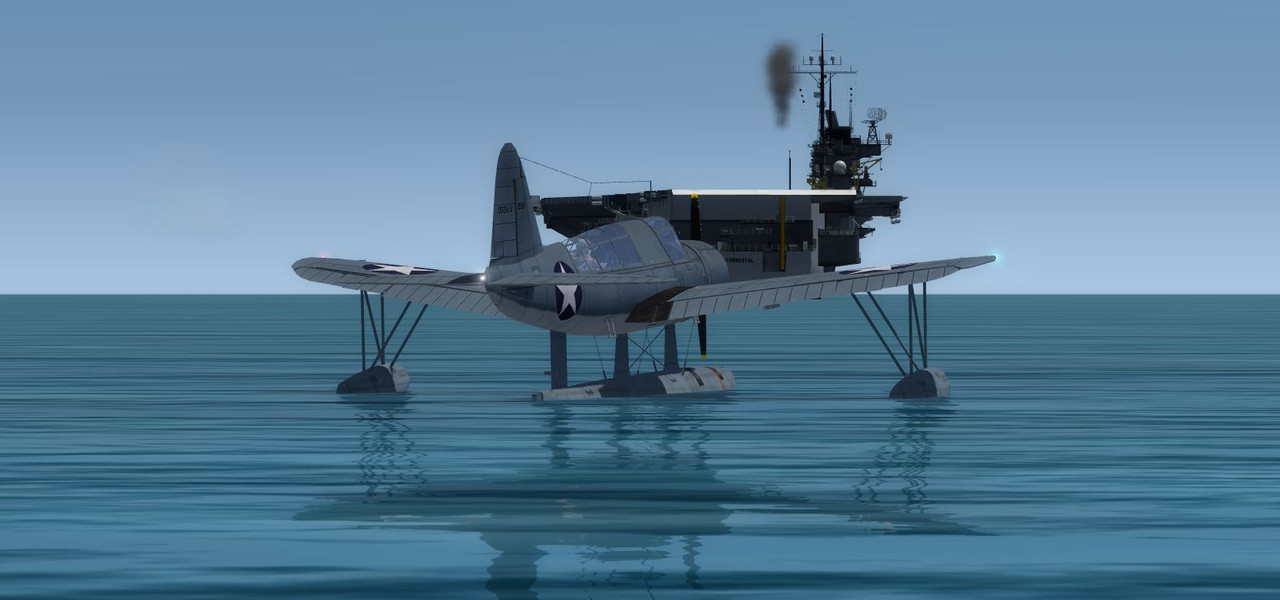
- Uss Forrestal 60`s
-Uss Forrestal 90`s
Air Wing for that period of time with different aircraft
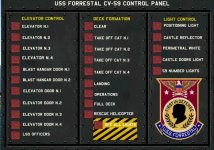
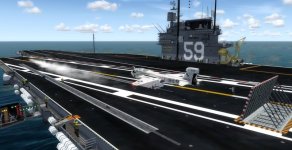
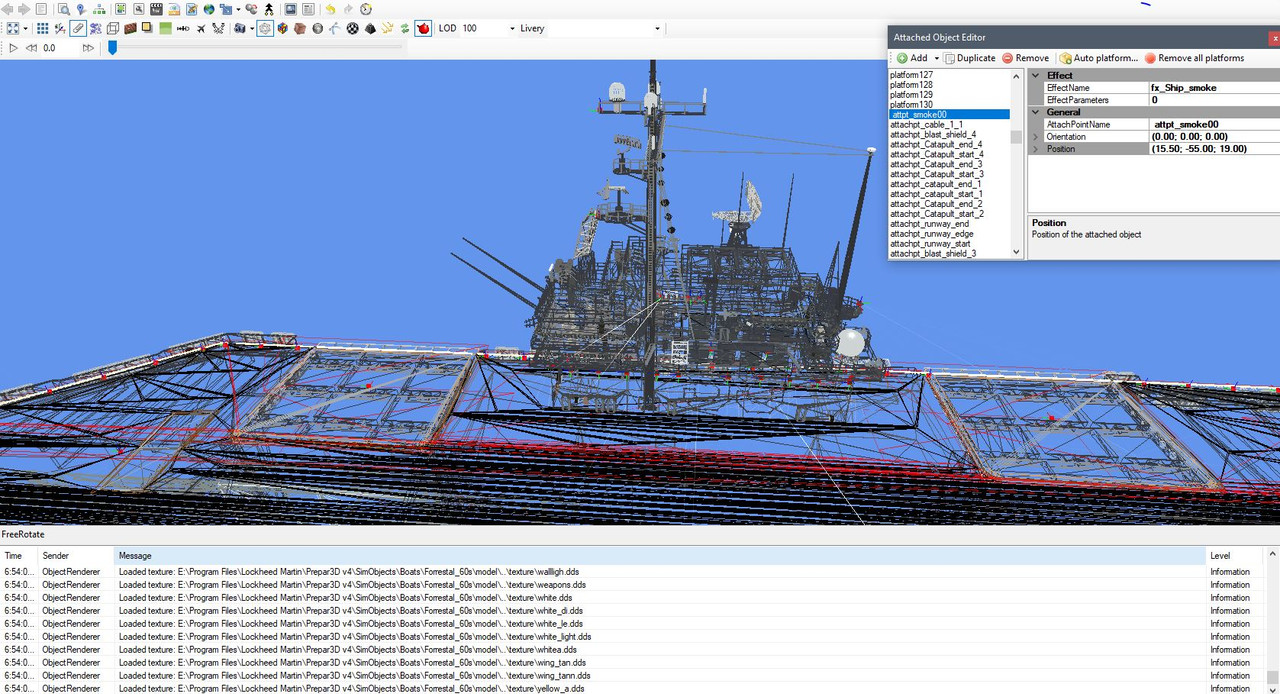
Animations and Lights include in the model
-Radar.
-Flags.
-Crew.
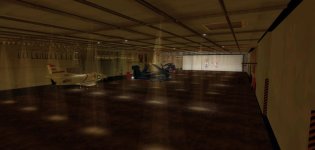
-Elevators. *
-Elevators doors. *
-Blast hangar doors. *
-LSO officer. *
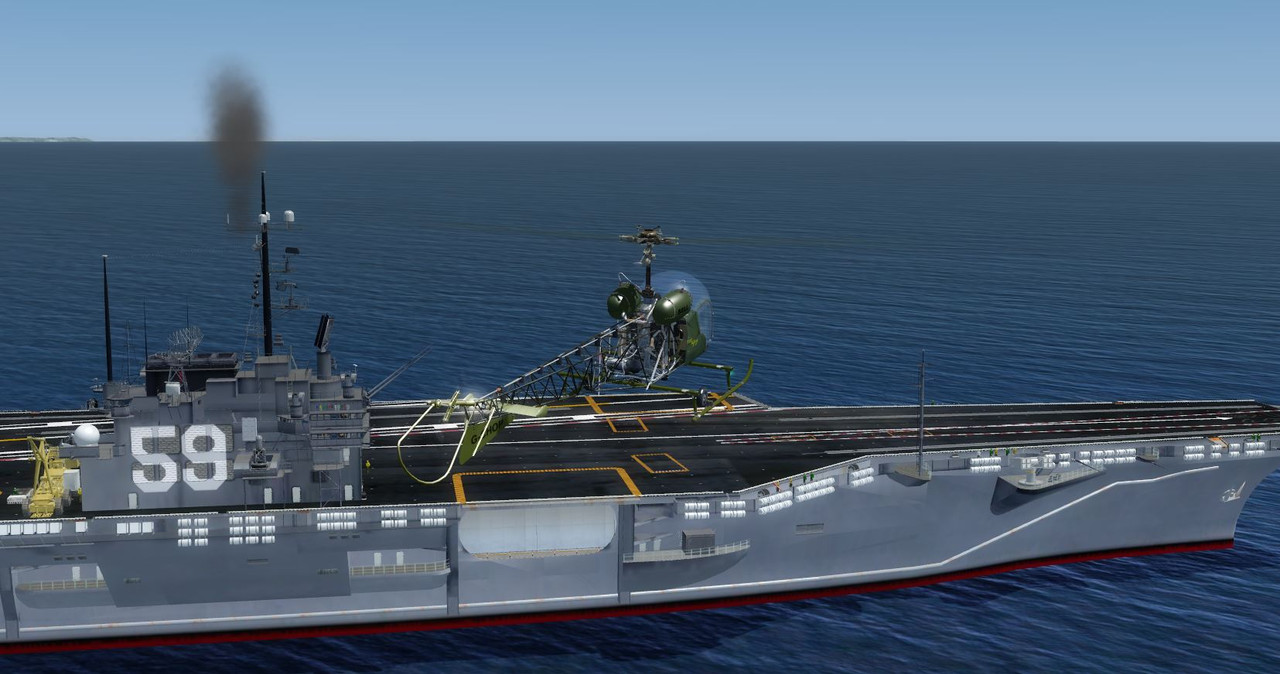
-Perimetral White lights. *
-Carrier number light. *
- Positioning lights. *
-Reflectors lights in the castle. *
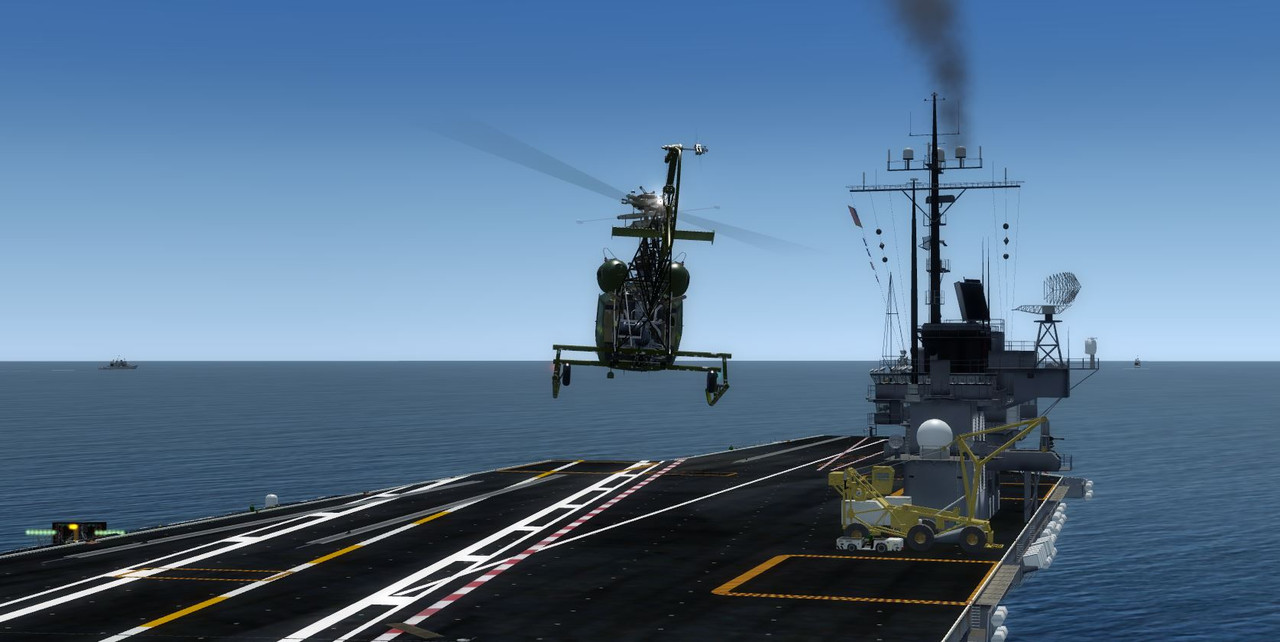
-SAR Helicopter. *
* Animation controlled by the user.


- Trip USS FORRESTAL
- Uss Forrestal 60`s
-Uss Forrestal 90`s
Air Wing for that period of time with different aircraft
Animations and Lights include in the model
-Radar.
-Flags.
-Crew.
-Elevators. *
-Elevators doors. *
-Blast hangar doors. *
-LSO officer. *
-Perimetral White lights. *
-Carrier number light. *
- Positioning lights. *
-Reflectors lights in the castle. *
-SAR Helicopter. *
* Animation controlled by the user.