-
Please see the most recent updates in the "Where did the .com name go?" thread. Posts number 16 and 17.
-
IMPORTANT INFORMATION - ALL MEMBERS PLEASE READ
Please see this thread for updates. Update Thread
SOH ADMINISTRATION
You are using an out of date browser. It may not display this or other websites correctly.
You should upgrade or use an alternative browser.
You should upgrade or use an alternative browser.
The EAGLE is out ........
- Thread starter Fireball6
- Start date
Tom - what is this "Boris Russian Bloom"?
thats [FONT=verdana, sans-serif]Boris Vorontsov[/FONT] enbseries plugin for Dx9 that was shown in Fs9 SOH board a few months ago!
[FONT=verdana, sans-serif]atmosphericenvironment.zip on Avsim
works sweet with FSX!
Ps:
Avsim Download database is Off at the moment!
have attached compare shots with and without activated Plugin
both is exactly the same shot
BR
Tom
[/FONT]
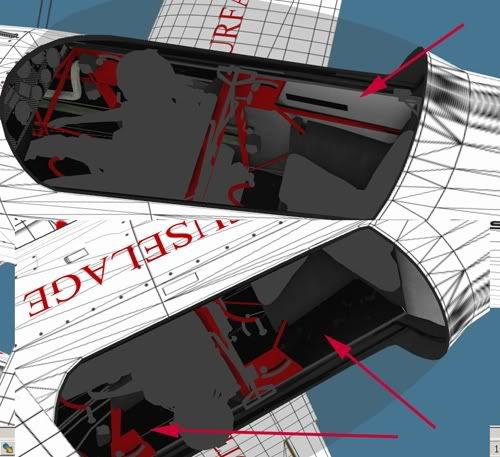
Progress report: I am getting the red right, need to work on the shading over the red bits and I am close with the paint on the rear spars and fwd edges of the ailerons.
I did find the ends of the wing brace struts (those are the chromed bits - better visible in the close up) and I am very nearly happy with the 'pit.
I did find the ends of the wing brace struts (those are the chromed bits - better visible in the close up) and I am very nearly happy with the 'pit.
G
gajit
Guest
Excellent Master - excellent :ernae:
Just deleting mine now!! LOL
Just deleting mine now!! LOL
Well...I thought late last nite I was seeing things when I did the screen grabs...But .......Sure... but just remember that my bumpmaps also mean you have to re-paint the textures too - the rib tape, stitching, shading are all out of line otherwise.
The Iris original paintkit only caters for 10 wing ribs (9 gaps) and the ailerons are also different. My bumps reflect the true rib layout, i.e. eleven wing ribs with 10 spaces.
If you go to Barnstormers.com you will see a good few images of "naked Eagles" and you will see where I get my facts from.
Now I see what you mean. Thing is I personally don't care for the 'Stitching Highlites" any way...so can those be deleted and then just re-position the 'Inspection Plates' to match your 'Bumps'?
Jeff
All bar two of those patches... Two are "hard modelled"
Some stitchers use flat waxed lacing cord, so that can be one reason for having less. But even Ceconite is stitched. Also, if you check "my" bumps and details you'll see that in some locations there are round bumps. The fabric is in fact screwed to the wooden planking in places.
But by way of compensation - I am also in the process of creating a secondary paint kit with all my "discoveries".
All bar two of those patches... Two are "hard modelled"
Some stitchers use flat waxed lacing cord, so that can be one reason for having less. But even Ceconite is stitched. Also, if you check "my" bumps and details you'll see that in some locations there are round bumps. The fabric is in fact screwed to the wooden planking in places.
But by way of compensation - I am also in the process of creating a secondary paint kit with all my "discoveries".
See this is what happens when they leave us all alone with paint kits....

Granted it is an S-2B but it drives home the point....Your bumps are closer to real life...From what I can see!
So the $65.00 question...
How long before the release of your paint kit?
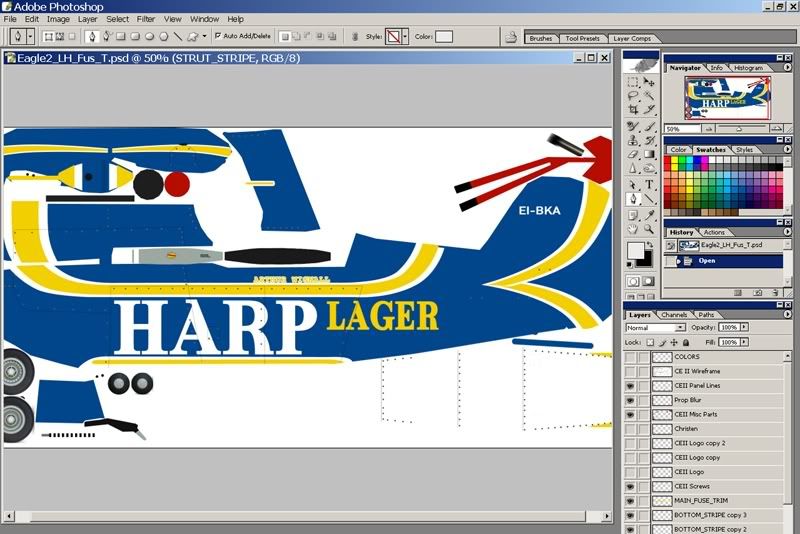
I'll go ahead and let the "Harp" go with the regular texture.cfg and redo it upon release of your paint kit...
And I tried to look at the VC textures...Which I know is whole nother' can of worms...Have you found a way to get what appears to be either the inside of the fabric or lining to show up in say a 'White'?
I used your VC texture so I could see where I was at,and tried to lighten the outer walls...see pic. But the left side(Port Side) stayed dark.
Jeff
See sheet vc1_T.dds (psd...)
here's mine for the N540ET paint - and a screenie of the VC and my - hopefully - final tweak on the paint. Oh - the real plane here has powder coat frame in light grey and sidewalls in white - so to get all the last bits of the canopy structure grey, you have to modify the tile_black_T.dds from the common folder and copy it to the paint - I have to check if anything else is affected.
here's mine for the N540ET paint - and a screenie of the VC and my - hopefully - final tweak on the paint. Oh - the real plane here has powder coat frame in light grey and sidewalls in white - so to get all the last bits of the canopy structure grey, you have to modify the tile_black_T.dds from the common folder and copy it to the paint - I have to check if anything else is affected.
Chris Sensational as Ever
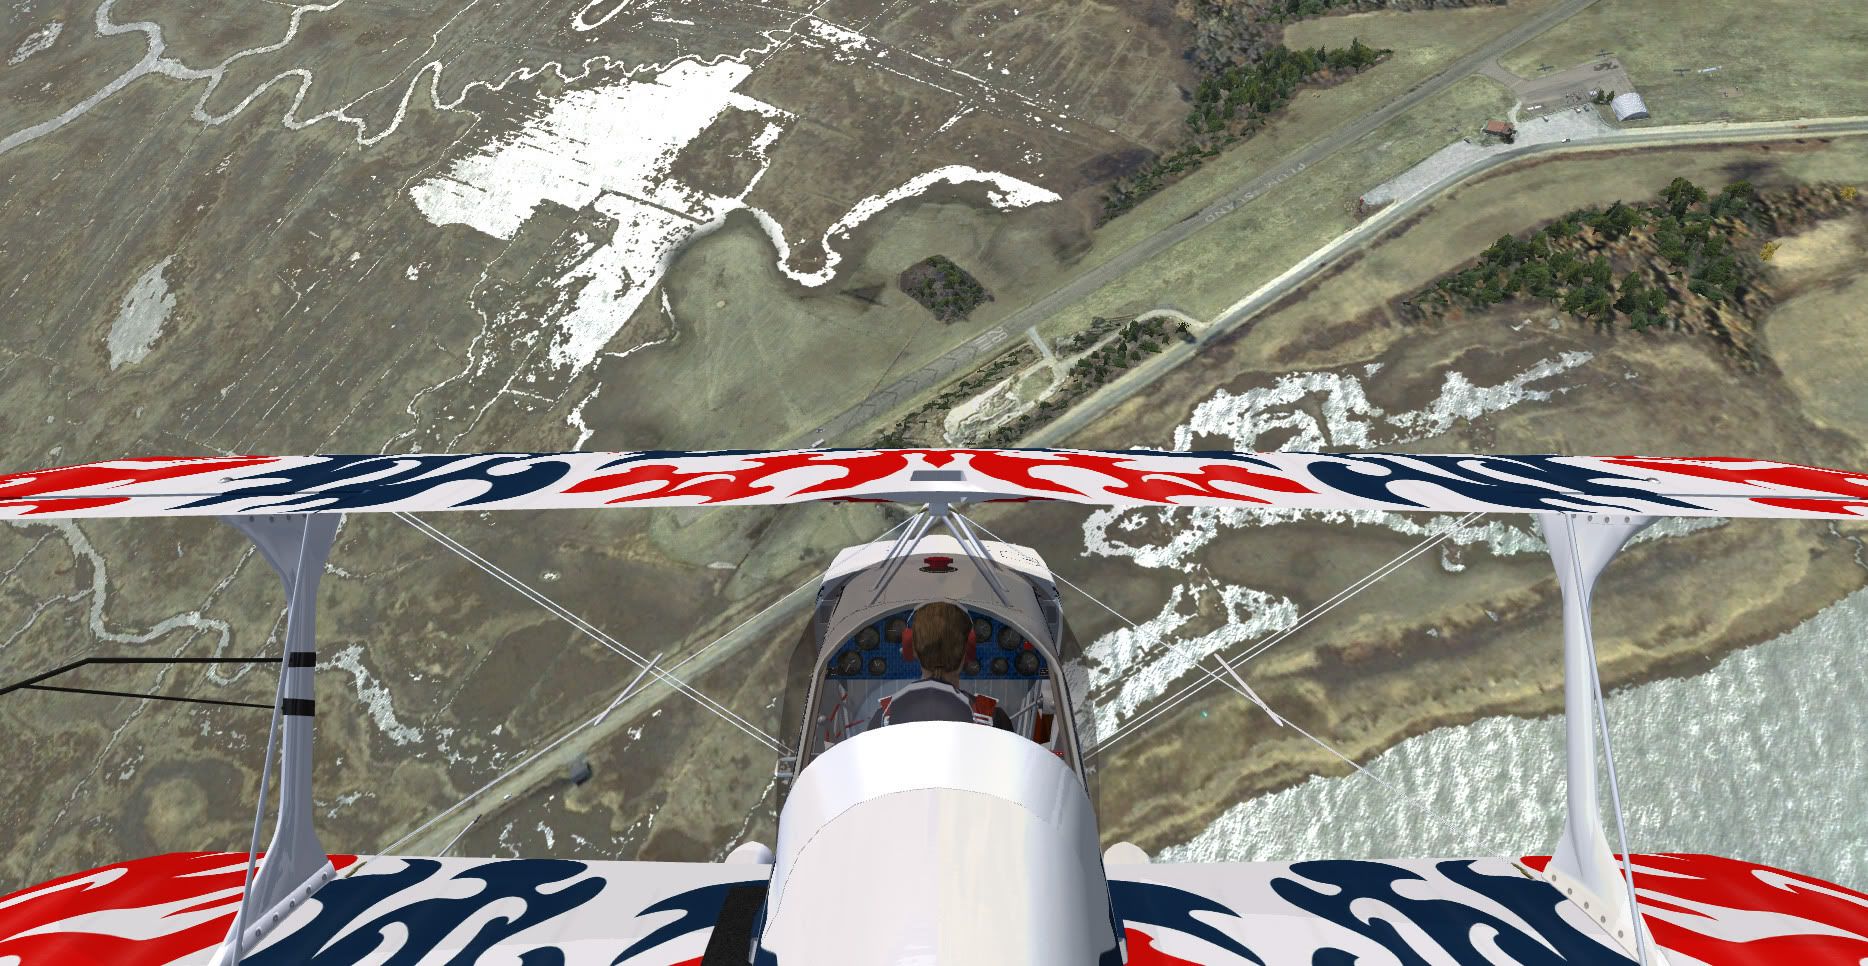
just reinstalled X-Graphics very Realistic in combination with active sky and works well in combination with the plugin I mentioned above!
will upload my paint tomorrow will go with the old Iris Bump maps on this one but only because I dont have time to rework before release!
BR
Tom
just reinstalled X-Graphics very Realistic in combination with active sky and works well in combination with the plugin I mentioned above!
will upload my paint tomorrow will go with the old Iris Bump maps on this one but only because I dont have time to rework before release!
BR
Tom
Dang! I can see other bits now that should be black - the varios bits of controls, like the throttle lever ball end. Don't you just LOVE developers who use colour tiles. I just knew that would bite back. I'll have words with David and see if he can't remap a second tile just for the canopy black bits... I do tell devs this EVERY time I get a chance to beta. 

Oh - and the different light and dark tones of the cockpit insides are also due to lighting - FSRepaint is limited here. Try in-sim and fly circles with the sun at 3 p.m.
Oh - and the different light and dark tones of the cockpit insides are also due to lighting - FSRepaint is limited here. Try in-sim and fly circles with the sun at 3 p.m.
Ouch....can you see if he will let go of the PSD the VC? So we can do our own thing...Dang! I can see other bits now that should be black - the varios bits of controls, like the throttle lever ball end. Don't you just LOVE developers who use colour tiles. I just knew that would bite back. I'll have words with David and see if he can't remap a second tile just for the canopy black bits... I do tell devs this EVERY time I get a chance to beta.
Oh - and the different light and dark tones of the cockpit insides are also due to lighting - FSRepaint is limited here. Try in-sim and fly circles with the sun at 3 p.m.
Oh and BTW....
A really fast way to see how bad my painting is progressing...
Jeff
kilo delta
Charter Member 2015
Woohoo!!!...cheers, Jeff :ernae:


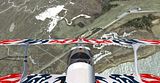
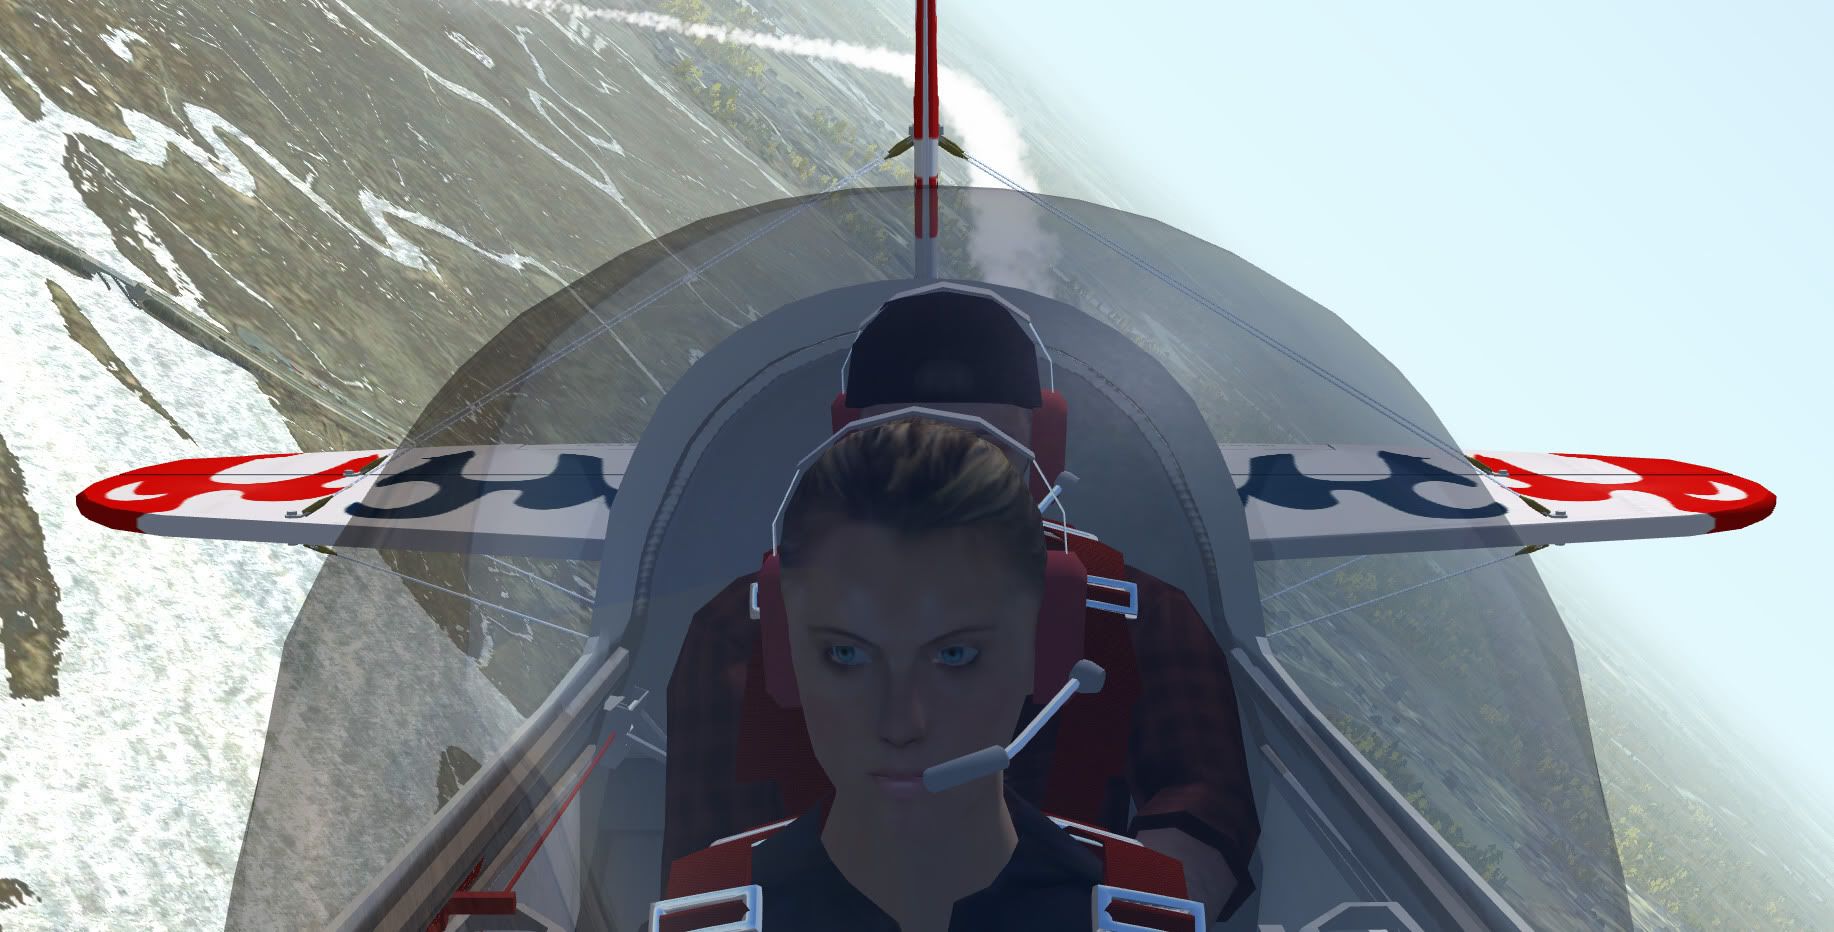
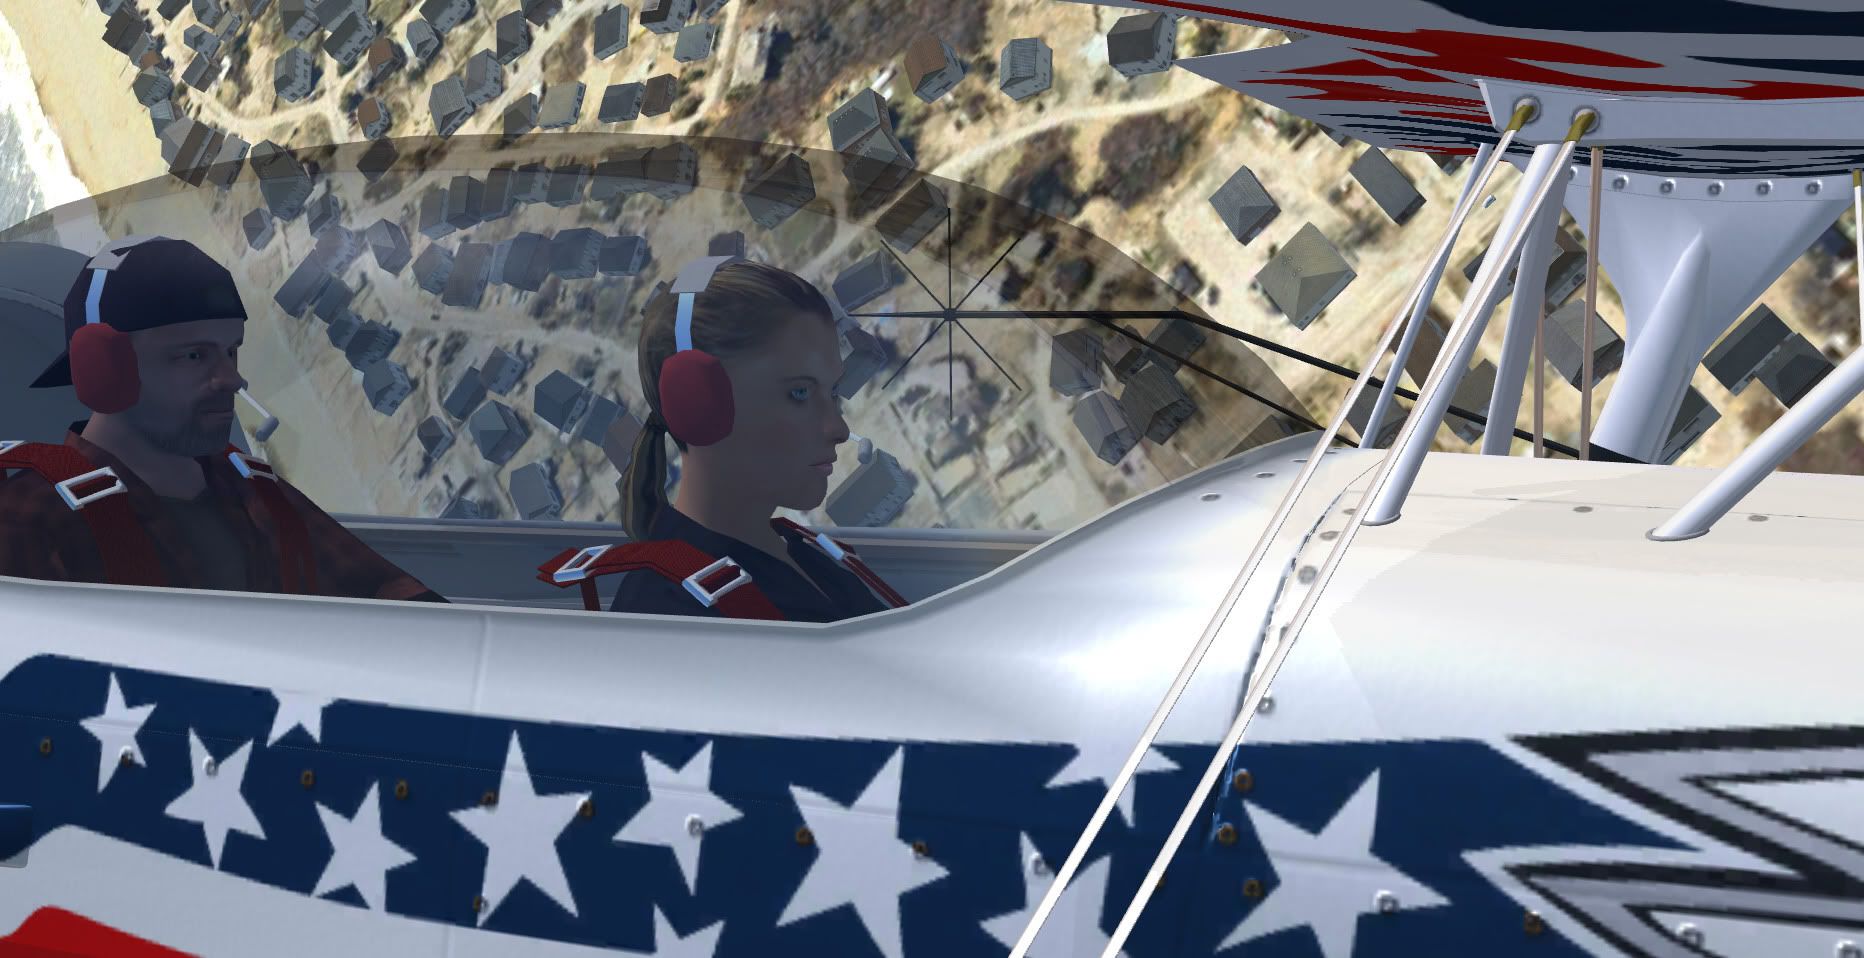
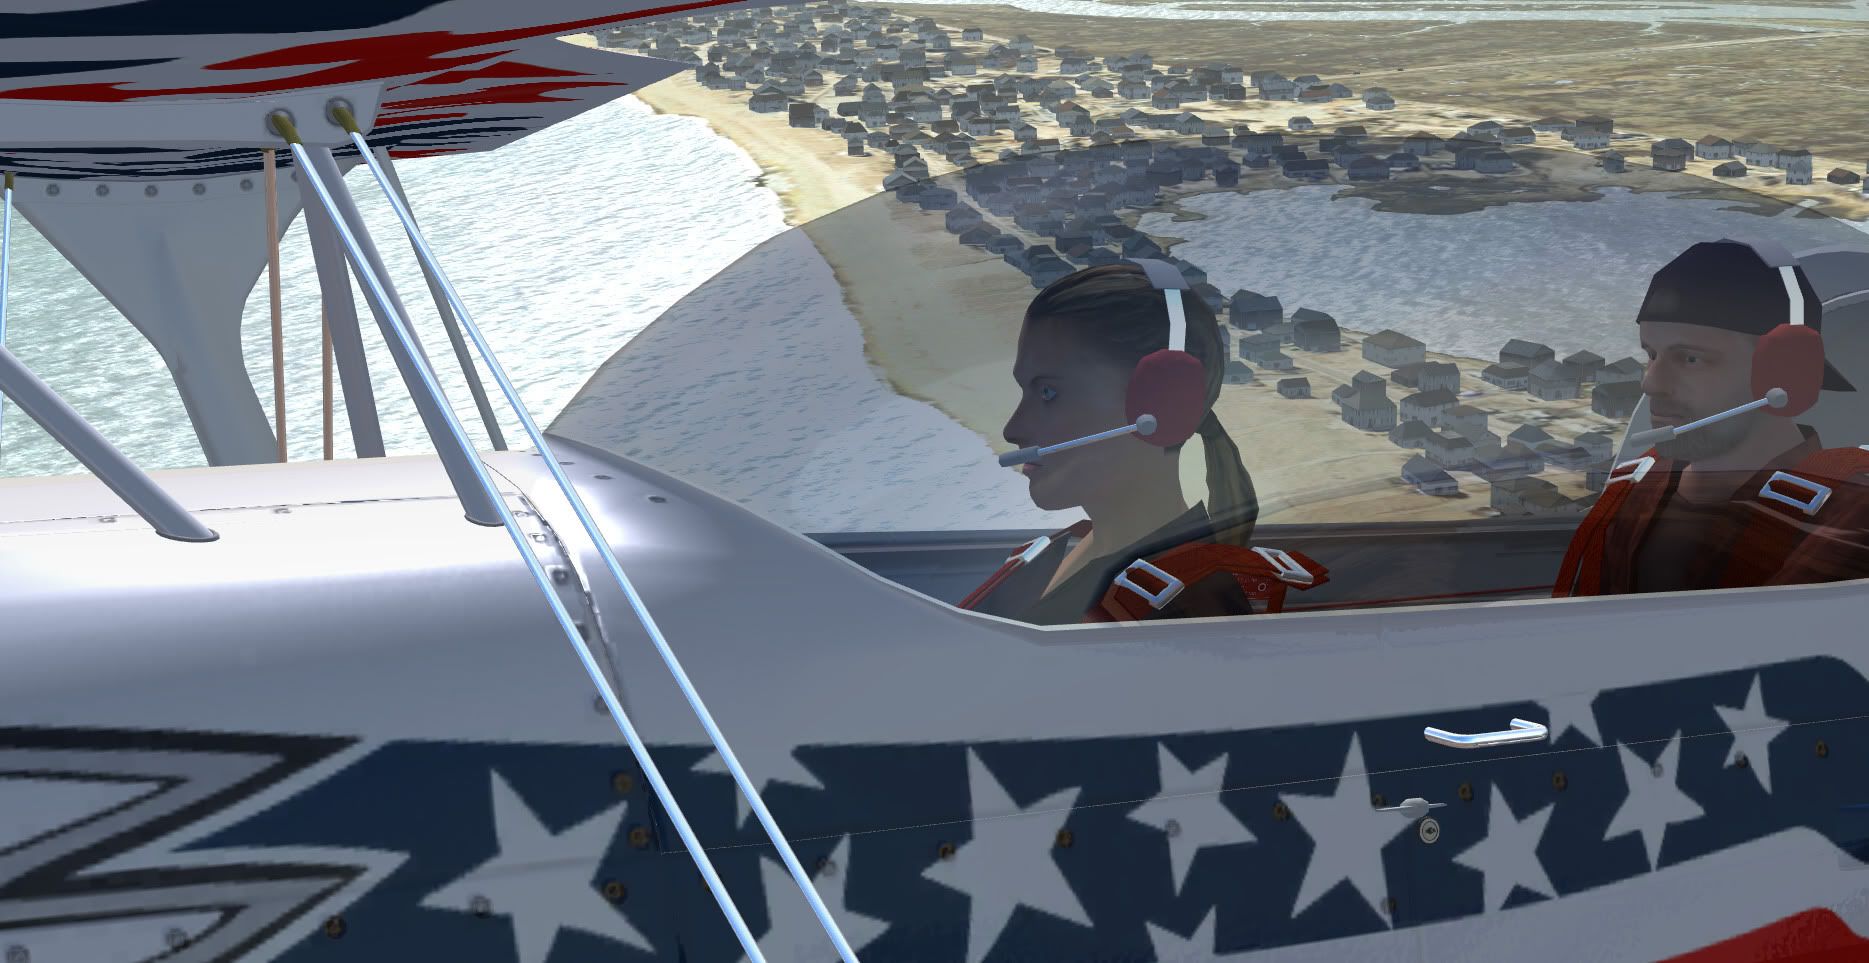
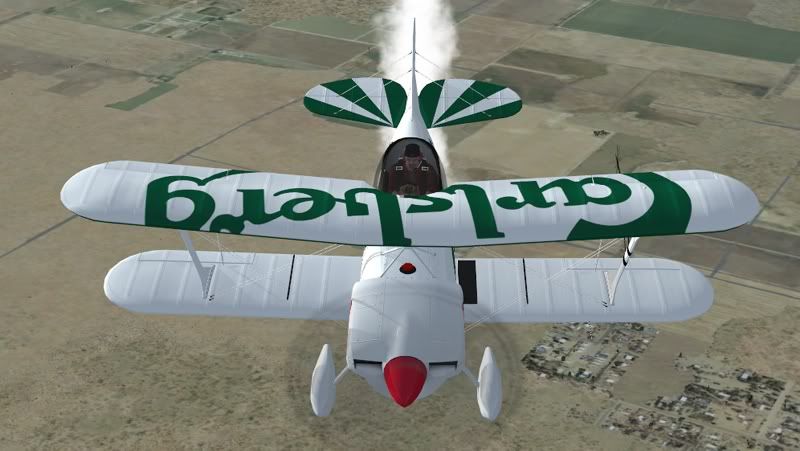
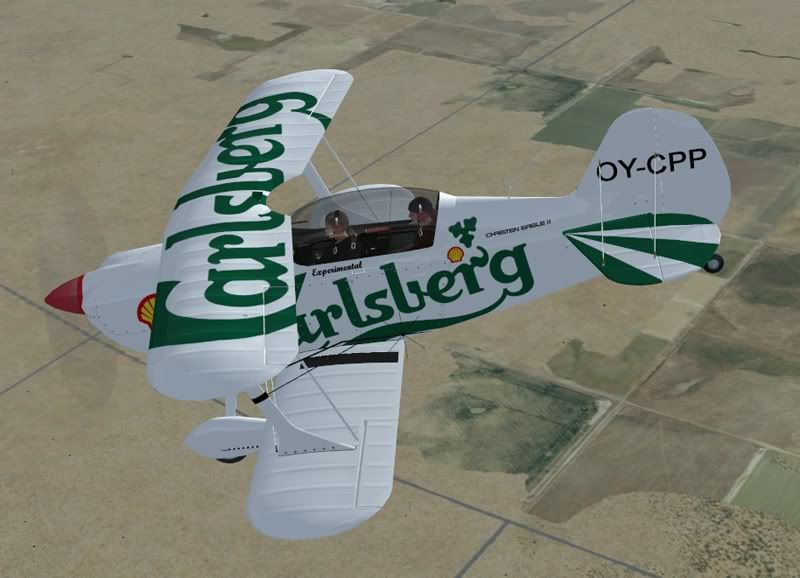
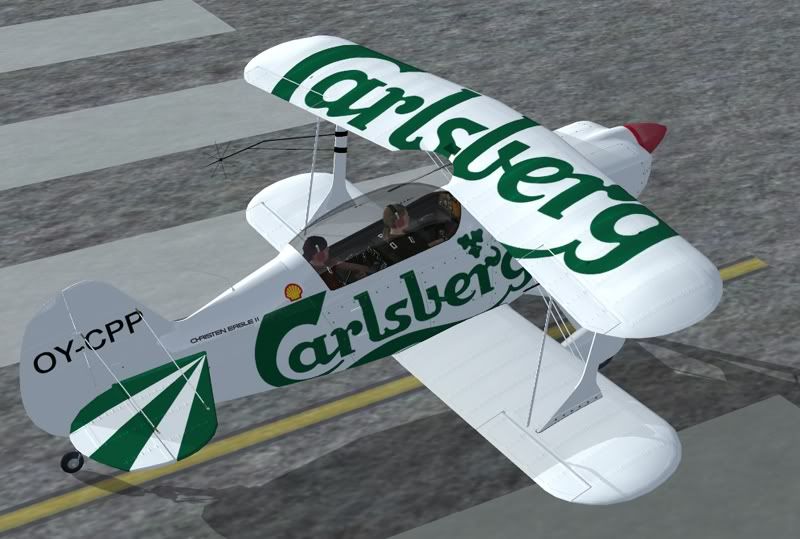
Hey guys, got a small present for you! I have added four scream cams to the Eagle. Now you can make vids of your favourite passenger as you fly your death defying stunts . Simply copy and paste these camera placements right after the last texture in the aircraft.cfg.
CAVEAT - these are set only for the CEII and you can only install once anyway because of the GUID codes. If you want cams for the CE I and CE Ia, then you'll need four separat GUIDs for each plane.


[CameraDefinition.0]
Title = "Centre Wing"
Guid = {0C841AB3-1D31-419b-BCC0-83EFB1F7BF2A}
Description = aerocam in the cabane strut fairing
SnapPbhAdjust = Swivel
SnapPbhReturn = FALSE
PanPbhAdjust = Swivel
PanPbhReturn = FALSE
Track = None
ShowAxis = FALSE
AllowZoom = FALSE
InitialZoom = 0.9
ShowWeather = Yes
InitialXyz = 0.0, 0.6, 0.9
InitialPbh = 8, 0, 180
XyzAdjust = TRUE
Category=Aircraft
ClipMode=Minimum
[CameraDefinition.1]
Title = "Right Wing Strut"
Guid = {A9B6C667-4475-4efd-B7EF-A524E439E5AC}
Description = aerocam in the right wing strut
Origin = Center
SnapPbhAdjust = Swivel
SnapPbhReturn = FALSE
PanPbhAdjust = Swivel
PanPbhReturn = FALSE
Track = None
ShowAxis = FALSE
AllowZoom = FALSE
InitialZoom = 0.8
ShowWeather = Yes
InitialXyz = 2.0, 0.42, 0.4
InitialPbh = 5, 0, 247
XyzAdjust = TRUE
Category=Aircraft
ClipMode=Minimum
[CameraDefinition.2]
Title = "Left Wing Strut"
Guid = {F9EAD215-7689-4a85-BEAD-8129409CEFA1}
Description = aerocam in the left wing strut
Origin = Center
SnapPbhAdjust = Swivel
SnapPbhReturn = FALSE
PanPbhAdjust = Swivel
PanPbhReturn = FALSE
Track = None
ShowAxis = FALSE
AllowZoom = FALSE
InitialZoom = 0.8
ShowWeather = Yes
InitialXyz = -2.0, 0.42, 0.4
InitialPbh = 5, 0, 113
XyzAdjust = TRUE
Category=Aircraft
ClipMode=Minimum
[CameraDefinition.3]
Title = "Fin Tip"
Guid = {72204DD5-ADD0-4cc2-B04B-8424255A49FC}
Description = aerocam in the tip of the fin
Origin = Center
SnapPbhAdjust = Swivel
SnapPbhReturn = FALSE
PanPbhAdjust = Swivel
PanPbhReturn = FALSE
Track = None
ShowAxis = FALSE
AllowZoom = FALSE
InitialZoom = 0.3
ShowWeather = Yes
InitialXyz = 0, 1, -2.9
InitialPbh = 7, 0, 0
XyzAdjust = TRUE
Category=Aircraft
ClipMode=Minimum
CAVEAT - these are set only for the CEII and you can only install once anyway because of the GUID codes. If you want cams for the CE I and CE Ia, then you'll need four separat GUIDs for each plane.
[CameraDefinition.0]
Title = "Centre Wing"
Guid = {0C841AB3-1D31-419b-BCC0-83EFB1F7BF2A}
Description = aerocam in the cabane strut fairing
SnapPbhAdjust = Swivel
SnapPbhReturn = FALSE
PanPbhAdjust = Swivel
PanPbhReturn = FALSE
Track = None
ShowAxis = FALSE
AllowZoom = FALSE
InitialZoom = 0.9
ShowWeather = Yes
InitialXyz = 0.0, 0.6, 0.9
InitialPbh = 8, 0, 180
XyzAdjust = TRUE
Category=Aircraft
ClipMode=Minimum
[CameraDefinition.1]
Title = "Right Wing Strut"
Guid = {A9B6C667-4475-4efd-B7EF-A524E439E5AC}
Description = aerocam in the right wing strut
Origin = Center
SnapPbhAdjust = Swivel
SnapPbhReturn = FALSE
PanPbhAdjust = Swivel
PanPbhReturn = FALSE
Track = None
ShowAxis = FALSE
AllowZoom = FALSE
InitialZoom = 0.8
ShowWeather = Yes
InitialXyz = 2.0, 0.42, 0.4
InitialPbh = 5, 0, 247
XyzAdjust = TRUE
Category=Aircraft
ClipMode=Minimum
[CameraDefinition.2]
Title = "Left Wing Strut"
Guid = {F9EAD215-7689-4a85-BEAD-8129409CEFA1}
Description = aerocam in the left wing strut
Origin = Center
SnapPbhAdjust = Swivel
SnapPbhReturn = FALSE
PanPbhAdjust = Swivel
PanPbhReturn = FALSE
Track = None
ShowAxis = FALSE
AllowZoom = FALSE
InitialZoom = 0.8
ShowWeather = Yes
InitialXyz = -2.0, 0.42, 0.4
InitialPbh = 5, 0, 113
XyzAdjust = TRUE
Category=Aircraft
ClipMode=Minimum
[CameraDefinition.3]
Title = "Fin Tip"
Guid = {72204DD5-ADD0-4cc2-B04B-8424255A49FC}
Description = aerocam in the tip of the fin
Origin = Center
SnapPbhAdjust = Swivel
SnapPbhReturn = FALSE
PanPbhAdjust = Swivel
PanPbhReturn = FALSE
Track = None
ShowAxis = FALSE
AllowZoom = FALSE
InitialZoom = 0.3
ShowWeather = Yes
InitialXyz = 0, 1, -2.9
InitialPbh = 7, 0, 0
XyzAdjust = TRUE
Category=Aircraft
ClipMode=Minimum
kilo delta
Charter Member 2015
Thanks for these new viewpoints,Chris
T
tigisfat
Guest
Beautiful paints, Cbris. I wish I could do that.
Nope - it's a genuine Eagle!
Small omission perhaps?:
http://picasaweb.google.com/lh/photo/BRv7rtdLYNcbiWKV2mWyYQ
Small omission perhaps?:
http://picasaweb.google.com/lh/photo/BRv7rtdLYNcbiWKV2mWyYQ
Chris...I tried and tried....And tried again...Nope - it's a genuine Eagle!
Small omission perhaps?:
http://picasaweb.google.com/lh/photo/BRv7rtdLYNcbiWKV2mWyYQ
It got pulled/distorted because of the mapping there.
Nothing worked.
Jeff