Hurricane91
SOH-CM-2026
Here are a few that show some new panel lines and rivets.
That looks really good Falcon.
Please see the most recent updates in the "Where did the .com name go?" thread. Posts number 16 and 17.
Here are a few that show some new panel lines and rivets.

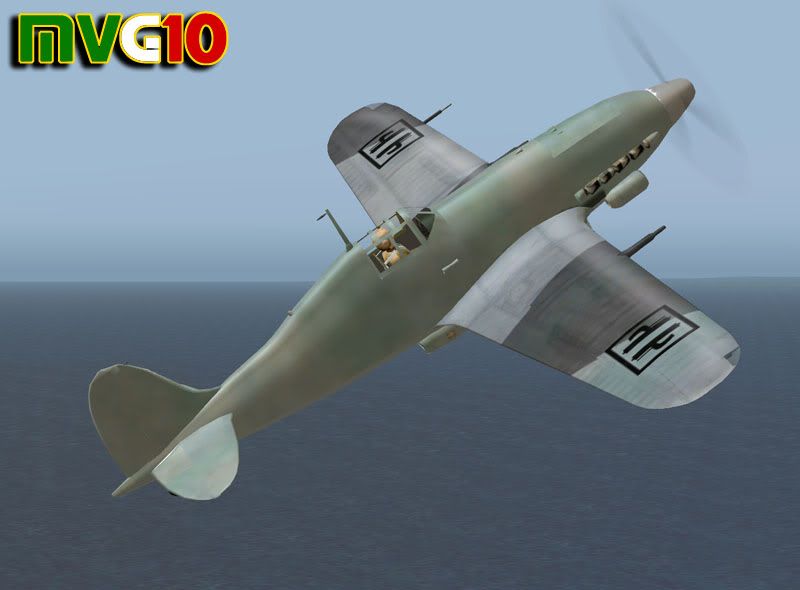
Here are a few that show some new panel lines and rivets. The wing pattern is redone as well as all the insignia's and some of the aircraft parts (exhaust stacks, struts). Still more to do though. I also noticed that at least in my sim, the eyepoint is way too low so I'm going to adjust that up as well.:salute:


I'm working on the '205's paintkit,...
Falcon, the thanks go to you. You have always done excellent work. Your textures on this one greatly improve the model. Please upload the C.205 textures that you have done. Thanks again.Thanks guys,...
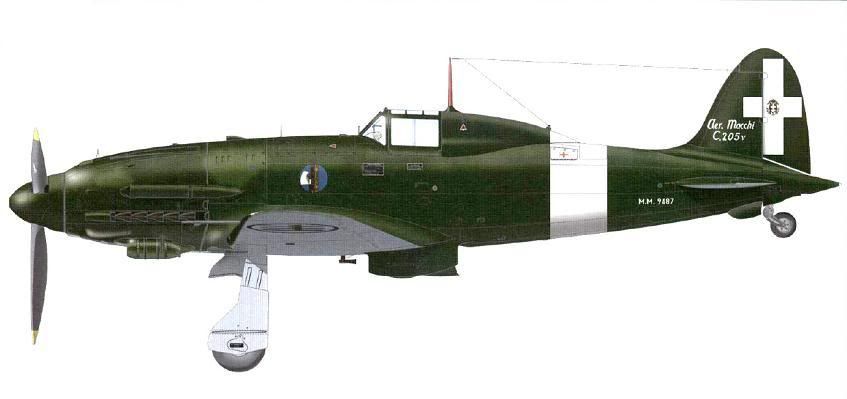
It seems there has been one single green/grey Ventro. According to my information the prototype MM.9487 was finished in the standard "Metropolitan camouflage scheme".
I am not an expert, but I have the documentation and am willing to work with you on it. Of all the C.205 schemes, the prototype is my favorite, and you are close. My offer stands.. . .the background of the various squadrons, markings variations, etc., and how that relates to the final livery should be left to an expert. . .
Ok, new color:
Nope, not yet, tons of models pictured with varying degrees of "sand", lol. Not one was the same color. Whatever you have, I would greatly appreciate getting. You can e-mail me from the forum as my e-mail address is posted in my profile.:salute:Looks great Falcon. Did you find a color swatch?
Check PM for docs.
Nope, not yet, tons of models pictured with varying degrees of "sand", lol. Not one was the same color. Whatever you have, I would greatly appreciate getting. You can e-mail me at ejwells409@cableone.net :salute:Looks great Falcon. Did you find a color swatch?
Check PM for docs.
Nope, not yet, tons of models pictured with varying degrees of "sand", lol. Not one was the same color. Whatever you have, I would greatly appreciate getting. You can e-mail me at ejwells409@cableone.net :salute:
")
Falcon, in general most Italian aircraft kept the paint scheme in which they left the factory. ln case of the Vetro most aircrafts were painted Nocciola Chiaro 4 (light hazelnut) with Grigio Azzurro Chiaro 1 (light blue-grey) under surfaces. The pattern (smoke rings) was painted in Verde Olivia Scuro 2 (dark olive green). This scheme was applied on all production Veltros until 1944. The Veltros produced after this date carried the standard German livery (as Manuele already explained).
I'm sure Manuele will correct me when I'm wrong here
Cheers,
Huub
