-
Please see the most recent updates in the "Where did the .com name go?" thread. Posts number 16 and 17.
You are using an out of date browser. It may not display this or other websites correctly.
You should upgrade or use an alternative browser.
You should upgrade or use an alternative browser.
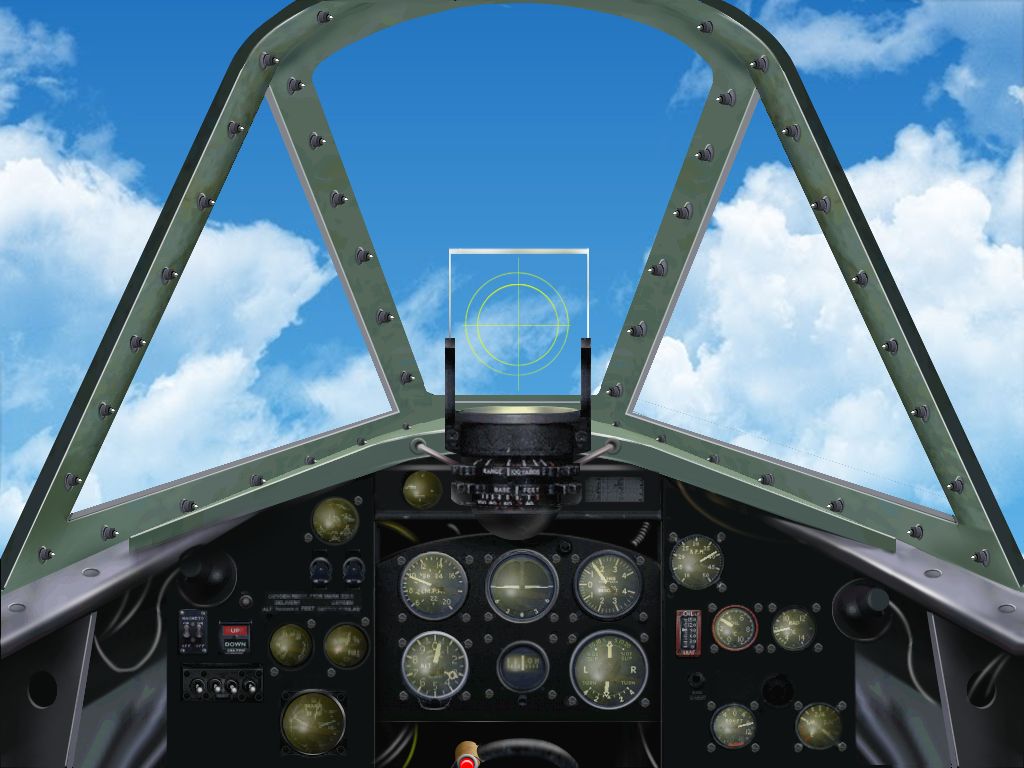
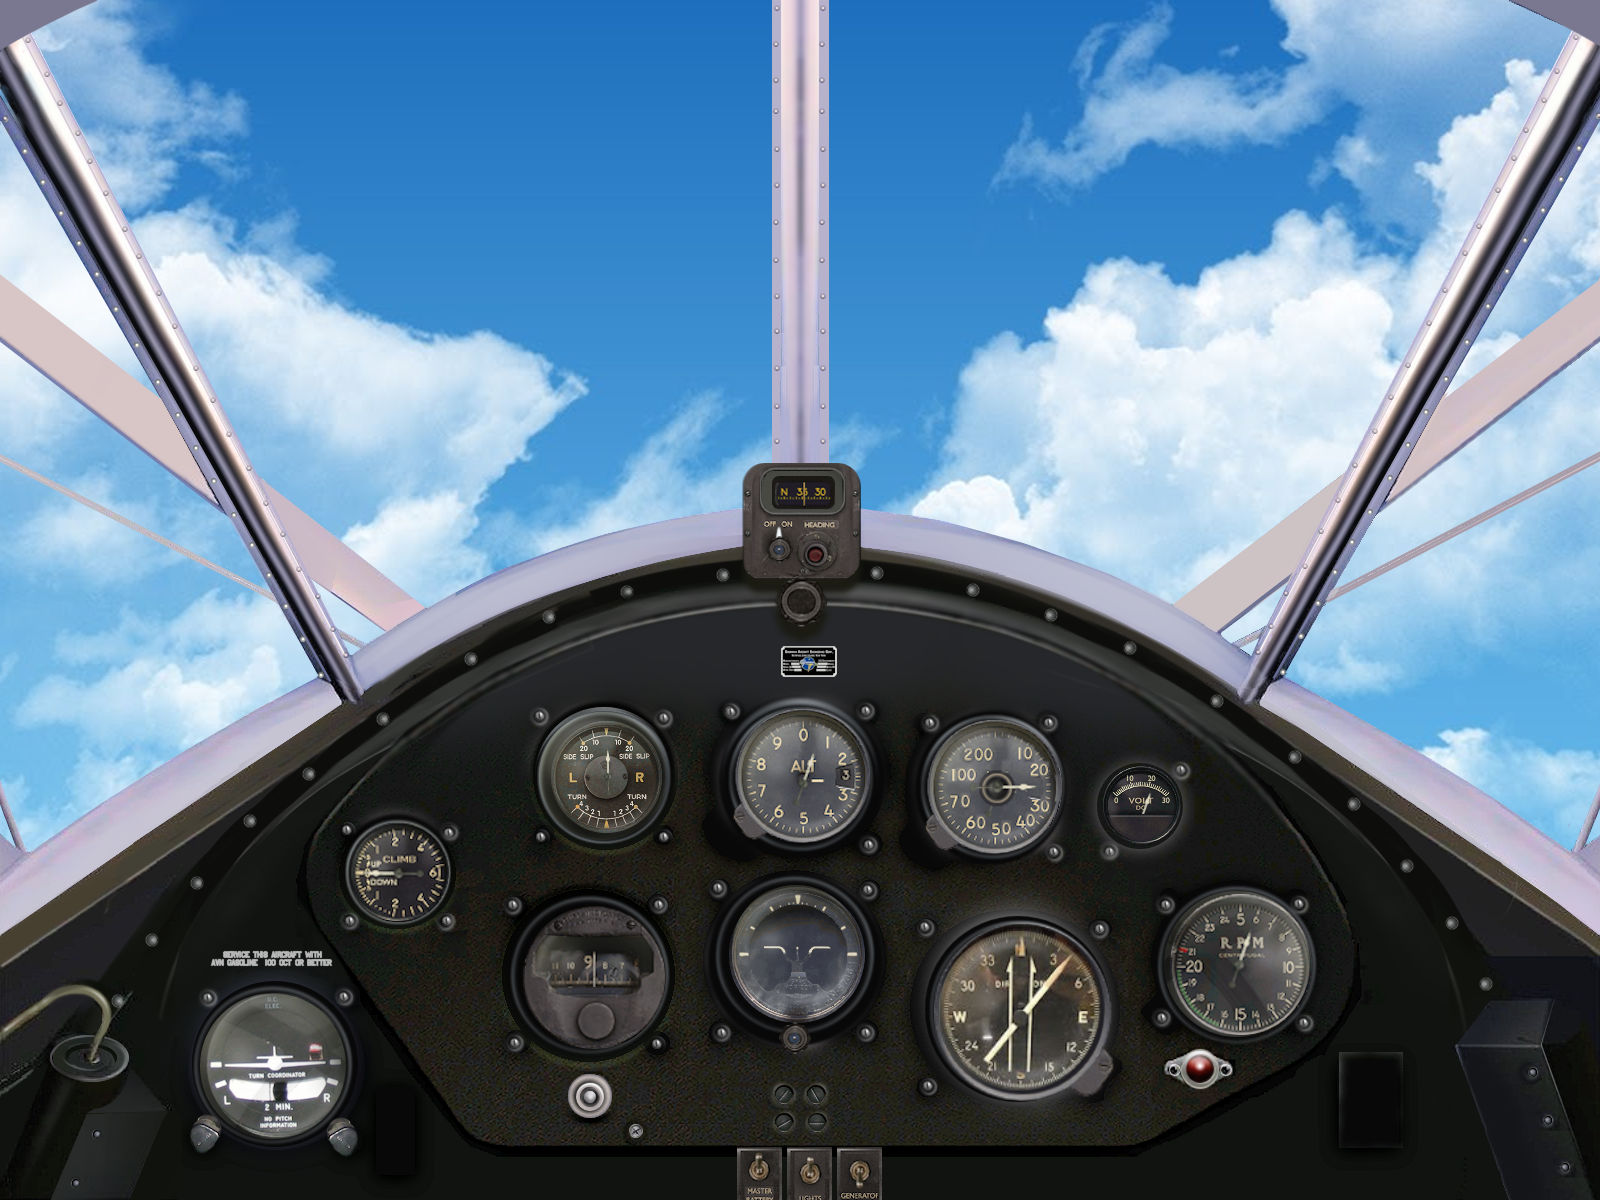
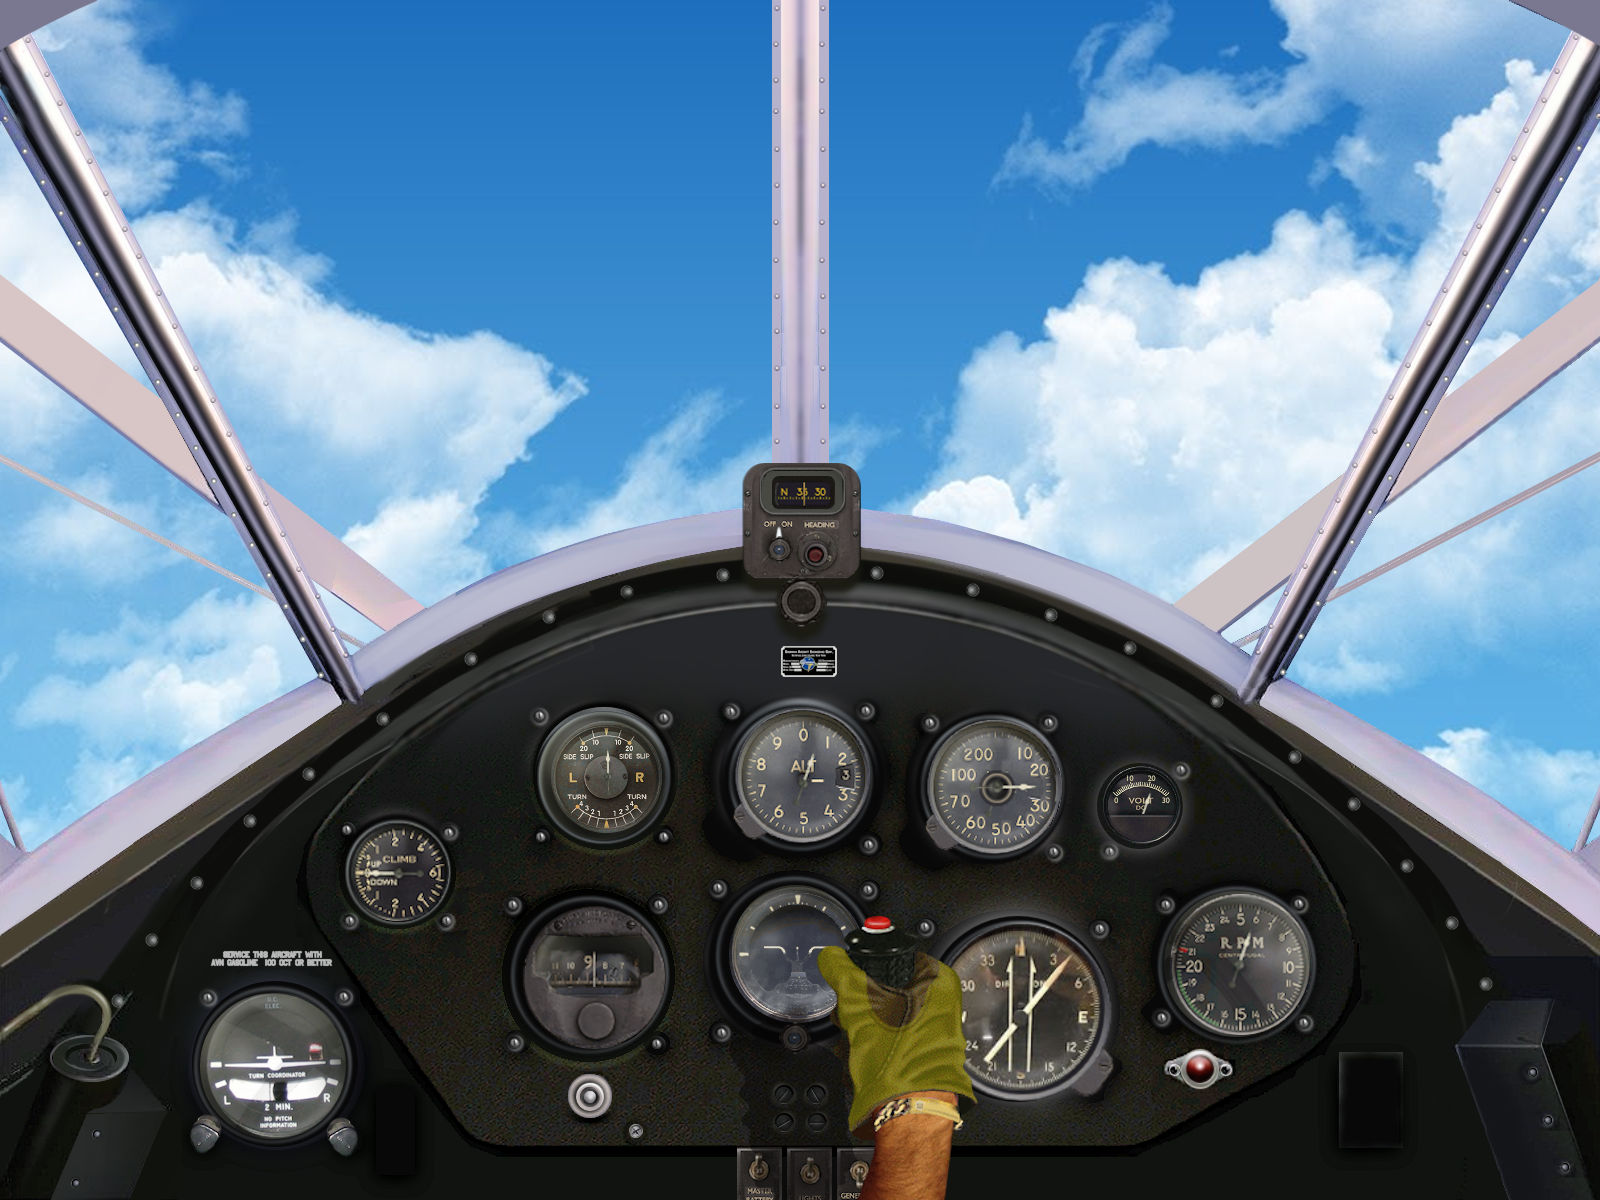
Just finished a new 2D panel for the Storch..
- Thread starter gaucho_59
- Start date
gaucho_59
Charter Member
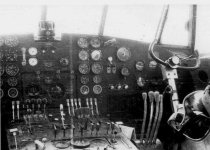
I found this bw photo... (identified as a P.108) and it is the one I used for the first redo.... As you can see it is
very different from the one you so kindly provided... what is it? Are there more than one
version of the big bomber?.... I noticed in your photos that the seats are different in some
of the photos... obviously not belonging to the same aircraft... Moreover, the yokes are different...
Also, noticed that the your photos show a more restricted cockpit space... the enclosed
photo shows a rather spacious cockpit... Do you know why the differences...
I also noticed there was a cargo version of the aircraft... Please provide info if you got it...
Thanks in advance,
G.
Attachments
mvg3d
Charter Member
Hi Carlos,
This is a video of P.108's first flight :
https://www.youtube.com/watch?v=MG99iXNIchE
However the pic You used is from the "T" (Trasporto) version, the first Italian "wide-body" cargo/passenger plane.
The bomber's cockpit was indeed completely different. Piaggio built only 24 P.108B (Bomber) and 11 P.108T (Trasporto), the Ts were used in operations ONLY by Luftwaffe.
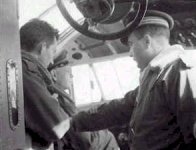
This is a pic of Bruno Mussolini during the "T" prototype tests, You can see the Caproni-Lanciani turret's control wheel.
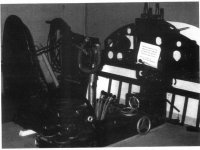
This is a pic of the Bruno Mussolini's P.108B cockpit (at A.M.I. Museum), the yoke deformation is due to the accident that killed B.M.
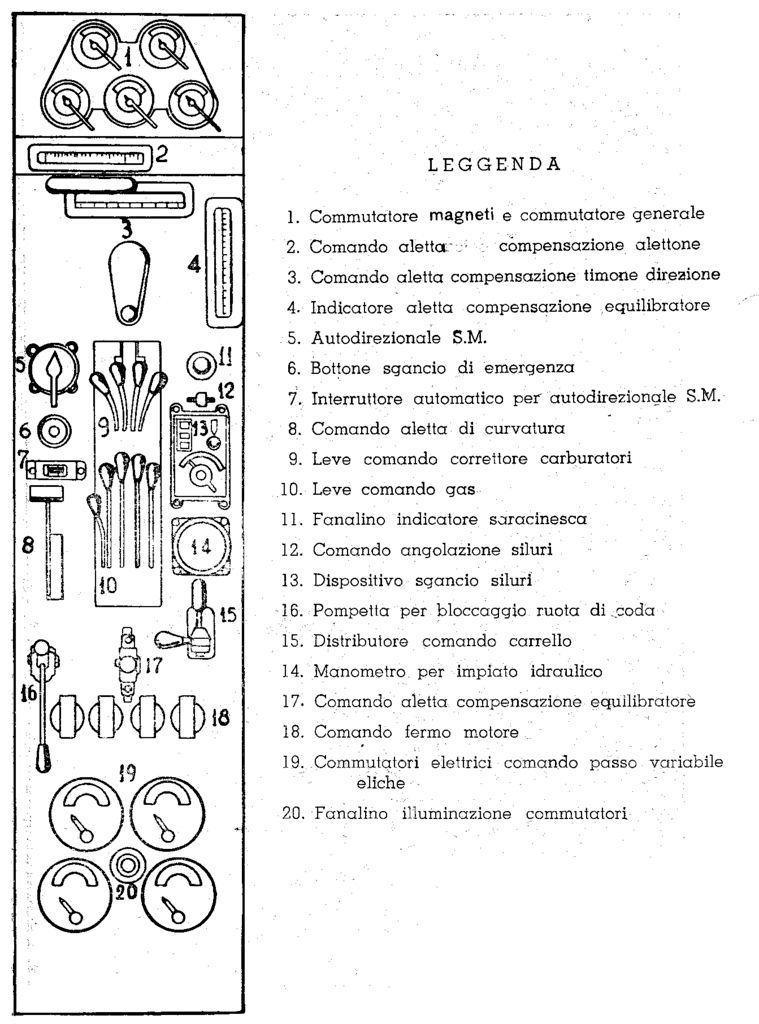
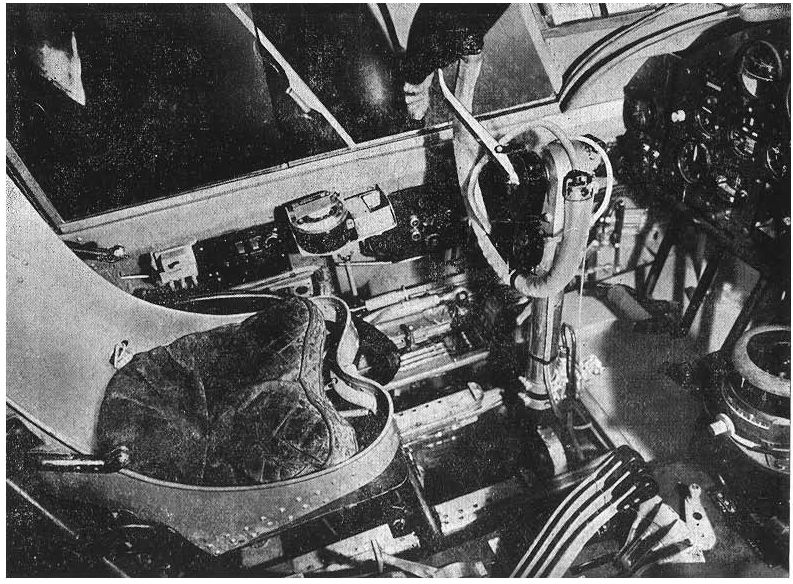
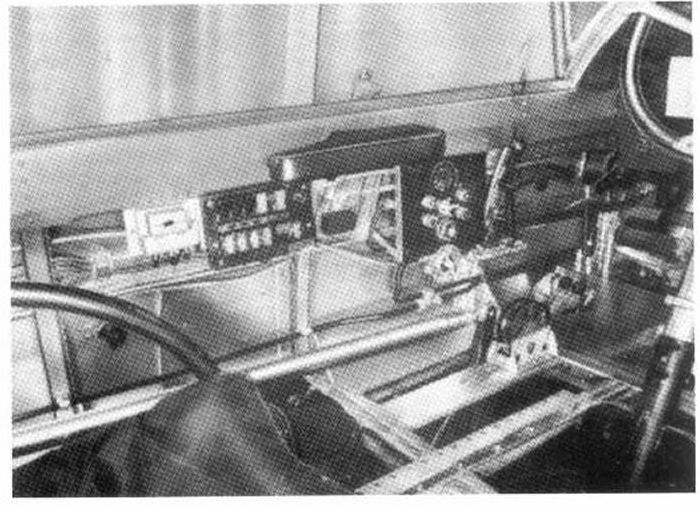
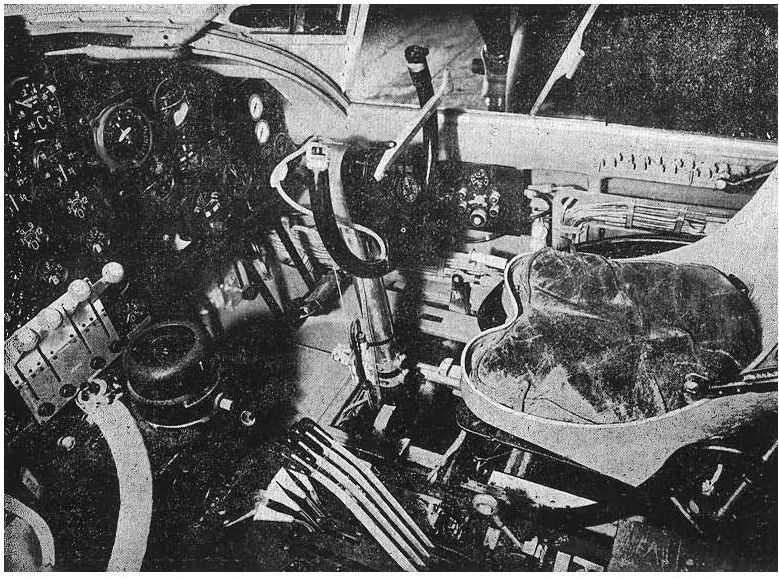
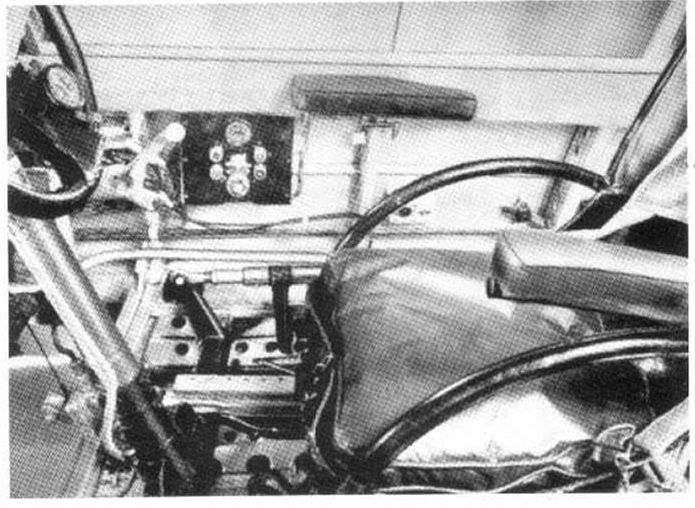
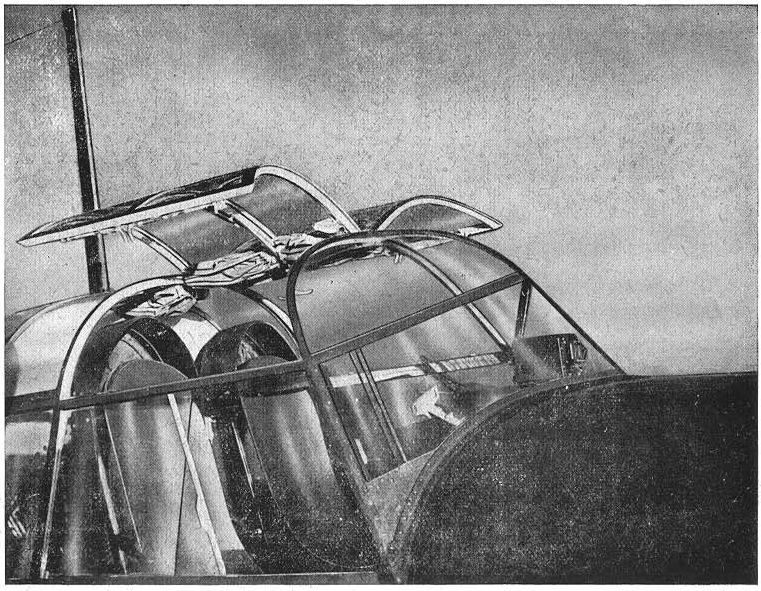
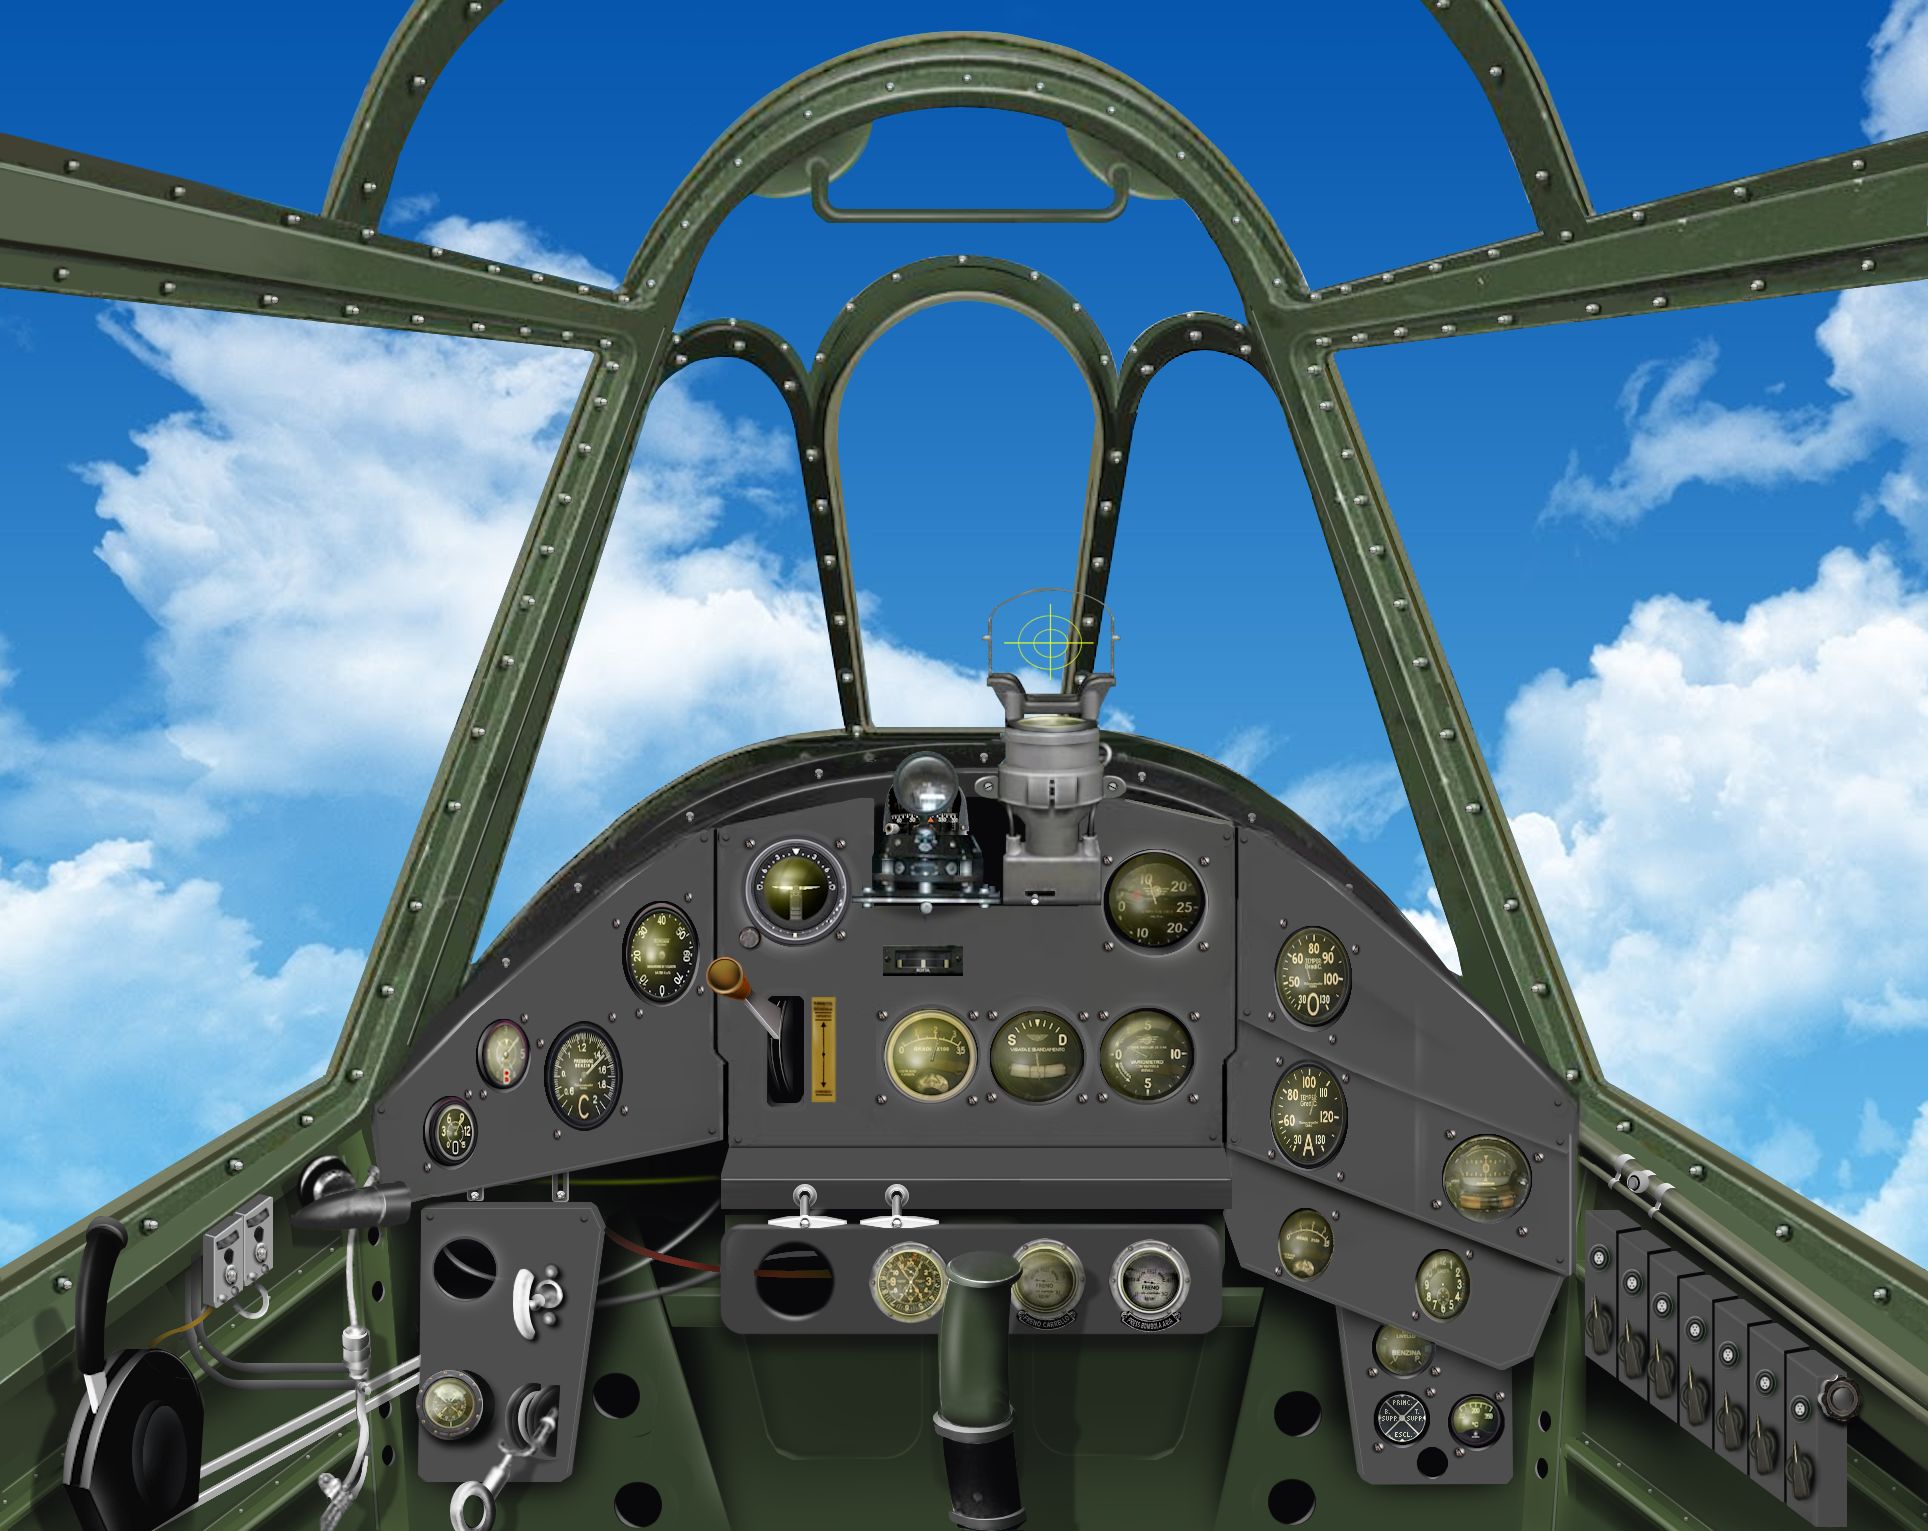
The pics I uploaded are all from the original R.A. Piaggio P.108B (bomber) user's manual, probably the pics are from the prototype or a pre-production a/c. The yokes used in production a/c were the same used in the Cant.Z.506B built by Piaggio (I used them in the PW version).
Unfortunately I don't have T's manuals....


This is a video of P.108's first flight :
https://www.youtube.com/watch?v=MG99iXNIchE
However the pic You used is from the "T" (Trasporto) version, the first Italian "wide-body" cargo/passenger plane.
The bomber's cockpit was indeed completely different. Piaggio built only 24 P.108B (Bomber) and 11 P.108T (Trasporto), the Ts were used in operations ONLY by Luftwaffe.

This is a pic of Bruno Mussolini during the "T" prototype tests, You can see the Caproni-Lanciani turret's control wheel.

This is a pic of the Bruno Mussolini's P.108B cockpit (at A.M.I. Museum), the yoke deformation is due to the accident that killed B.M.
The pics I uploaded are all from the original R.A. Piaggio P.108B (bomber) user's manual, probably the pics are from the prototype or a pre-production a/c. The yokes used in production a/c were the same used in the Cant.Z.506B built by Piaggio (I used them in the PW version).
Unfortunately I don't have T's manuals....


gaucho_59
Charter Member
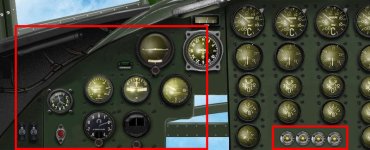
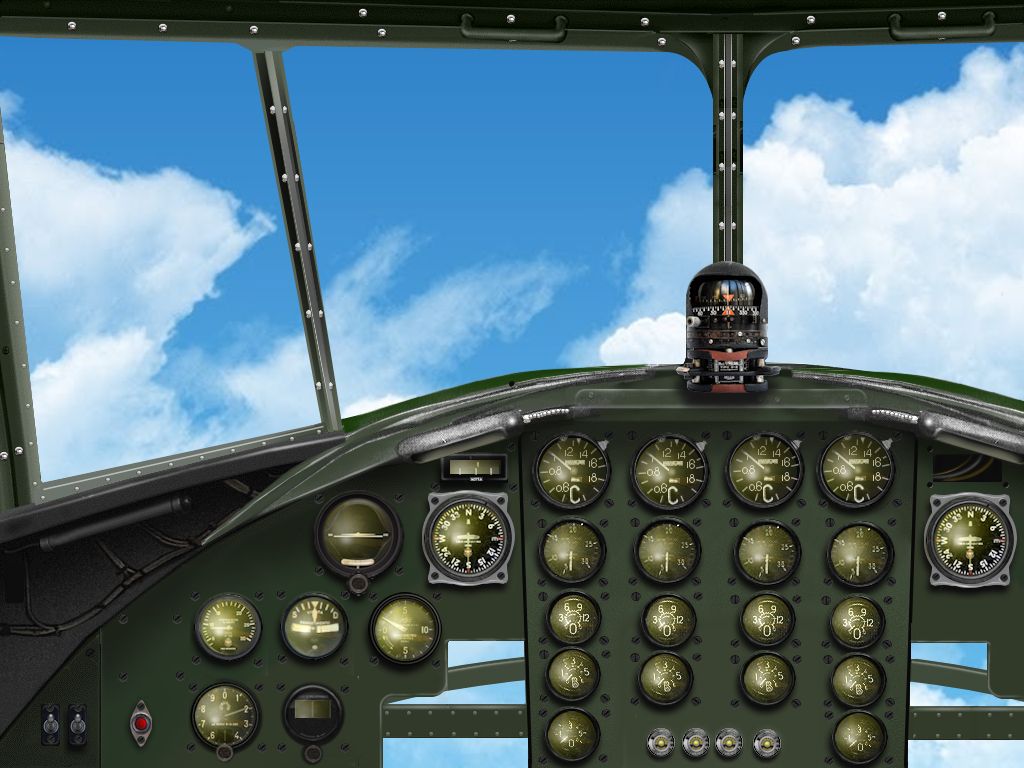
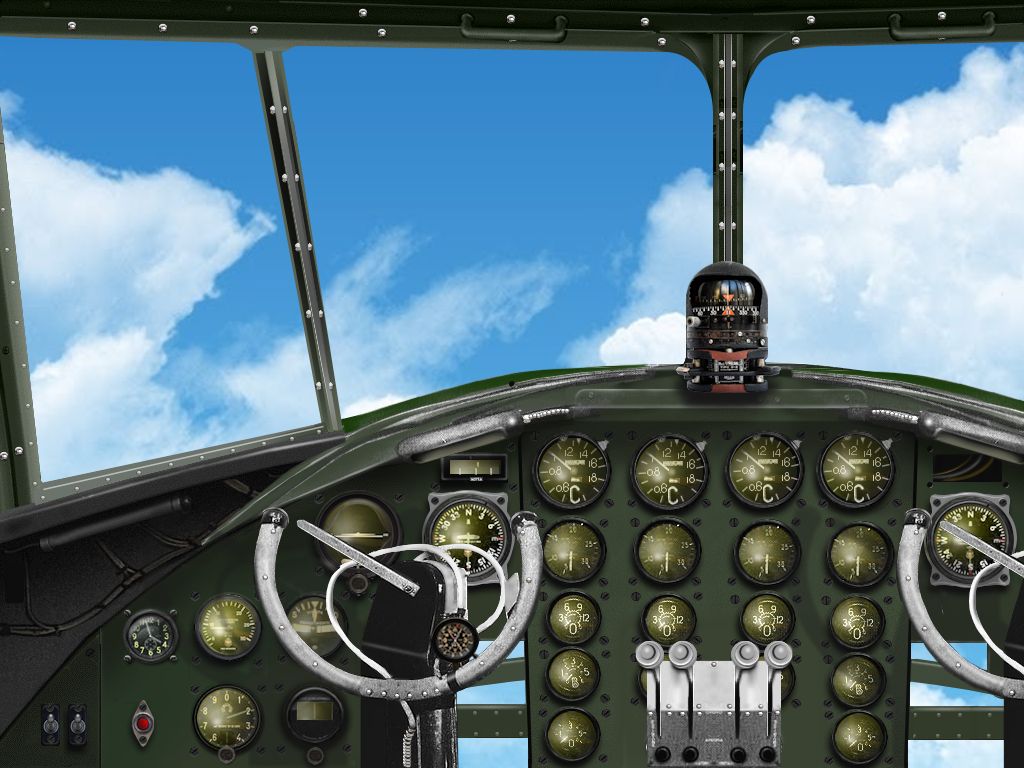
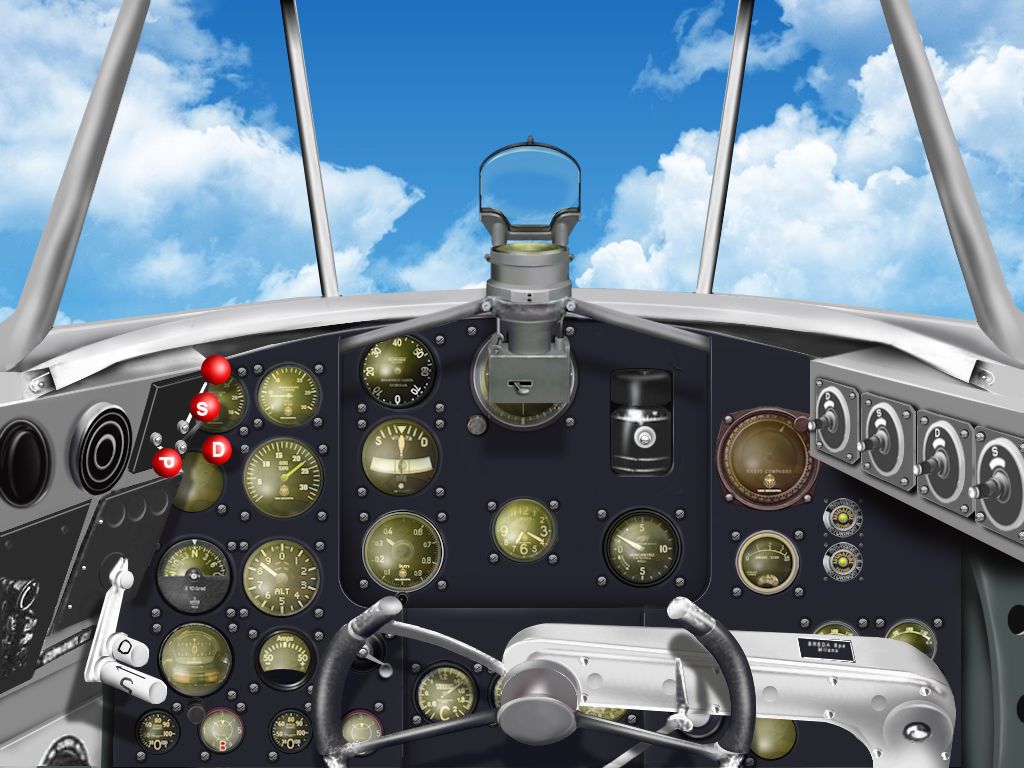
Here is a corrected version for the bomber...
Great info... Thanks a lot Manuele Villa..
so here is the corrected version... I didn't know I was doing the panel for the cargo version... this
one is the bomber version... It is not so easy to come out with an exact replica... but I think it is
fairly close to it...


Carlos


Great info... Thanks a lot Manuele Villa..
so here is the corrected version... I didn't know I was doing the panel for the cargo version... this
one is the bomber version... It is not so easy to come out with an exact replica... but I think it is
fairly close to it...


Carlos


Last edited:
gaucho_59
Charter Member
Working with nodes
Following a question in another thread, if what one is looking to do is something like this:
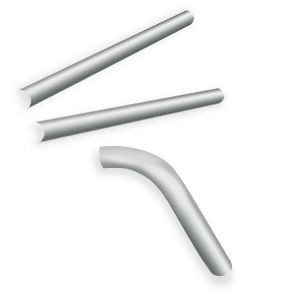
then, using PSP, one needs to get familiarized with working with nodes... First, you convert the object to a vector object.
1 On the Tools toolbar, select the Pen tool .
2 On the Tool Options palette, click Edit Mode button .
3 Click a vector object.
The object's nodes appear.
4 Click the node.
The selected node appears with a solid gray fill.
You can also,
Select multiple nodes
Hold down Shift, and click the nodes.
Select all nodes on a contour
Double-click one node. If the object has only one contour, this selects all nodes in the path.
Select all nodes in a path (all nodes in the object)
Right-click a node, and choose Edit Select All.
Select the next or previous node on a contour
Hold down Shift, and press [ or ].
Deselect a selected node
Hold down Shift, and click the node.
Then you can deform the object to your desired shape...
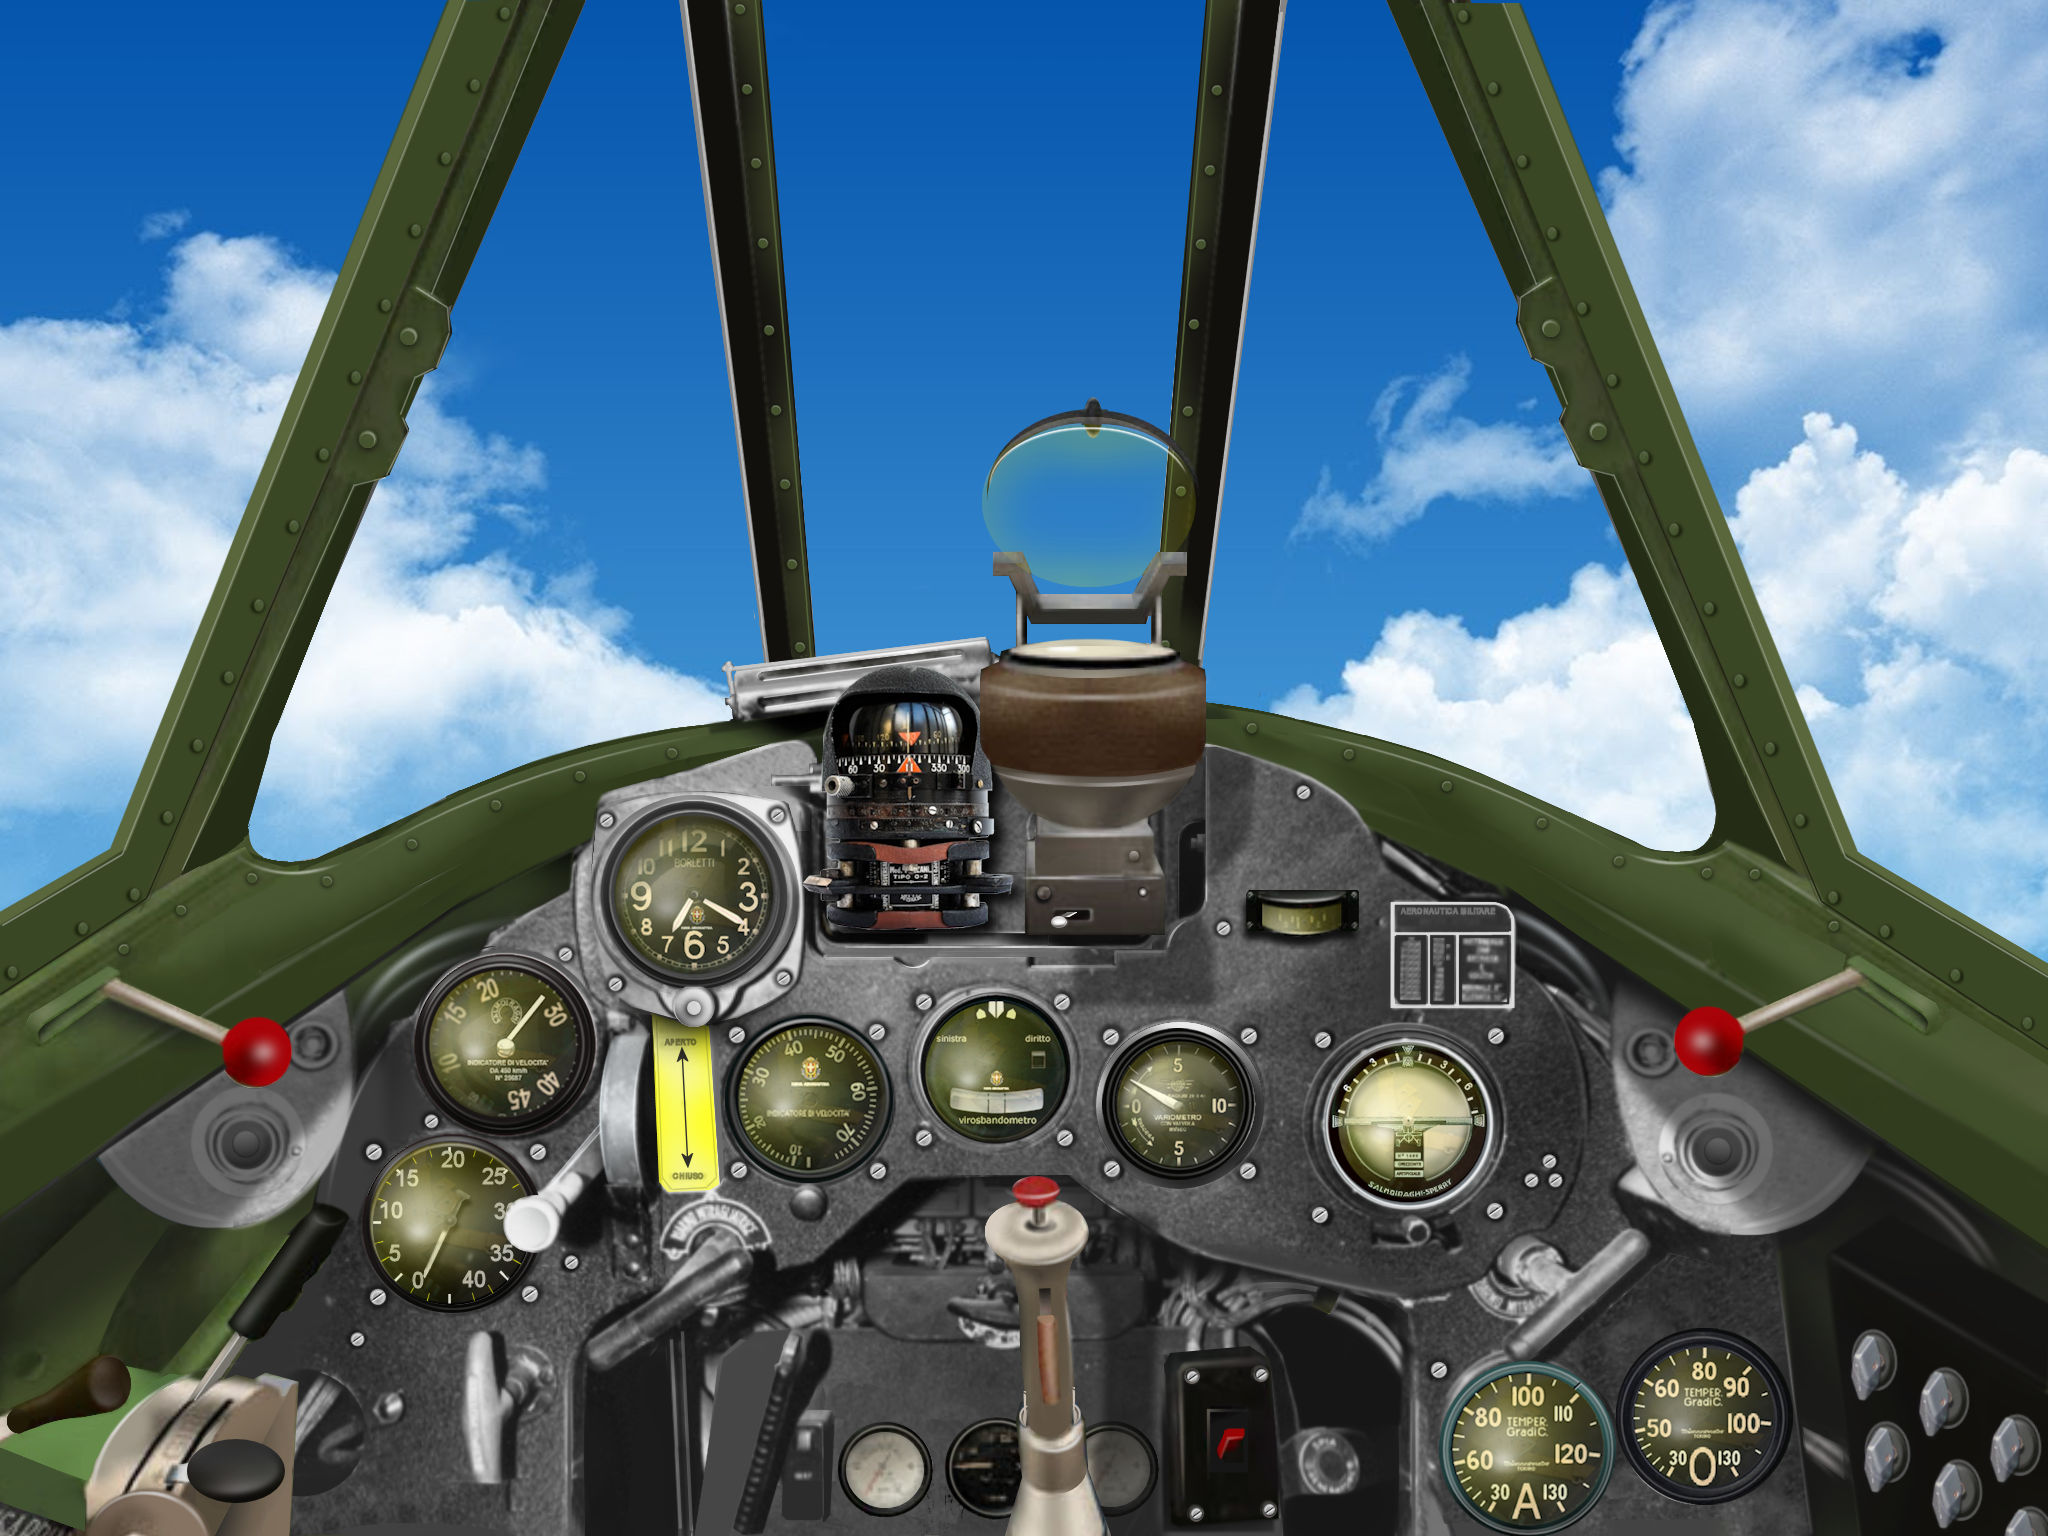
Here is a WIP redo on a panel for the Ki 43 III...
in it, I used extensively this tool....
It is not difficult but requires some attention to detail and patience...
To wit:
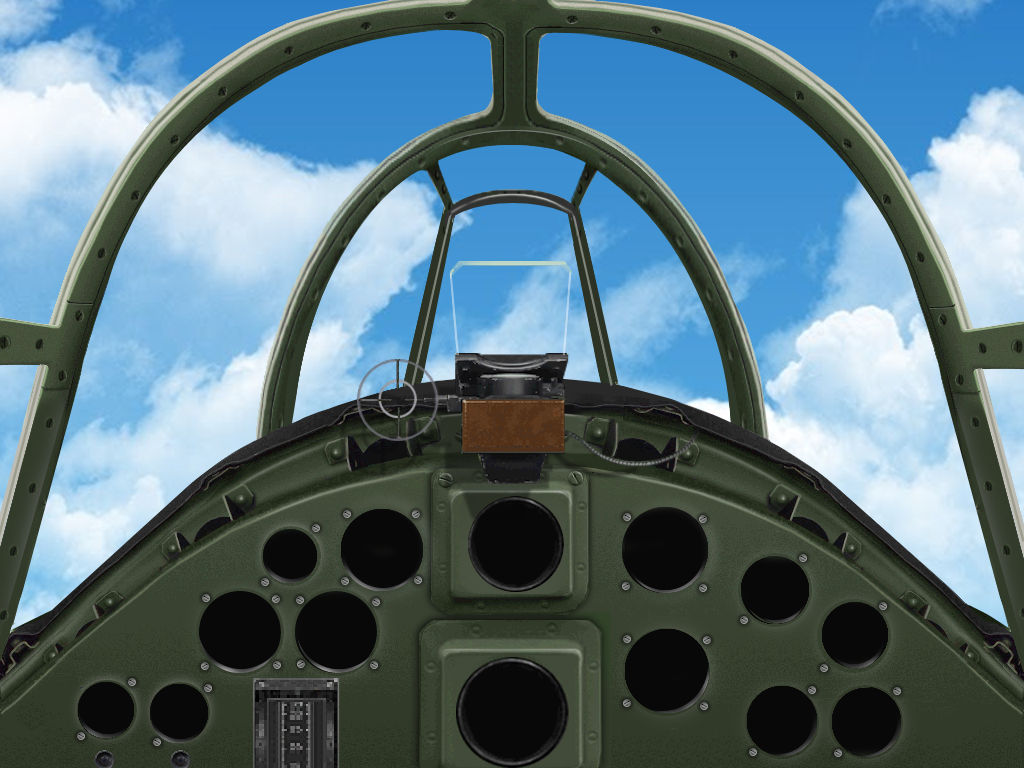
IMHO our worst enemy is the wanting to "publish" immediately... for it causes our work to be less precise than one wishes...


G.
Following a question in another thread, if what one is looking to do is something like this:

then, using PSP, one needs to get familiarized with working with nodes... First, you convert the object to a vector object.
1 On the Tools toolbar, select the Pen tool .
2 On the Tool Options palette, click Edit Mode button .
3 Click a vector object.
The object's nodes appear.
4 Click the node.
The selected node appears with a solid gray fill.
You can also,
Select multiple nodes
Hold down Shift, and click the nodes.
Select all nodes on a contour
Double-click one node. If the object has only one contour, this selects all nodes in the path.
Select all nodes in a path (all nodes in the object)
Right-click a node, and choose Edit Select All.
Select the next or previous node on a contour
Hold down Shift, and press [ or ].
Deselect a selected node
Hold down Shift, and click the node.
Then you can deform the object to your desired shape...
Here is a WIP redo on a panel for the Ki 43 III...
in it, I used extensively this tool....
It is not difficult but requires some attention to detail and patience...
To wit:

IMHO our worst enemy is the wanting to "publish" immediately... for it causes our work to be less precise than one wishes...


G.
gaucho_59
Charter Member
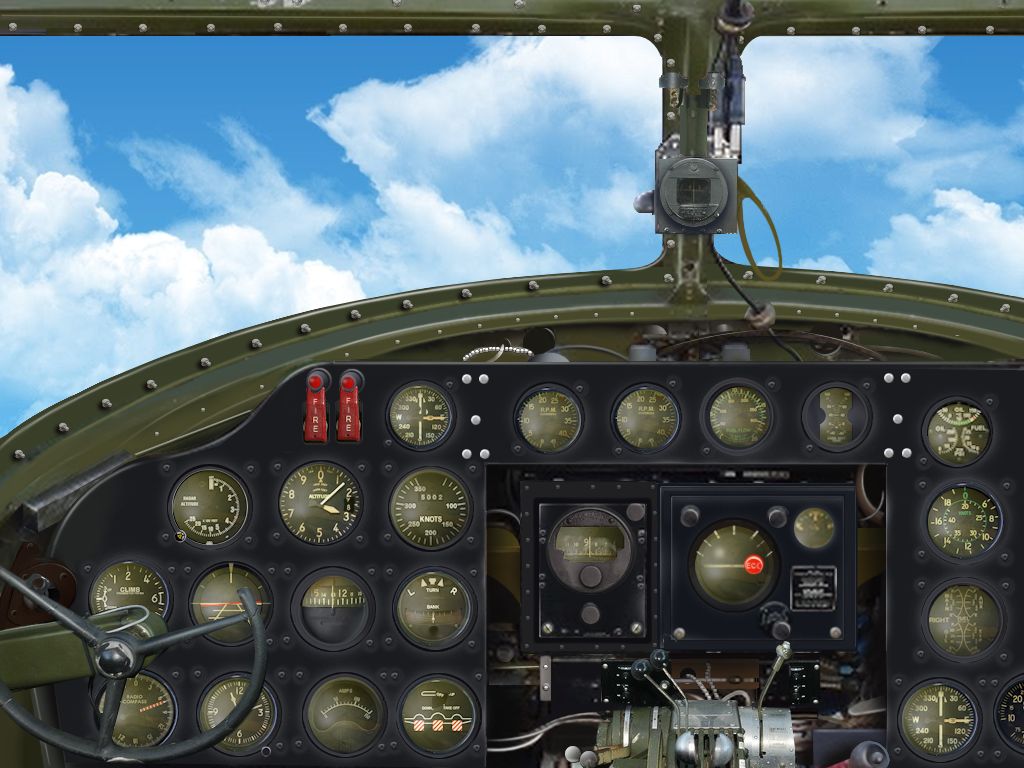
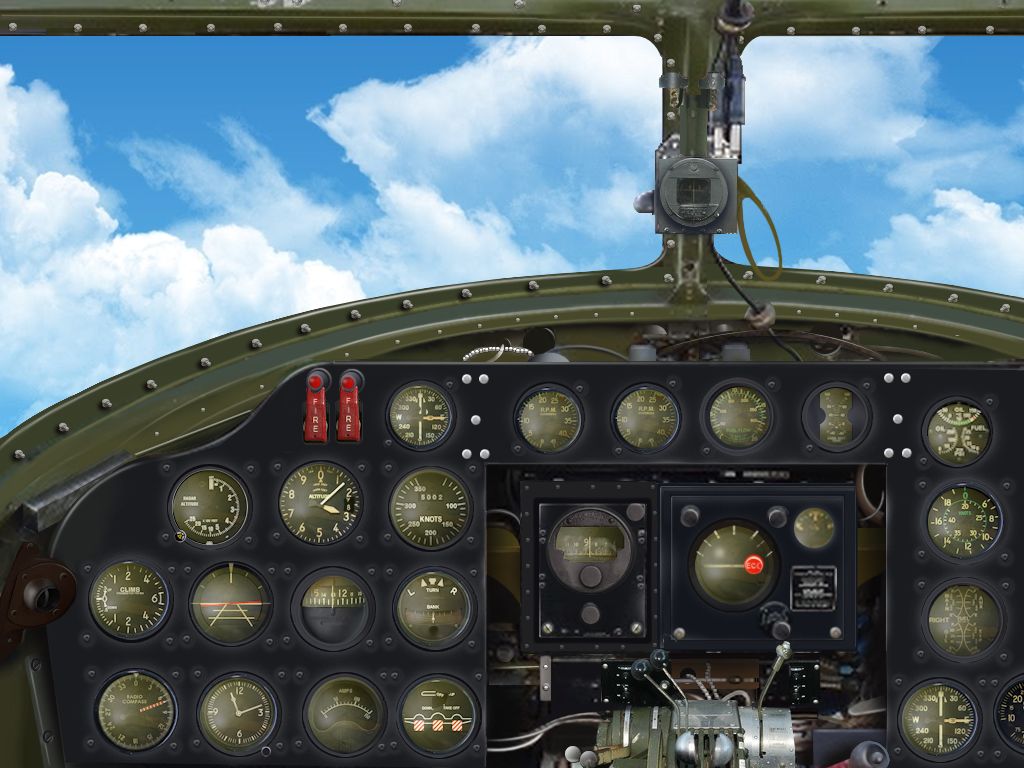
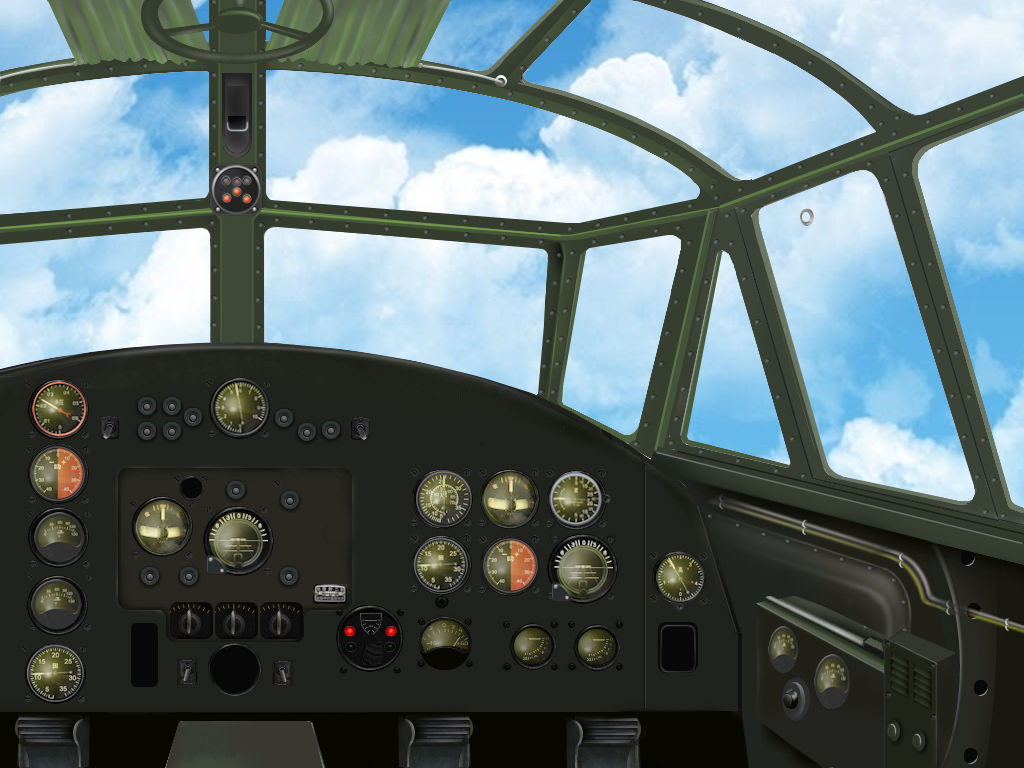
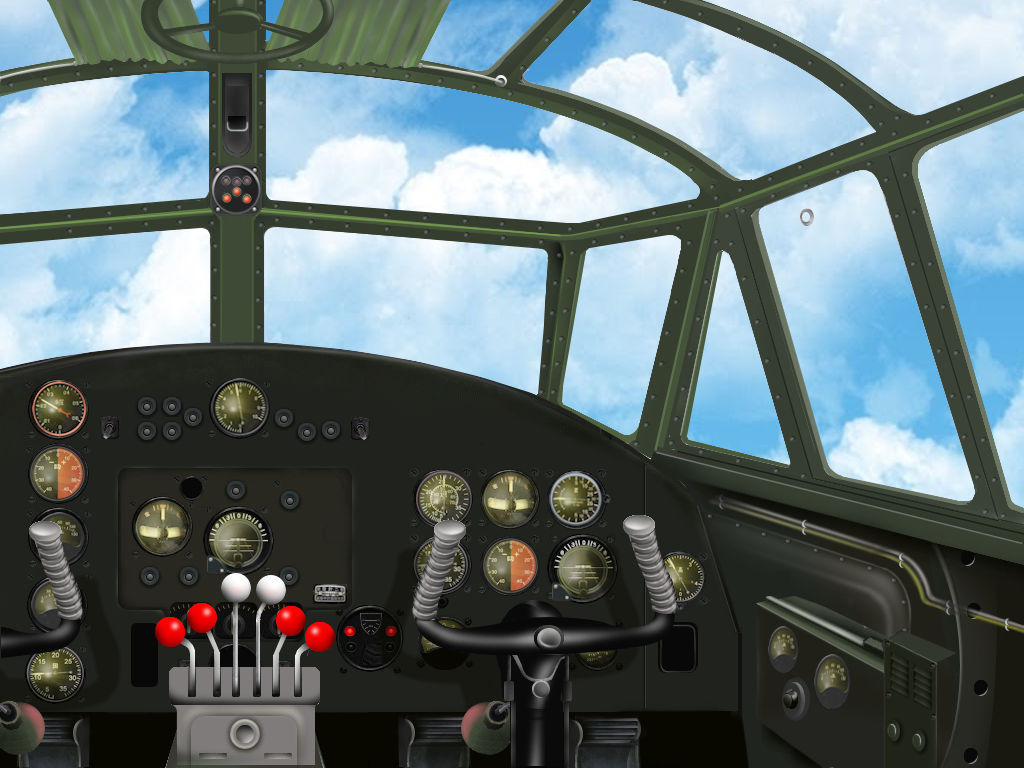
New 2d panel for Mitsubishi "Betty"...
This is a definitive version correcting perspective errors and overall inaccuracy of
circulating panels for this WW2 workhorse. Painted on the basis of a line drawing from
the manufacturer...
Available in either a "clean version" or with additional pop-up throttle box and yokes...


G.
This is a definitive version correcting perspective errors and overall inaccuracy of
circulating panels for this WW2 workhorse. Painted on the basis of a line drawing from
the manufacturer...
Available in either a "clean version" or with additional pop-up throttle box and yokes...


G.
gaucho_59
Charter Member
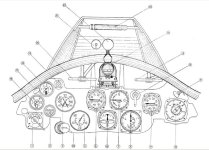
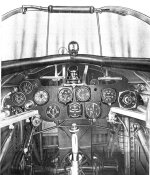
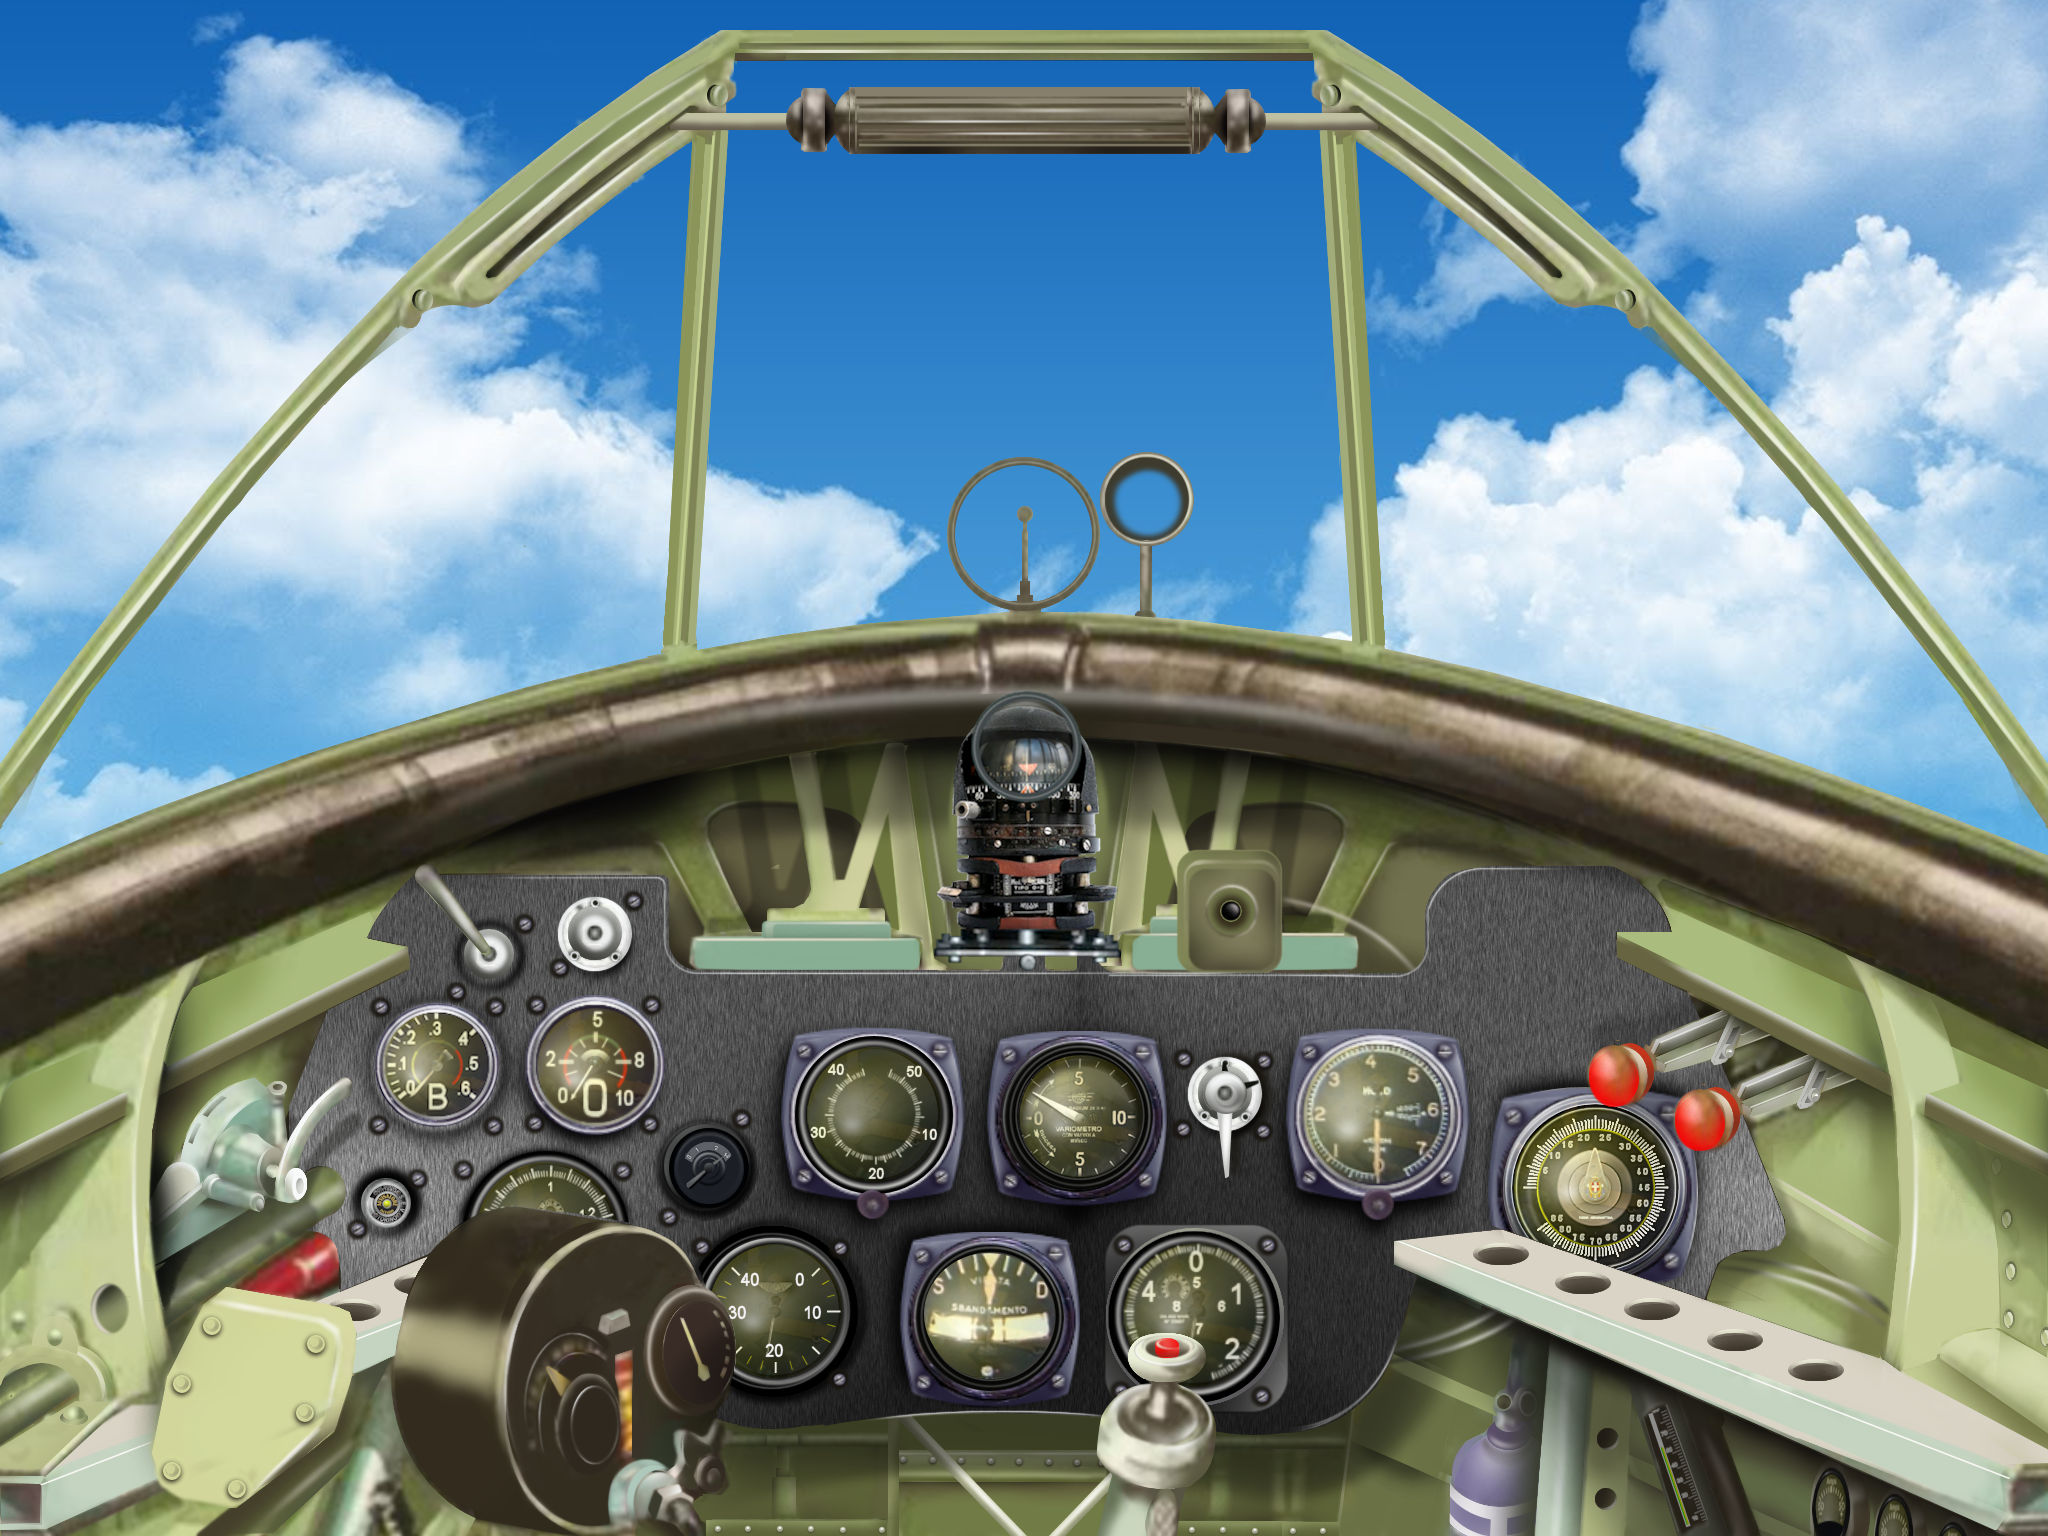
New 2d panel for the Fiat Cr 32 classic prewar fighter...
This is another definitive version correcting perspective errors and overall inaccuracy of
circulating panels for this pre-war WW2 fighter. Painted on the basis of a line drawing from
the manufacturer...and a photo...


G.
This is another definitive version correcting perspective errors and overall inaccuracy of
circulating panels for this pre-war WW2 fighter. Painted on the basis of a line drawing from
the manufacturer...and a photo...


G.

