Bushi
Charter Member
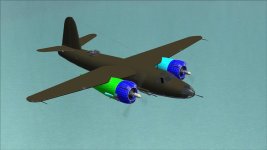
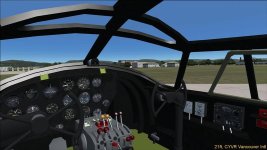
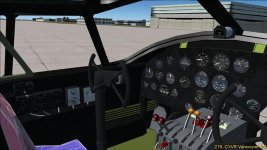
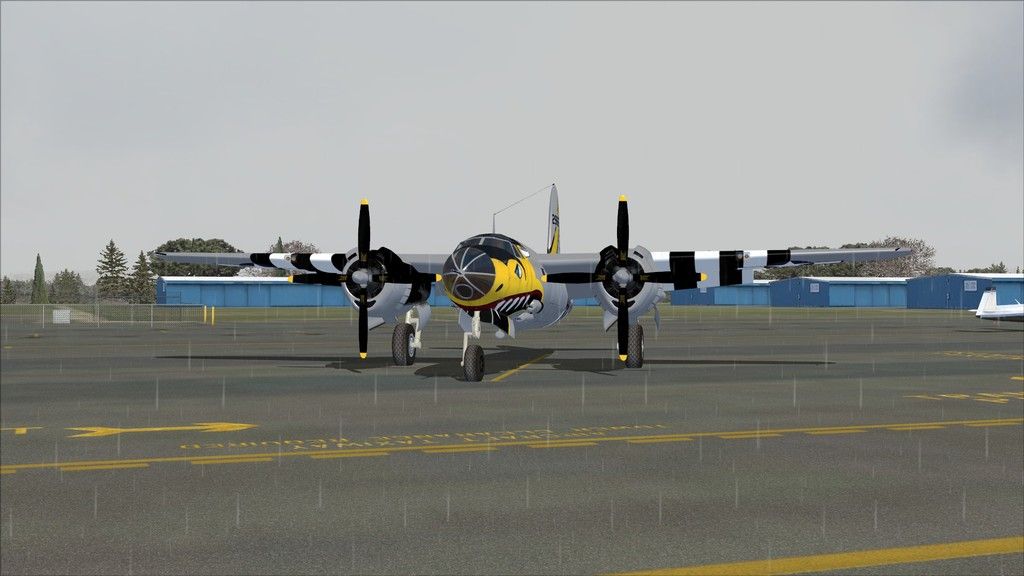
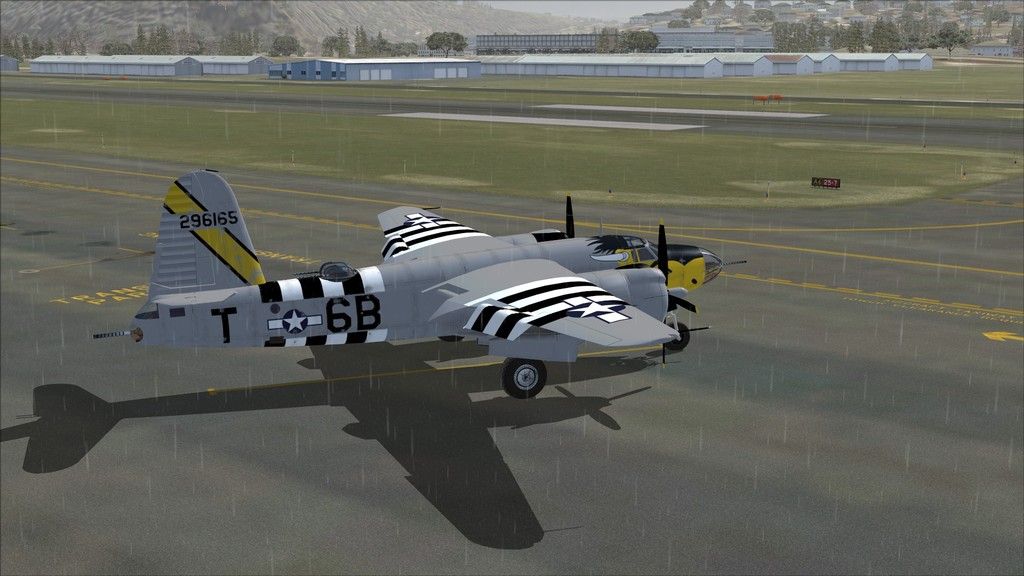
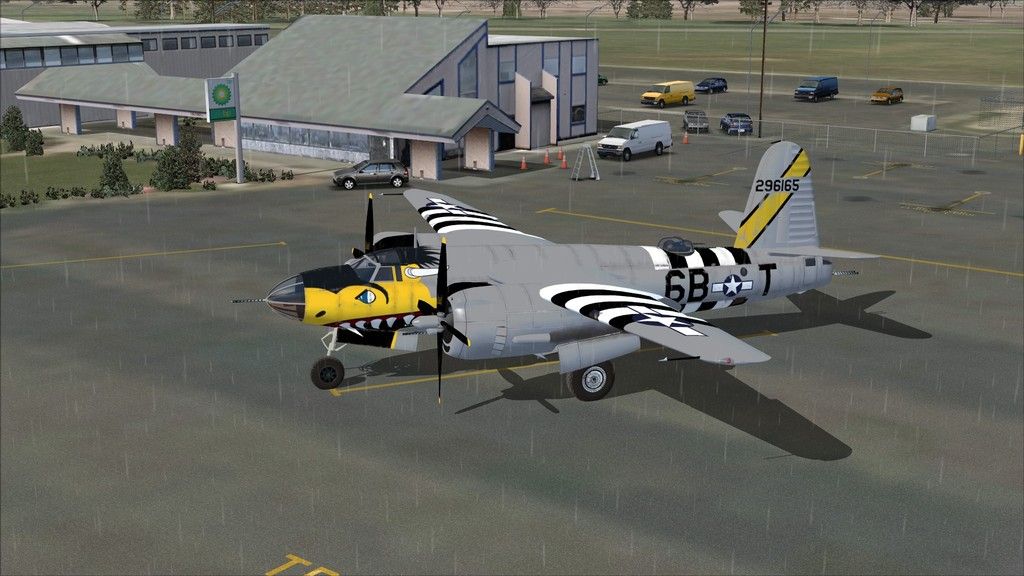
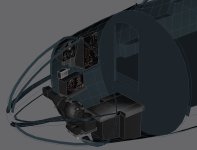
more base work applied.. and an observation.
Wings in base coat (including the wrap under along the leading edge (haven't done this on the stabs. yet.")
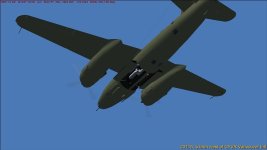
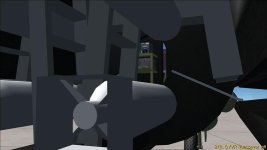
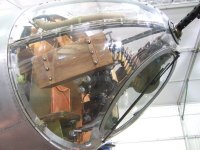
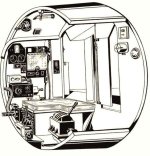
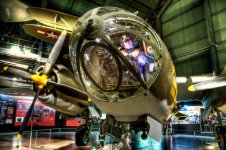
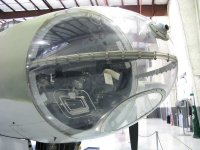
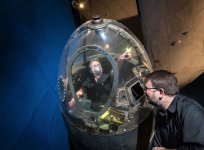
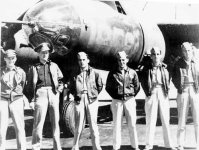
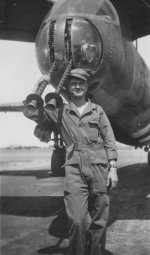
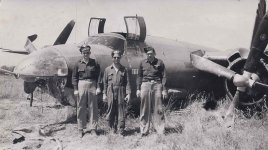
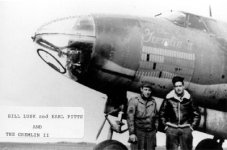
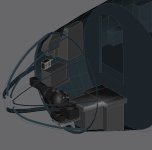
And, Milton. I'm not sure if you realized it or not, but the nose Perspex dome on the b-26 was moulded in an upper and lower half, weith the flat plexi added to the lower one.
So.. the framework for the blow moulded halves was on the INSIDE of the plexi..... with screws holding the clear plexiglass in place.
Now, I figure I can try and replicate the visual effect of this by 'lightening' the colour of the framework underneath the clear bubble than the surrounding fuselage, and then paint on the screws in a darker shade. Because I'm not sure if the modeling program will allow you to put the transparent bit on the outside of the texture file!
We CAN create the illusion.


Wings in base coat (including the wrap under along the leading edge (haven't done this on the stabs. yet.
And, Milton. I'm not sure if you realized it or not, but the nose Perspex dome on the b-26 was moulded in an upper and lower half, weith the flat plexi added to the lower one.
So.. the framework for the blow moulded halves was on the INSIDE of the plexi..... with screws holding the clear plexiglass in place.
Now, I figure I can try and replicate the visual effect of this by 'lightening' the colour of the framework underneath the clear bubble than the surrounding fuselage, and then paint on the screws in a darker shade. Because I'm not sure if the modeling program will allow you to put the transparent bit on the outside of the texture file!
We CAN create the illusion.